idahoyj
Well-Known Member
- Location
- Twin Falls Idaho
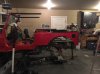
Thanks!looks great. It is coming along nicely!
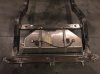
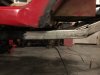
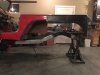
Next, I plan to start figuring out the hood/grill/radiator/shock hoops!
Thanks!looks great. It is coming along nicely!
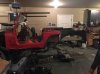
I can't believe I didn't get one of these sooner! What a great product! This Swag Offroad Portaband Table makes cutting gussets and tabs so much cleaner, easier, and faster than using a cut-off wheel or torch.

I just picked up on this thread & read the whole thing, I think it's an awesome build! :bow:
I'm a big fan of the "I know it's not stock, but it could have been", kind of builds!
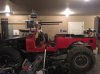
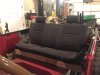
The rear tub looks great, good preportions, & will look great with a hard top!
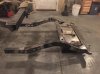
I'm curious about the front end though, you added 2+" of uptravel by cutting the frame, (nice work BTW) are you going to move the fenders up another 2" or build flaties to custom fit the suspension compression??
Keep it comming!:tara:
this is one of my favorite builds
I like how you had the replacement parts prepped and ready to drop in, and even painted. Looks great.
At this point, I only have the factory soft top. The hard tops are $$ and are a lot less forgiving on fitment with the old YJ tub. I still hope to find a cheap/damaged LJ hard top though.
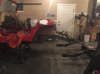
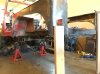
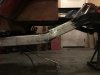
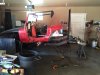
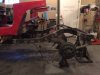
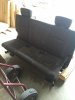
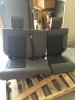
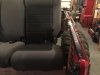
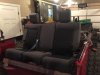
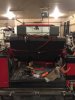
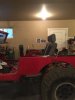
I have a factory top (soft) that has to be modified to fit my streched prodject, maybe it's because your making the body fit the top instead of the top fitting the body! This is what I'm dealing with!
Funny, In my mind "factory top" meant hard top, don't know why!
View attachment 97696 This is what I'm dealing with!
Soooo, I'm assuming you're using the body armor panels to locate your tub section & filling in the space with sheet metal??
This thread makes me want to work on bodied rigs again.
Your thread makes me want to build a buggy and use the front/rear steering D60 housings that I've been trying to sell....