chadschoon
Well-Known Member
- Location
- lehi
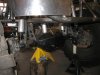
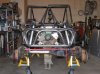
ill have to do an update. Putting some different shocks and a couple other things on it.
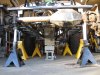
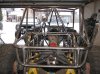
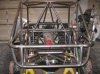
 Anyhow, it turned out pretty good and gave me what I was looking for.
I can't get over how clean your work is. very well done.
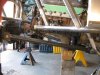
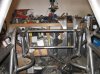
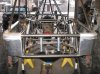
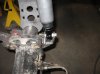
1.5" square tubing for the links?
Sorry, I should have made that more clear. LOL!I didn't read the whole thing just skimming through and saw that and was like wtf a bunch of high quality work and parts then this lol
I think my work is kind of half ass most days epecially when I look at how many times I have to tweak certain things. :-\
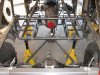
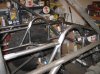
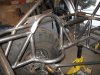
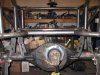
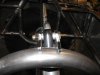
I got as much angle as I could with the space I had so hopefully when things are flexed the shocks will be close the perpendicular the the axle tubes.That might work. Curious why you didn't mount the other way, 90* difference? That would take the guessing out of it.