
Well, it would work as is, if I didn't take into consideration the steering and trackbar.
You are using an out of date browser. It may not display this or other websites correctly.
You should upgrade or use an alternative browser.
You should upgrade or use an alternative browser.
Toyota Project: TacoCart
- Thread starter Herzog
- Start date
-
- Tags
- build thread sas tacoma
OrangeSkidPlate
Active Member
- Location
- Pocatello
I just cleaned out my last SAS part....I had the oil pan and pickup. I should have said something....
Ah damn! All good thoughI just cleaned out my last SAS part....I had the oil pan and pickup. I should have said something....
")
Thats the one.
Thanks!
Tacoma
Et incurventur ante non
- Location
- far enough away
LROR used to sell those conversion pans. I can't say if they still do or not however. That place has REALLY gone downhill, and doesn't have anything in stock anymore it seems like.
Maybe I'll see the new owner and have a word.
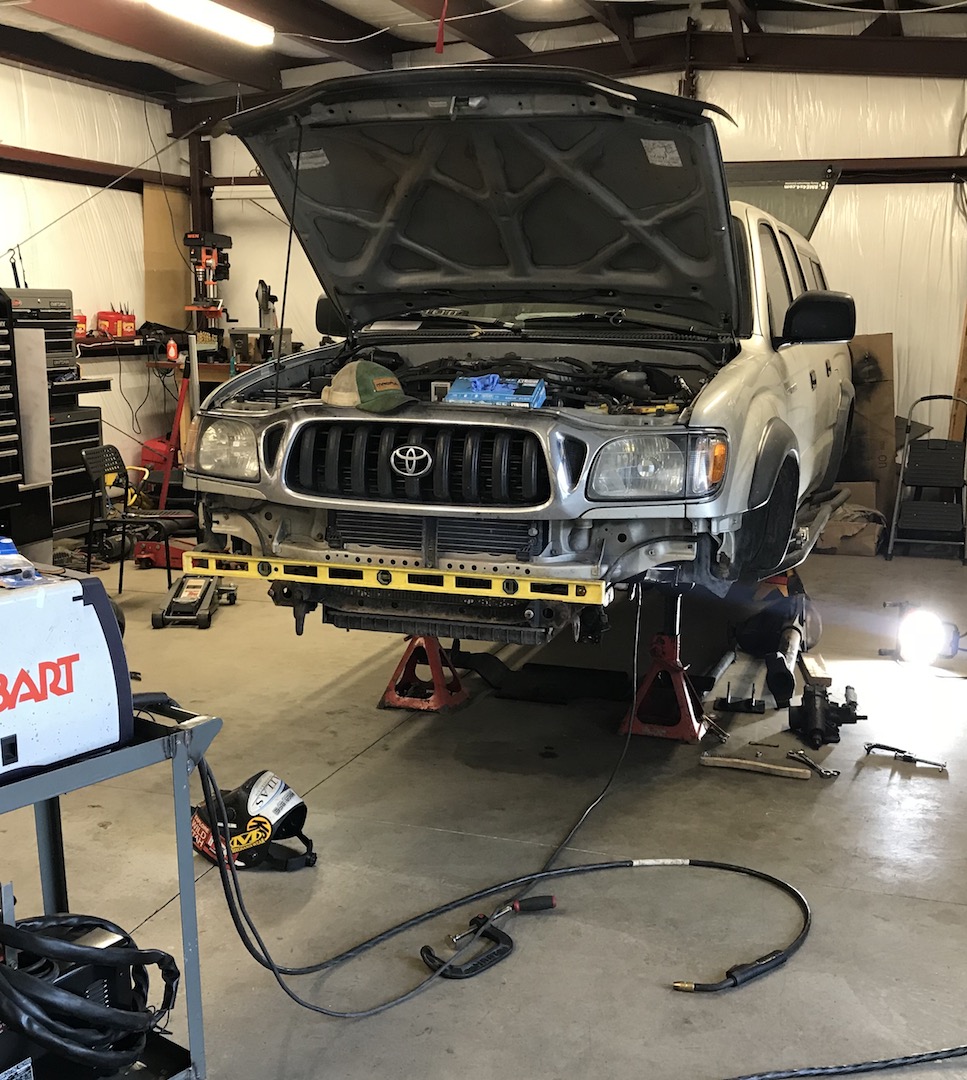
Finally got time check everything and burn the plates into the frame. Been a while since I've ran some longer beads, I guess I still kinda have it.
Steering box placement took a little bit more modifications on the body but now it fits just right. I'm excited for the next steps moving forward.

Steering box placement took a little bit more modifications on the body but now it fits just right. I'm excited for the next steps moving forward.
Also - I ended up ordering the oil pan kit from Trail-gear yesterday because the two other places I found it at were either priced even higher than trail-gears, or the damn website wouldn't work properly. I also probably could have gone and found the parts at a junk yard but laziness got the best of me.
- Location
- Grand Junction, CO
Good progress Shane, keep it up!
Maybe I'll see the new owner and have a word.
Might not be a bad idea, but from what some of the old LROR employees have said, the owner is well aware of the things going on. Possibly part of the plan? I have personally never had an issue with the owner, I have just heard a lot of rumblings from other/old employees.
I’ll be drilling a new one. Think it’s worth getting the drill guide?Yeah the sump needs to be converted to a rear sump. Are you going to drill the block for a new dip stick as well or just cut yours shorter?
I’ll be drilling a new one. Think it’s worth getting the drill guide?
I did on mine. Made me too nervous to not get one. If I had it still you could use it.
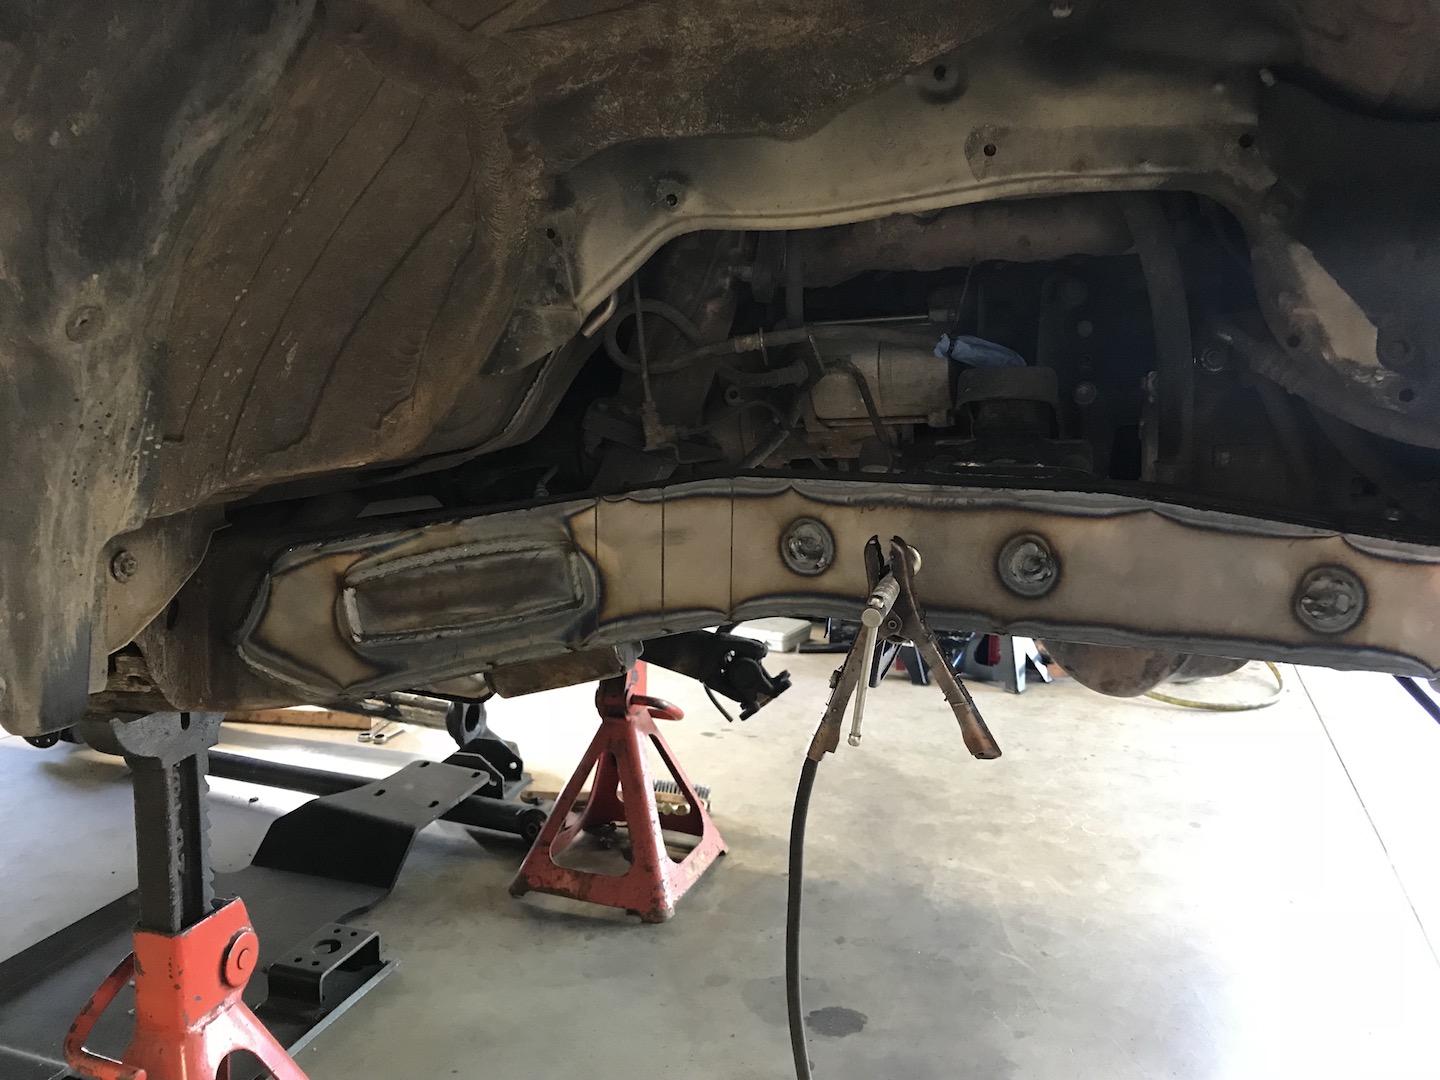
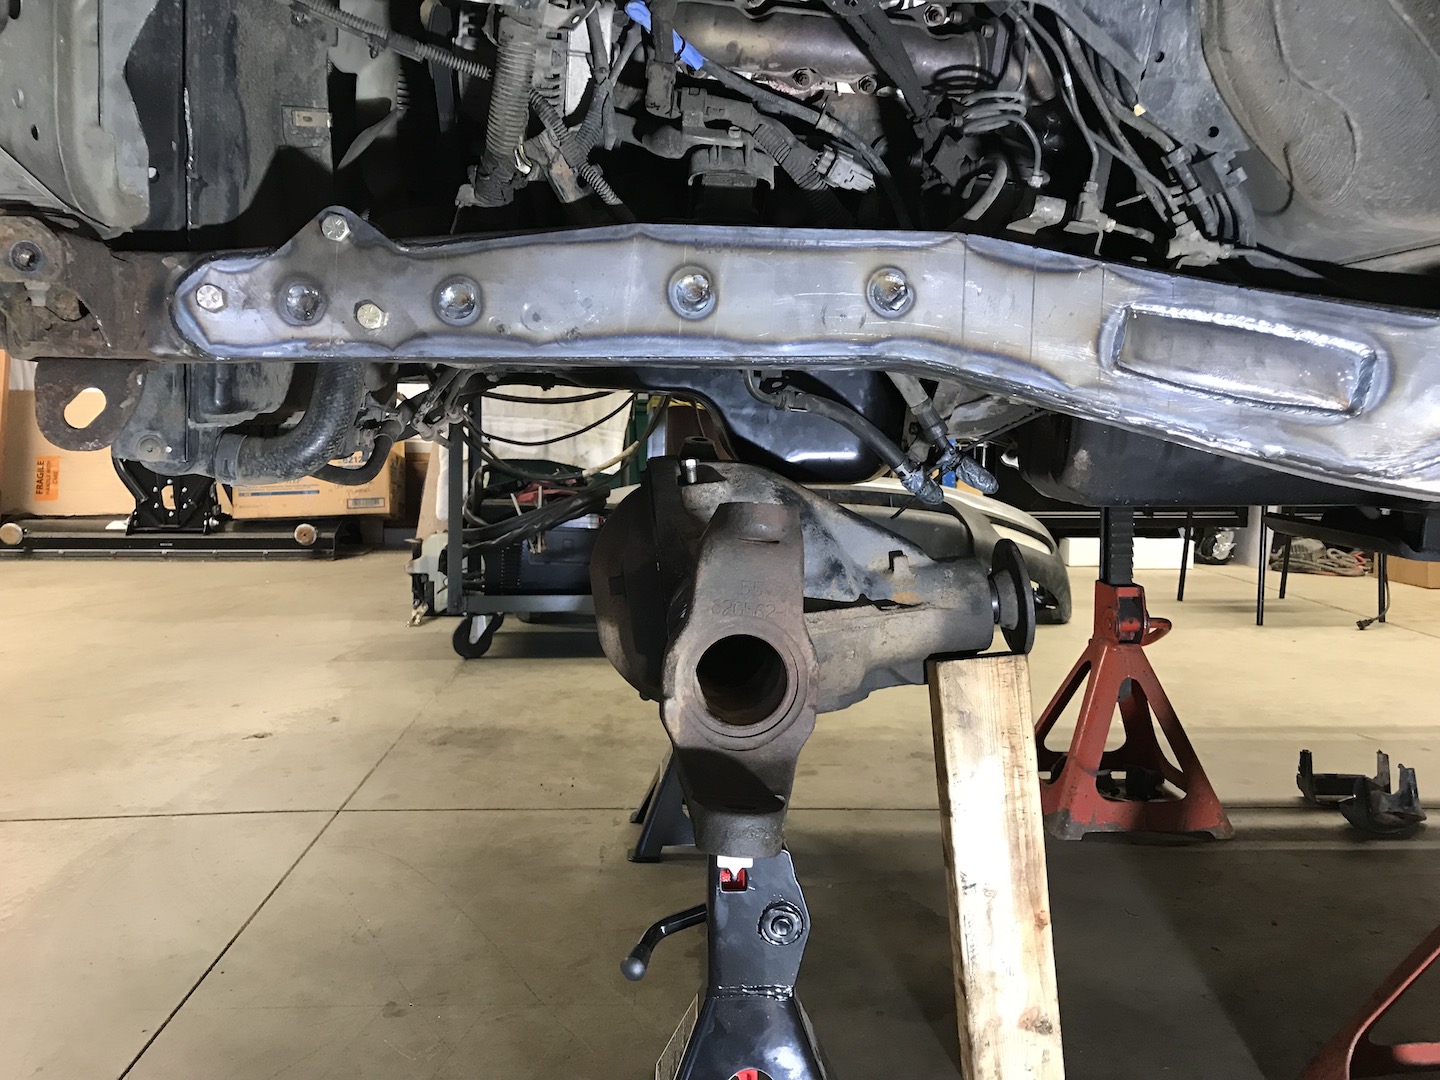
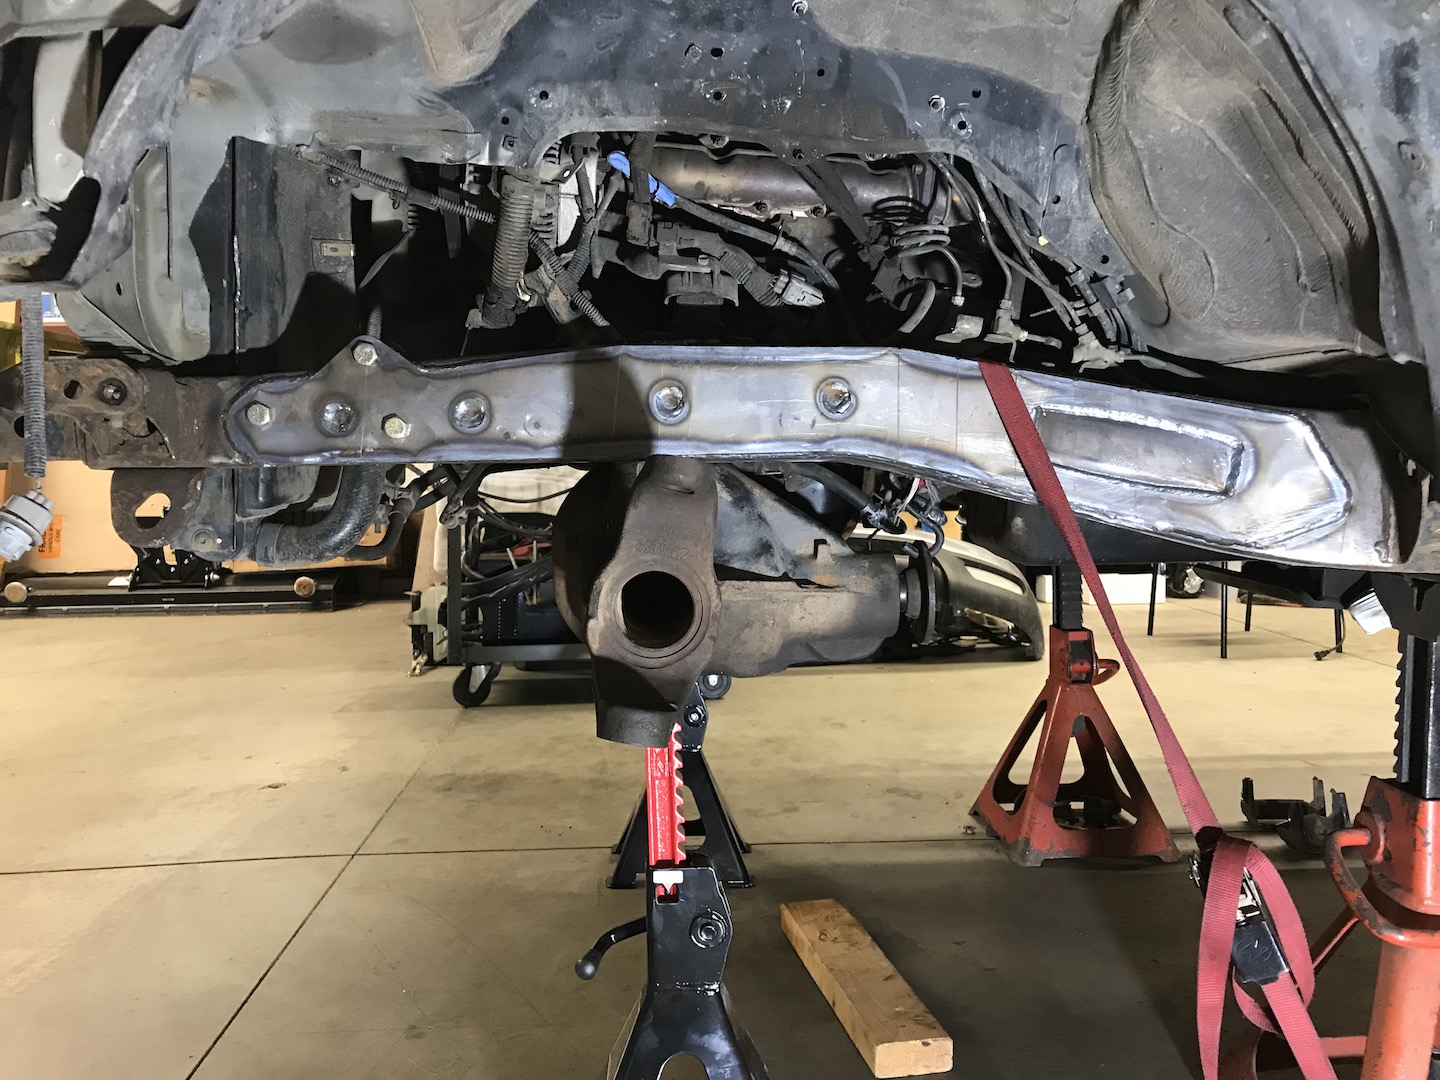
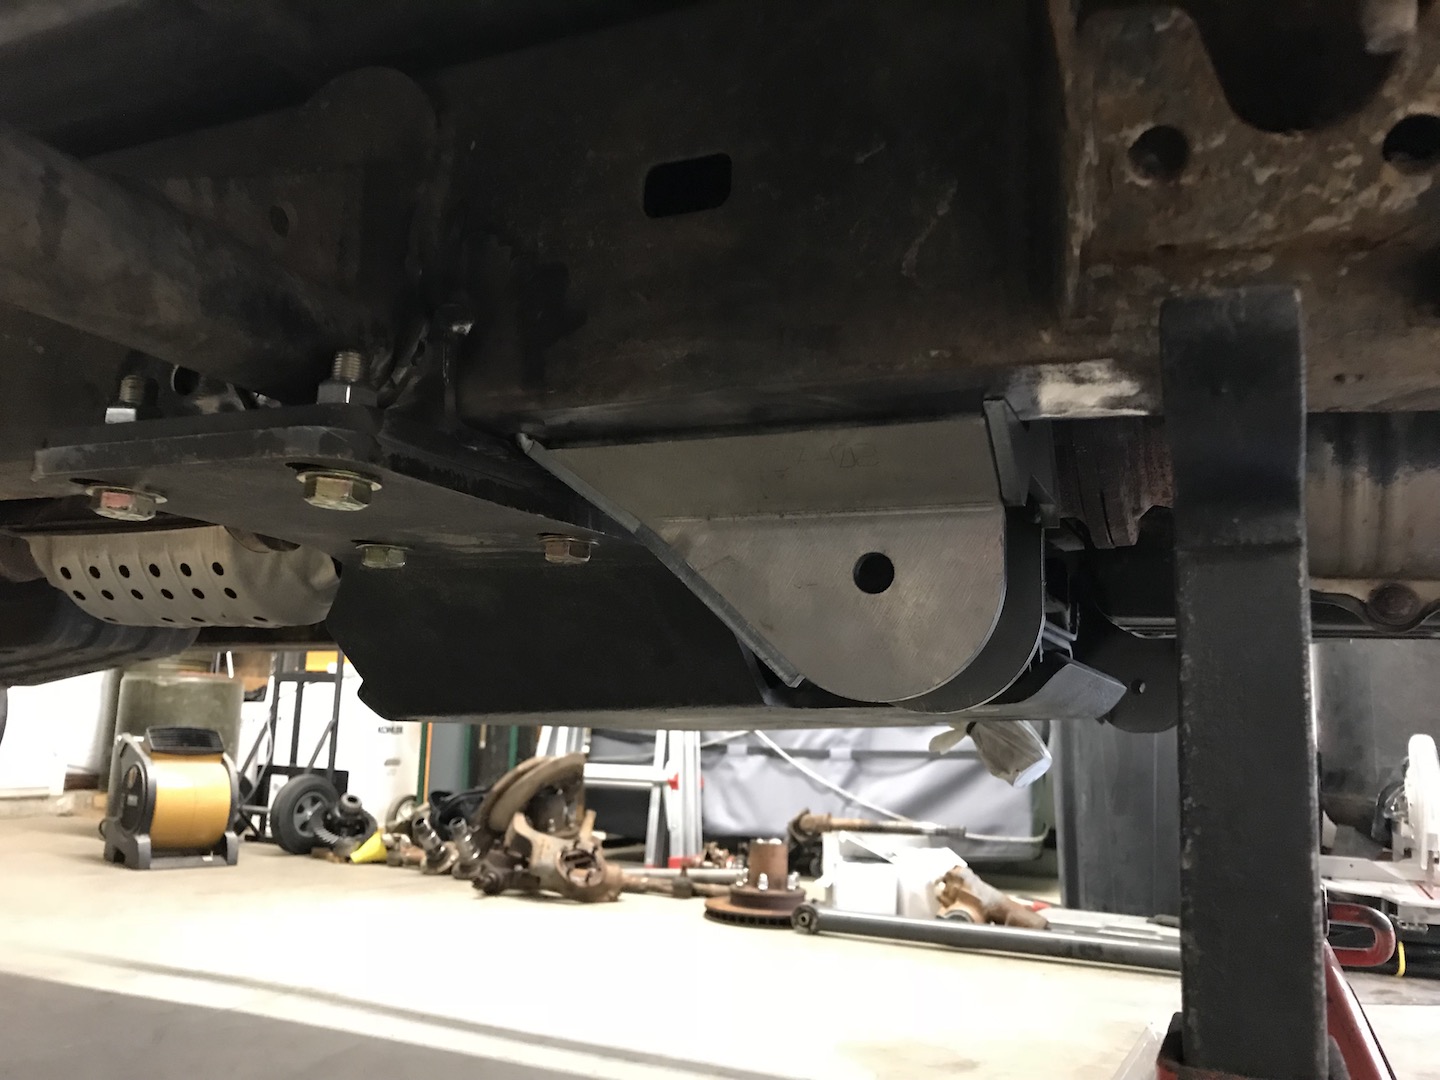
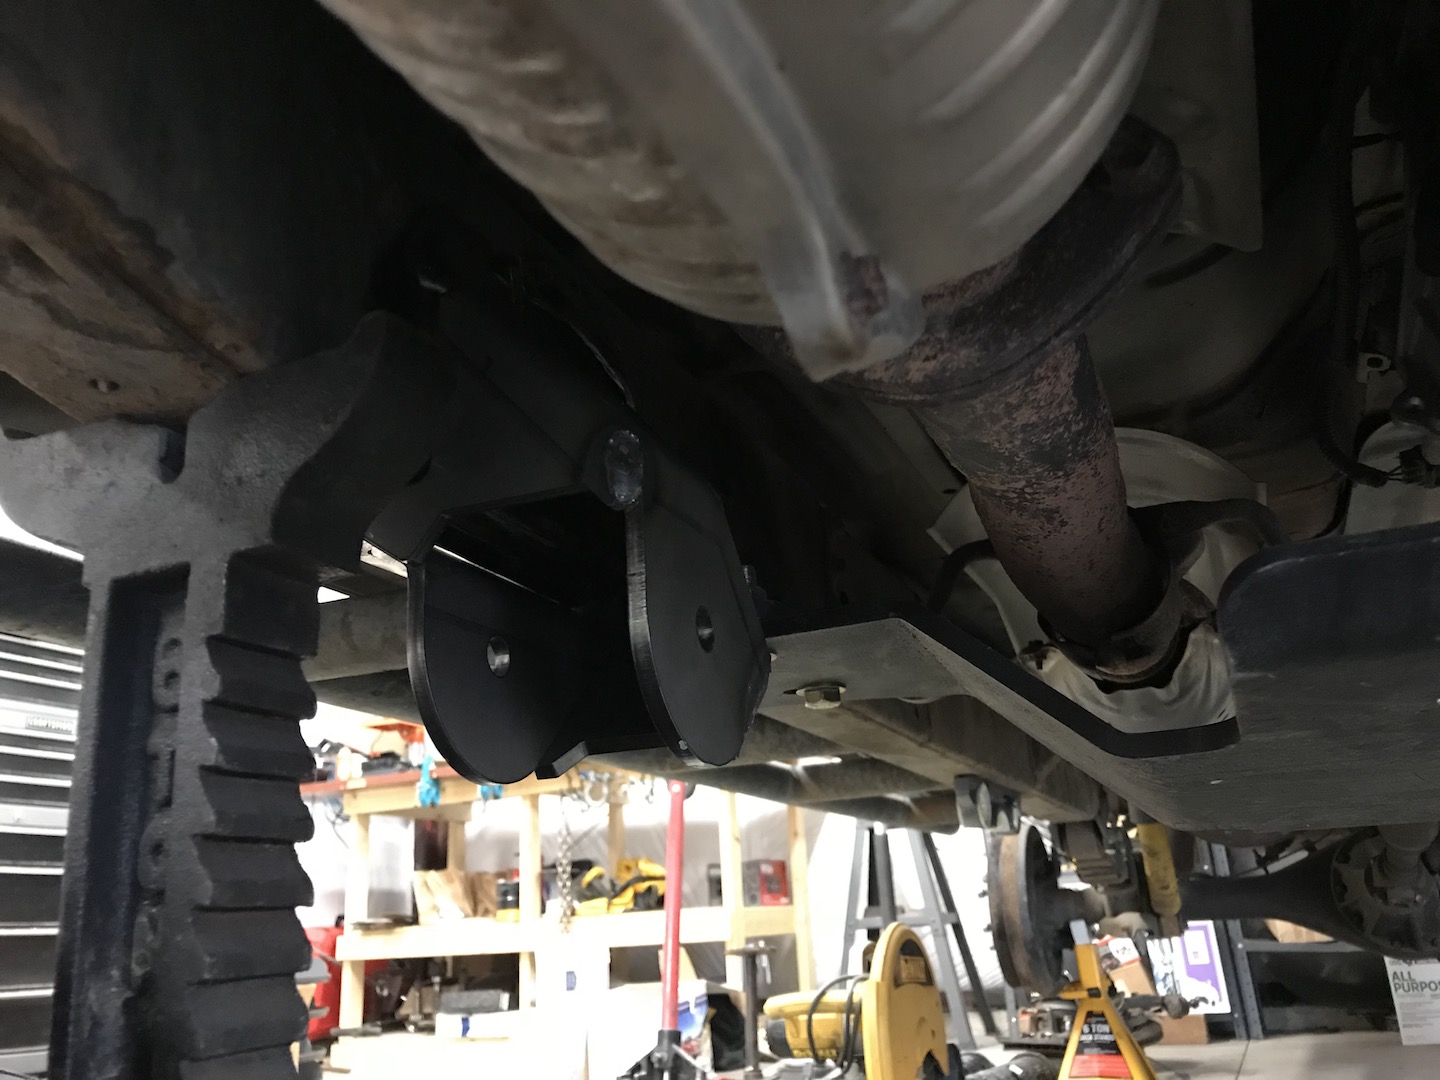
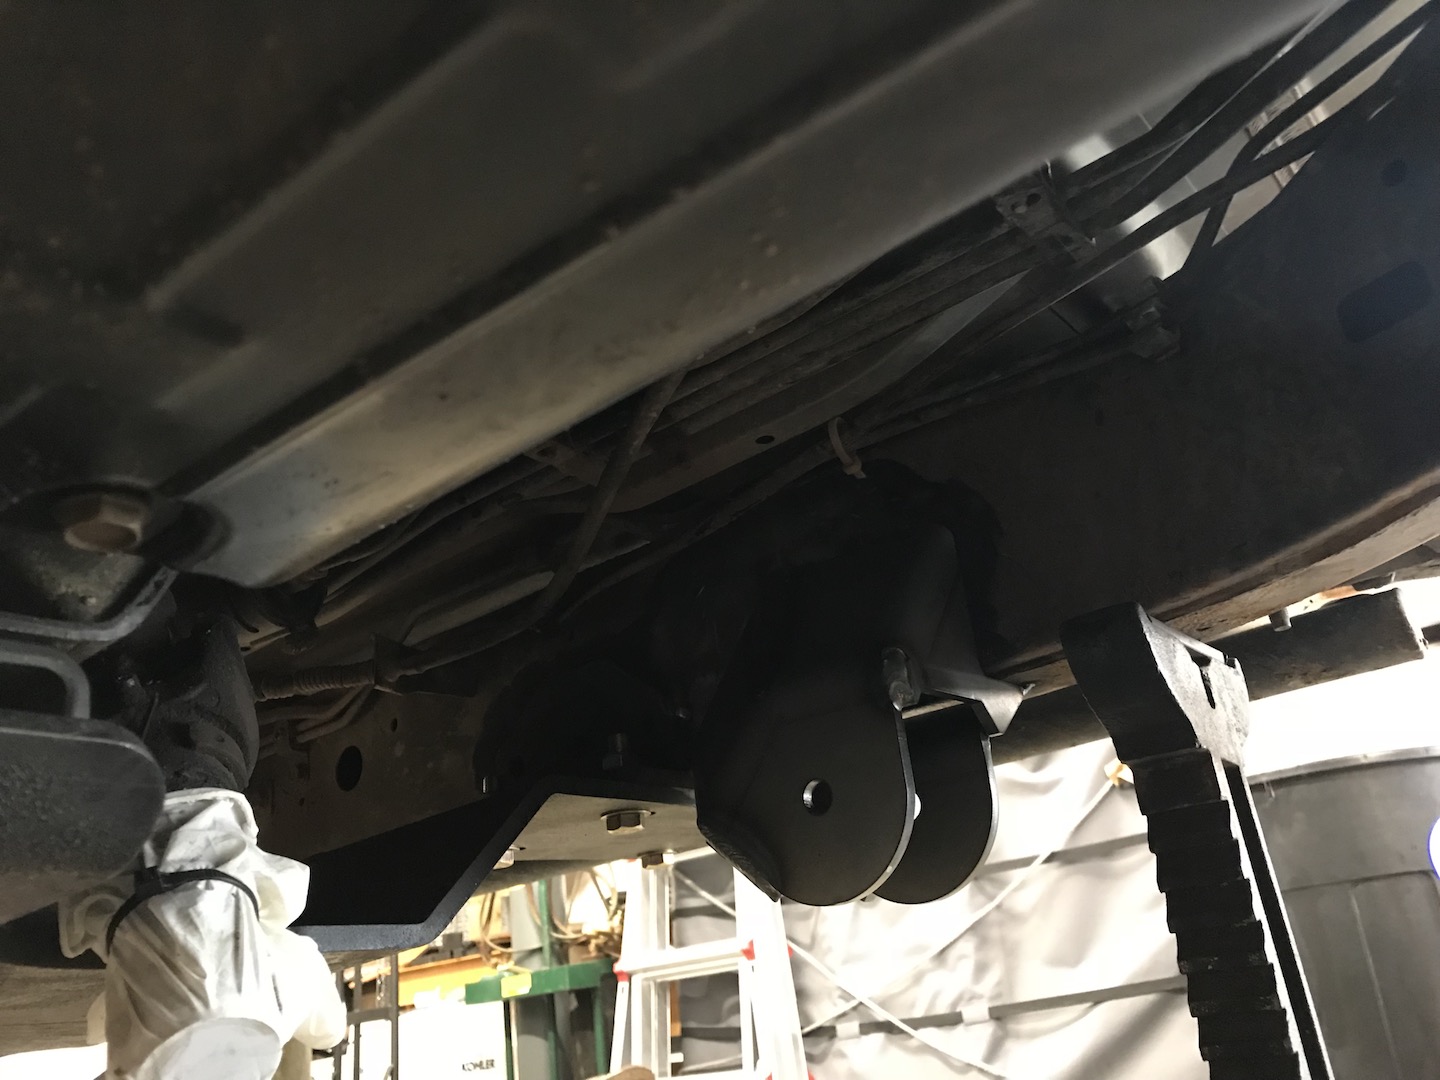
Tad more progress... got the belly pan in which will help back support the links mounts when they go in.
Had to carve out the outer side of the skid plate mounts to fit around the rockers that were already on there, not a problem!
Next up was the oil pan. This conversion was super simple. No problems at all. However, I ended up not getting a new dip stick in the kit (I thought it was included, but I misread) so I ended up just trimming and putting a little bend a the end of current dip stick which allows it to slide in a little further. I don't see any problems as long as I keep a reading on it, I should be good!
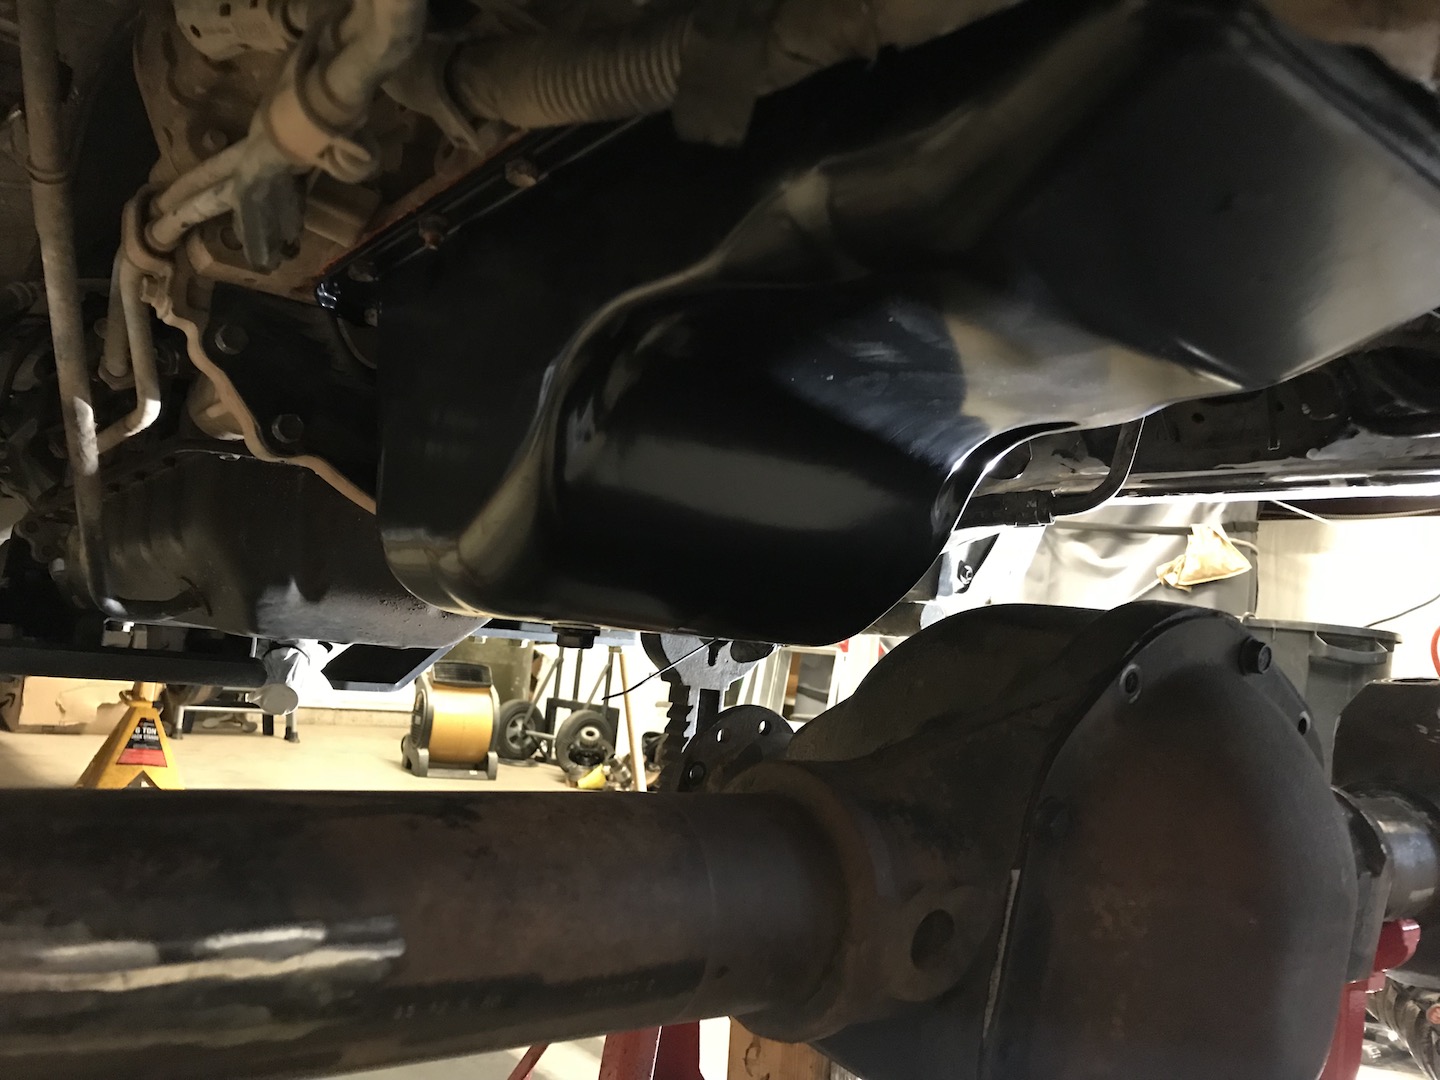
Much better clearances
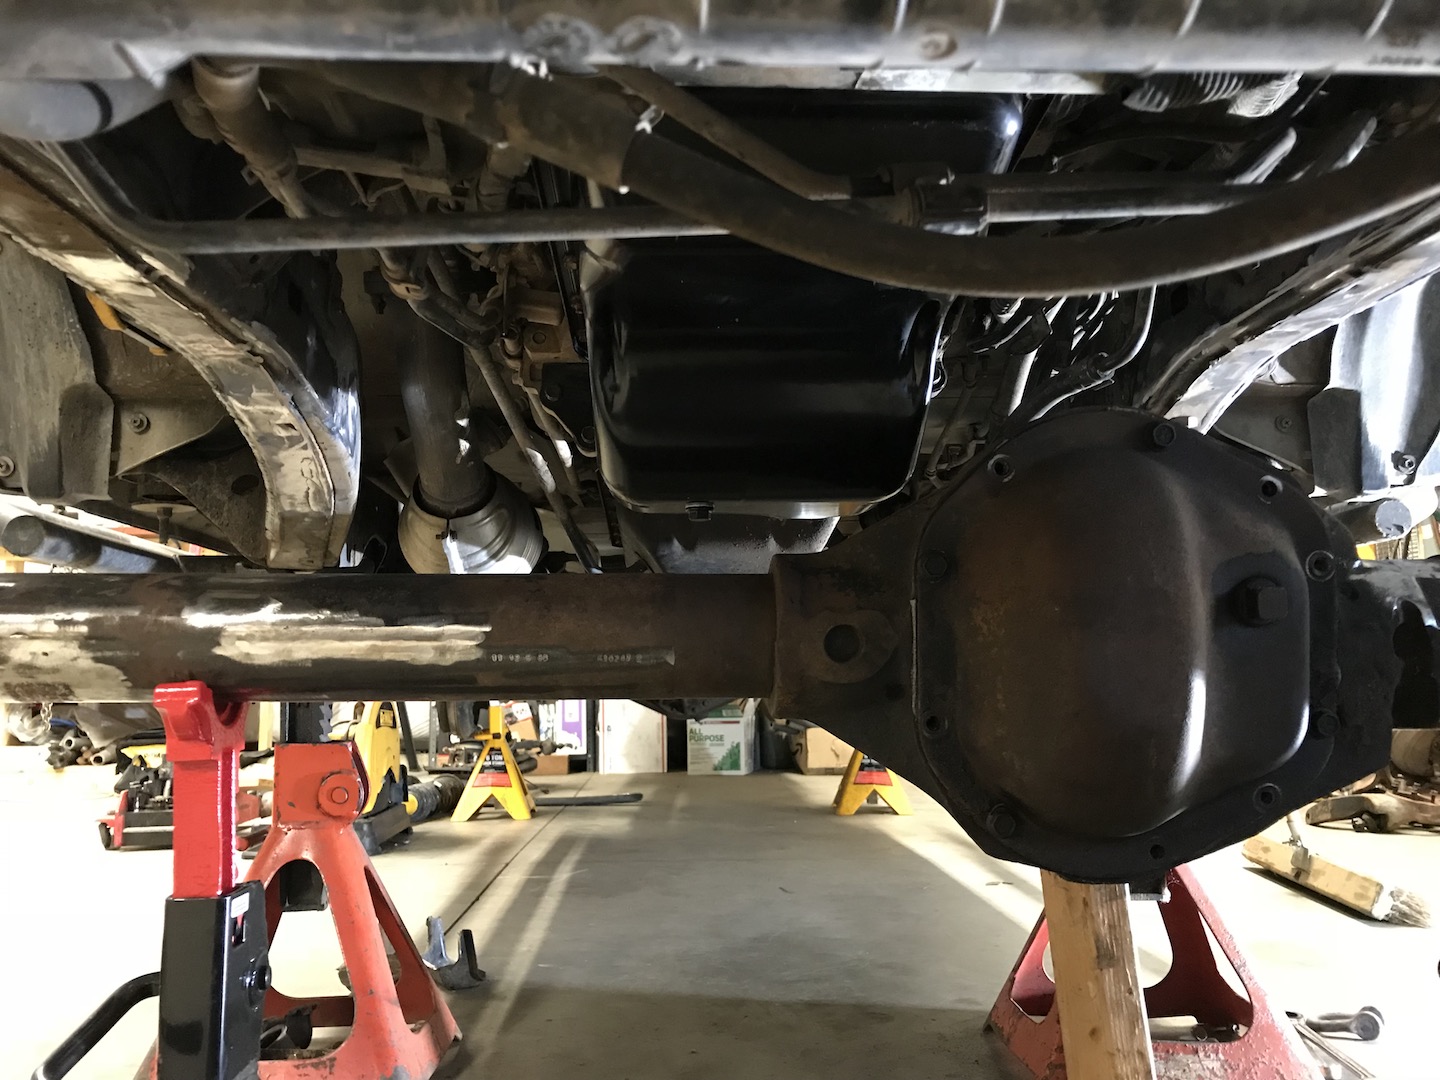
Now I get to finally start placing the axle
This is maximum up travel avail with the pan and configuation. I'm pretty sure I'll have less than this when said and done with the steering/trackbar interference, but at least I have some room to work with now
Had to carve out the outer side of the skid plate mounts to fit around the rockers that were already on there, not a problem!
Next up was the oil pan. This conversion was super simple. No problems at all. However, I ended up not getting a new dip stick in the kit (I thought it was included, but I misread) so I ended up just trimming and putting a little bend a the end of current dip stick which allows it to slide in a little further. I don't see any problems as long as I keep a reading on it, I should be good!
Much better clearances
Now I get to finally start placing the axle
This is maximum up travel avail with the pan and configuation. I'm pretty sure I'll have less than this when said and done with the steering/trackbar interference, but at least I have some room to work with now
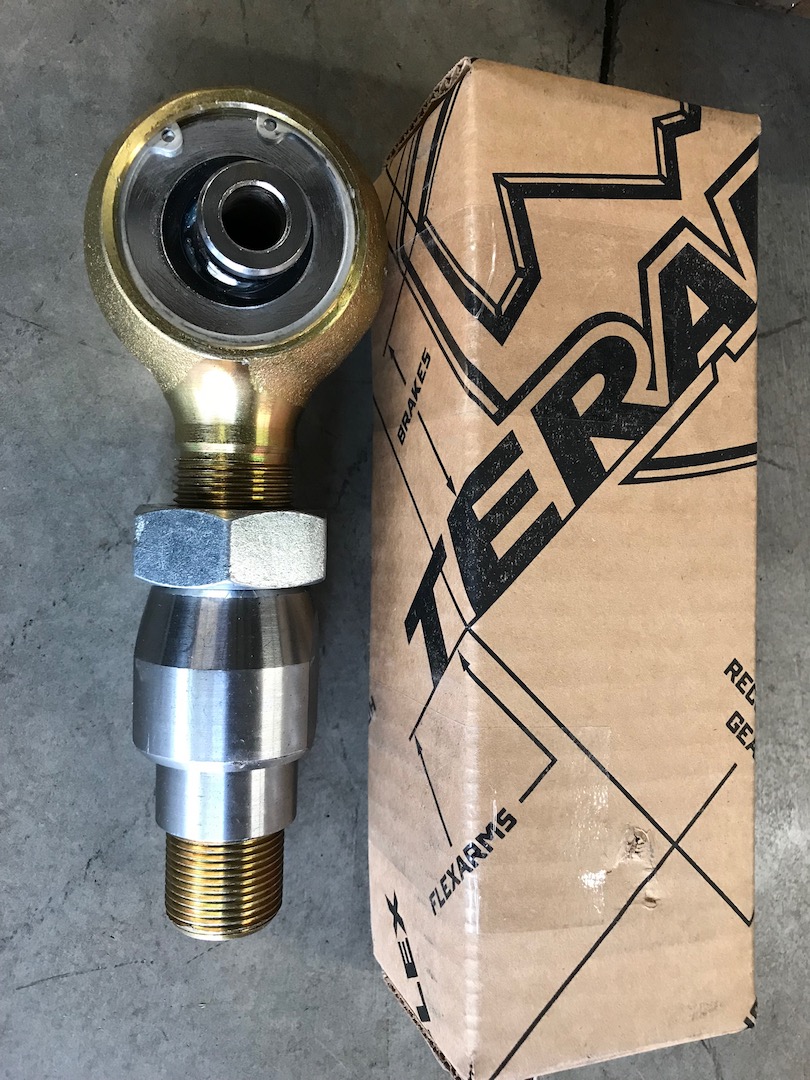
These beauts showed up earlier this week. Decided to give the teraflex joints a whirl this time around. They are quite beefy, I think they will do just fine
Initially I was going to fab up all my link mounts, but I felt like I was already behind (I need to get this done before it snows) and so I caught myself browsing RuffStuff's site and then these inboard link mounts accidently showed up a few days later.
I also have another upper mount that will need a little trimming to fit above the the driverside lower mount. Not a big deal though, just trimming it to get the geometry where I want it.
So yea, I decided upon a 3-link at this point. Seems the most logical for me on this build. Next up is axle mounts then building some control arms.
A little each day is the goal...
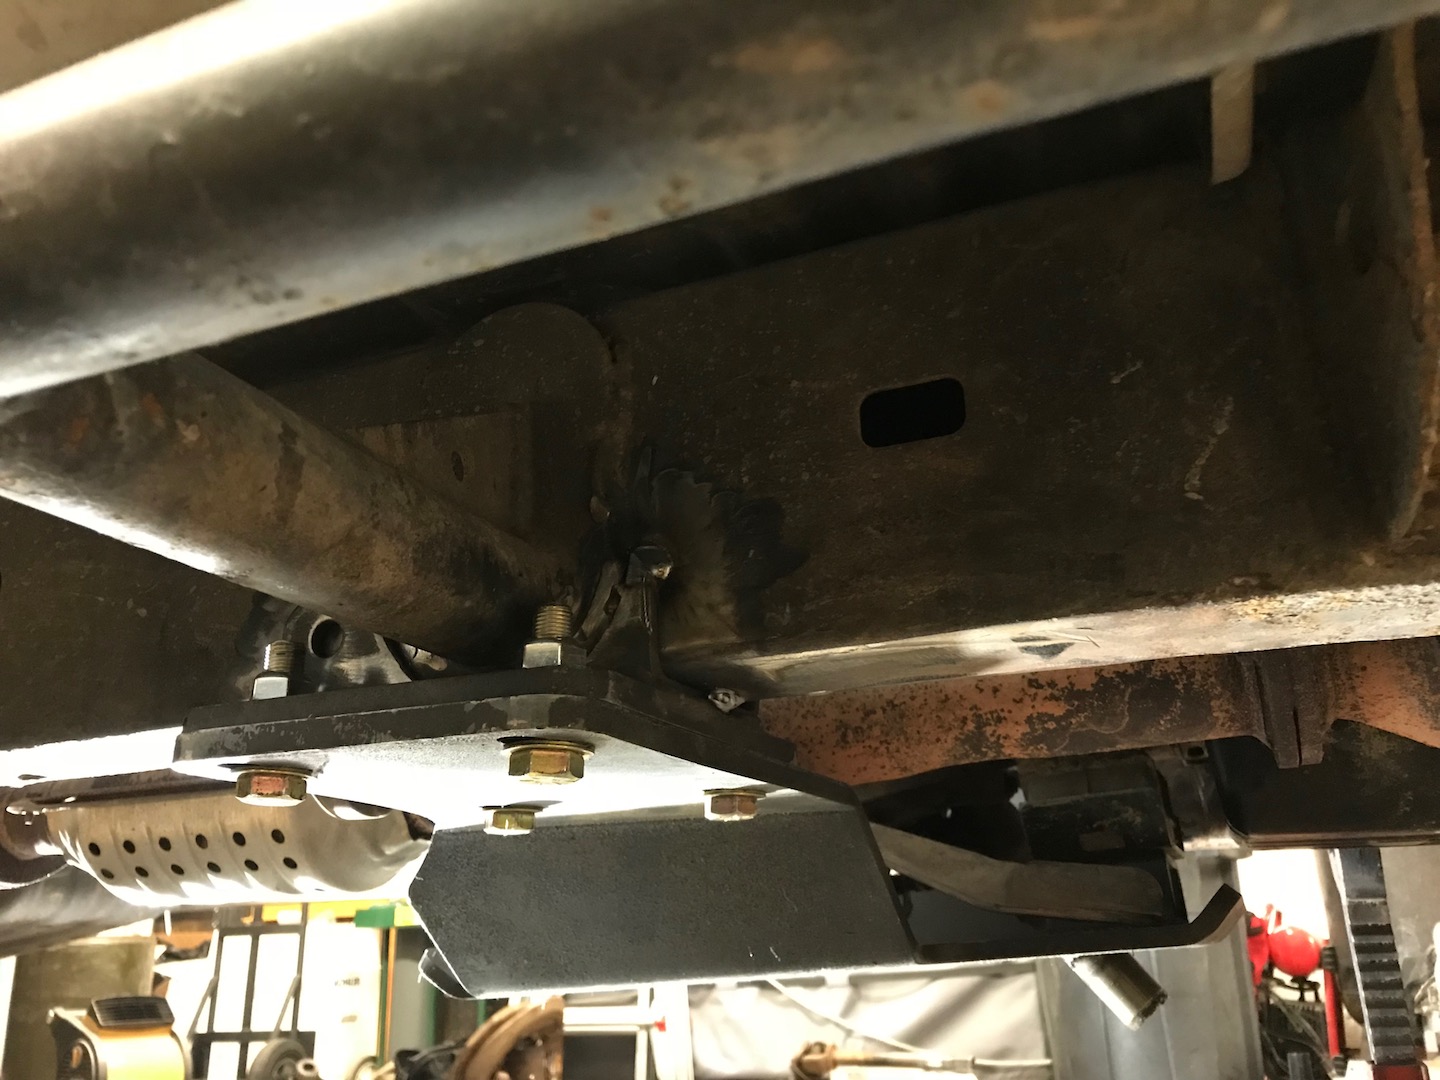
First off, had to make an extra tool today in order to help safely move my jackstands just enough to clear my control arms. This thing is gonna come in handy a lot. The narrowed down section at the top in this photo fits perfectly into the slot on the floor jack. Sure wish I had a metal lathe...
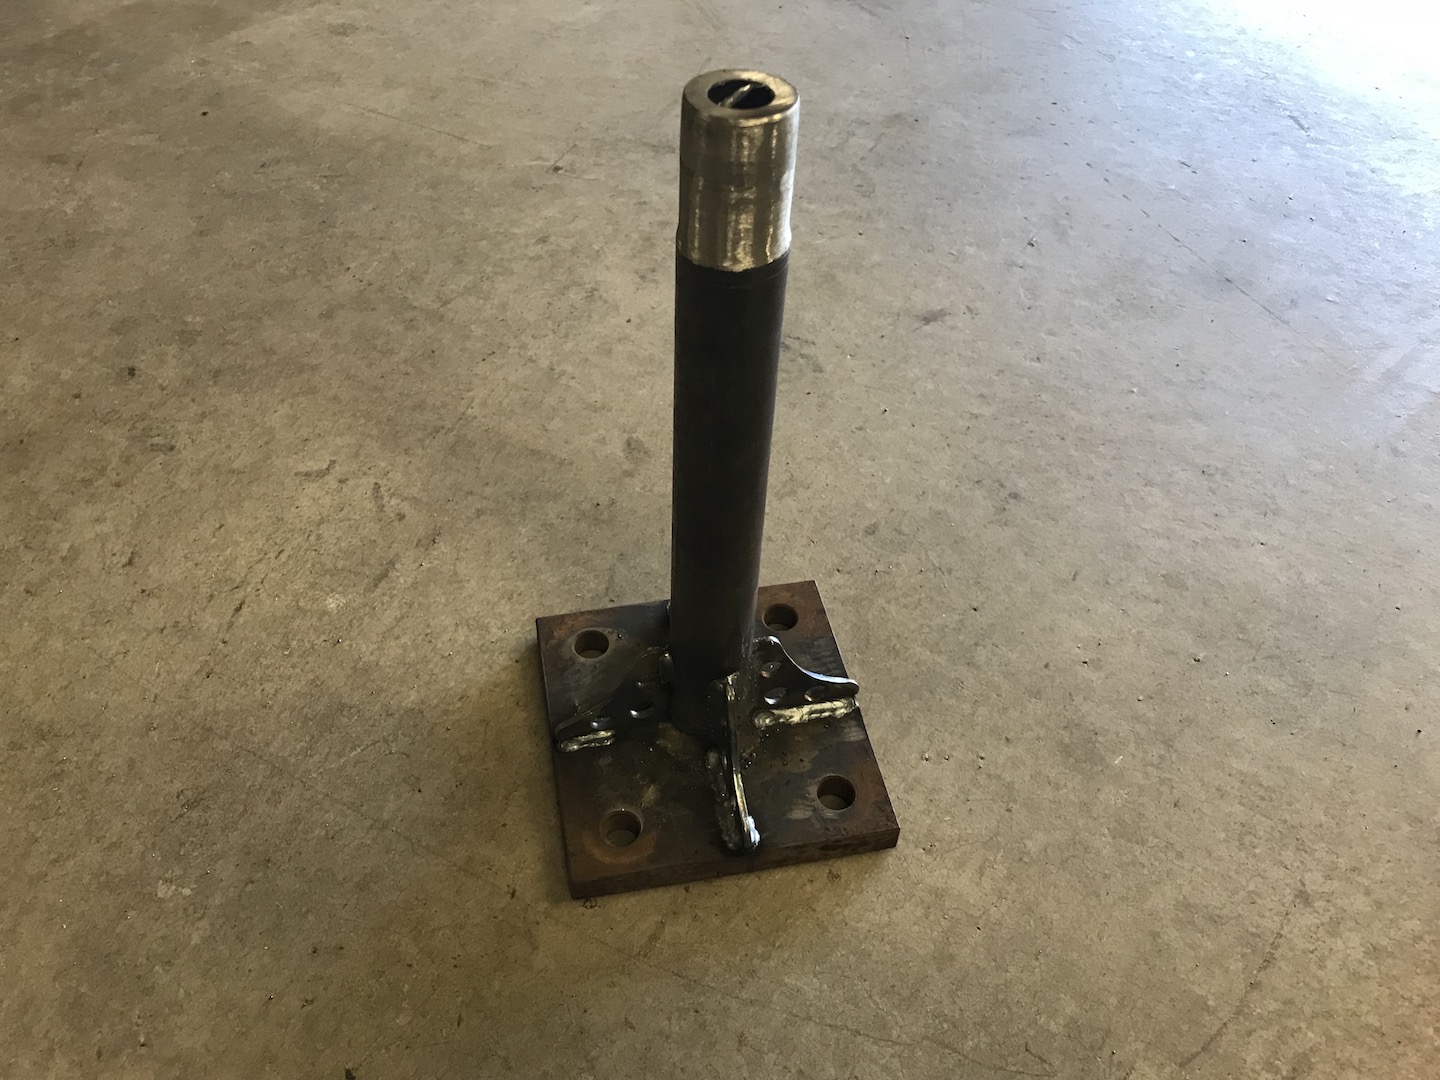
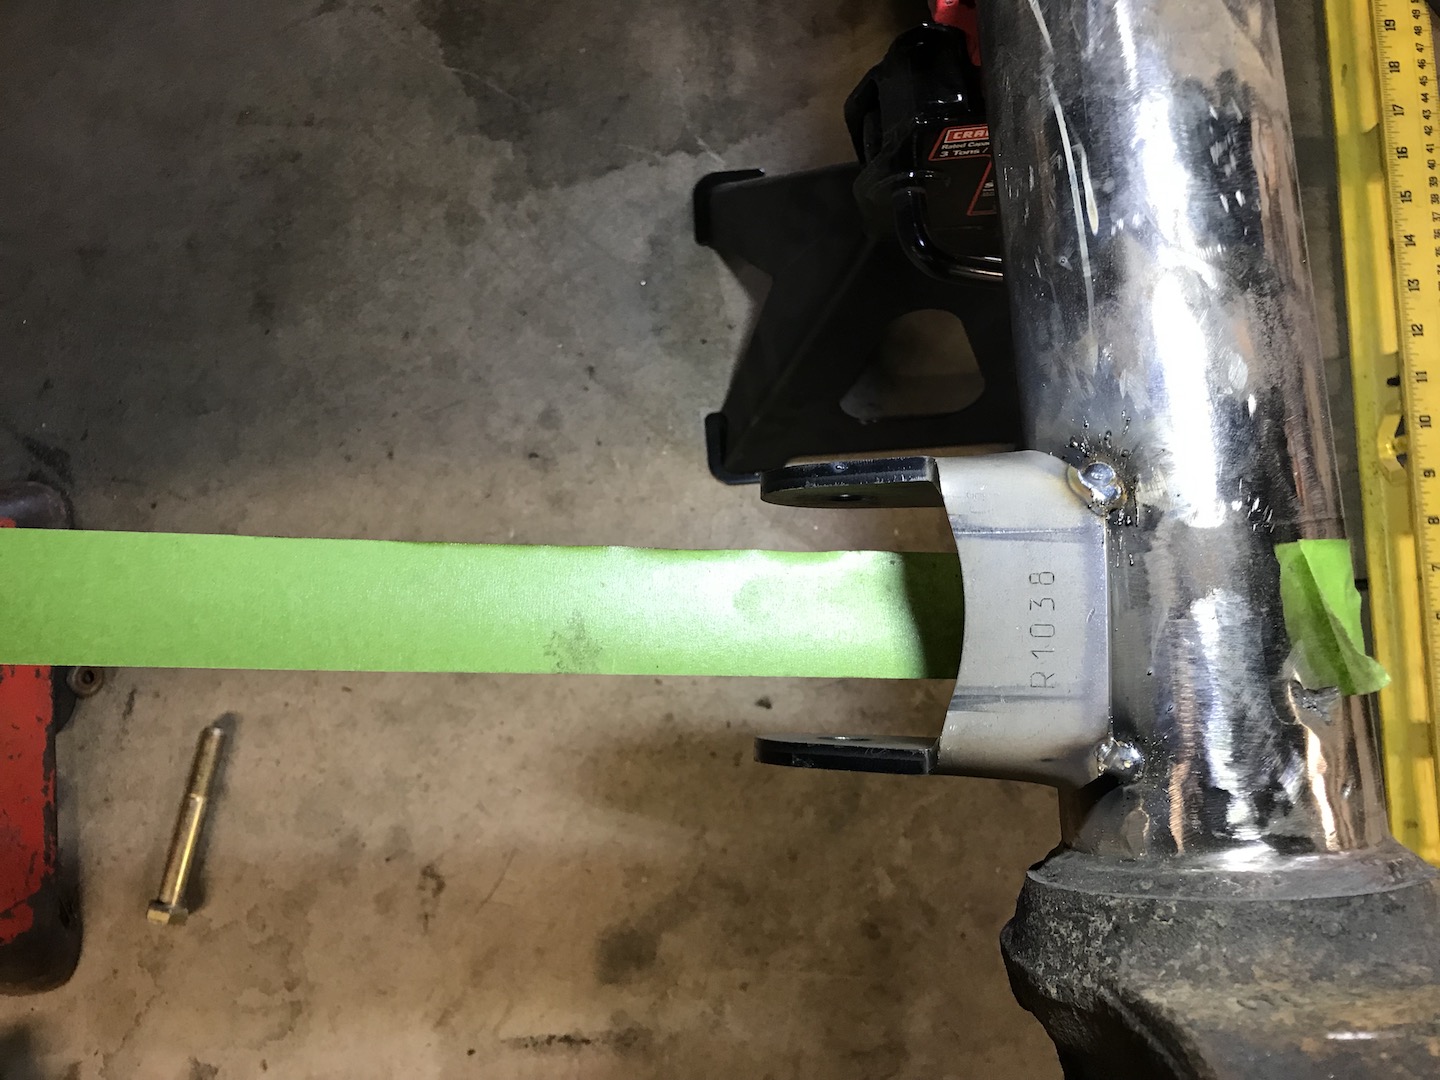
Used the tape method to get the angle of the front control arm mounts on the axle set proper. Turned out to be ~5 deg.

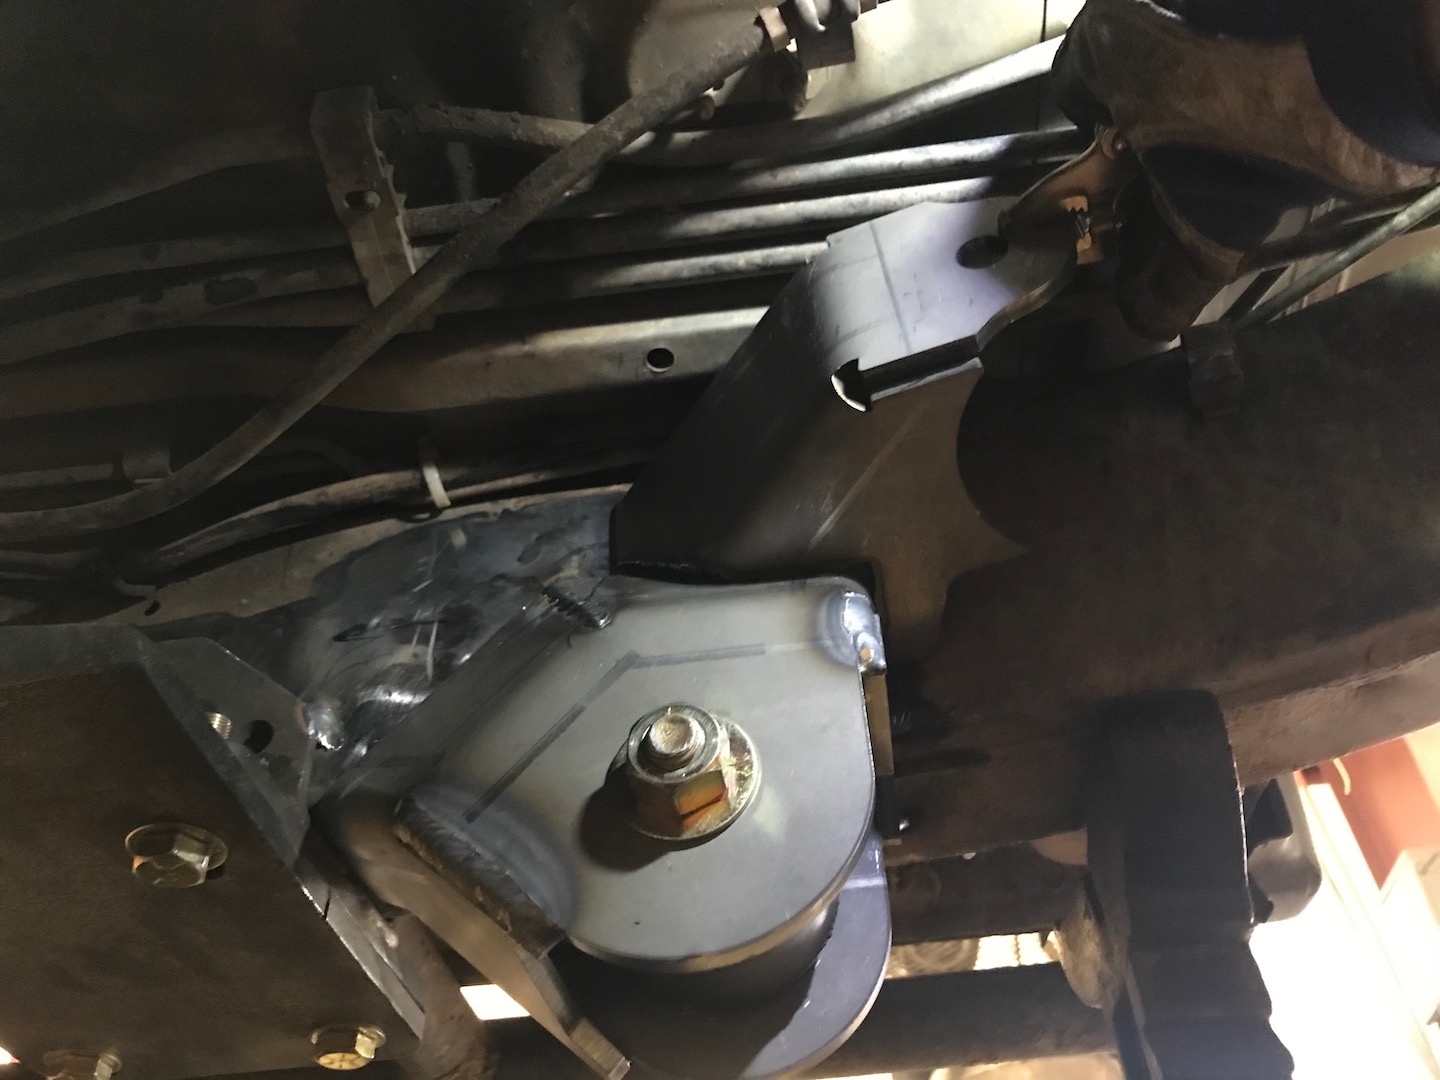
Then I modified my upper arm mount enough to fit partially over the lower frame-side mount.
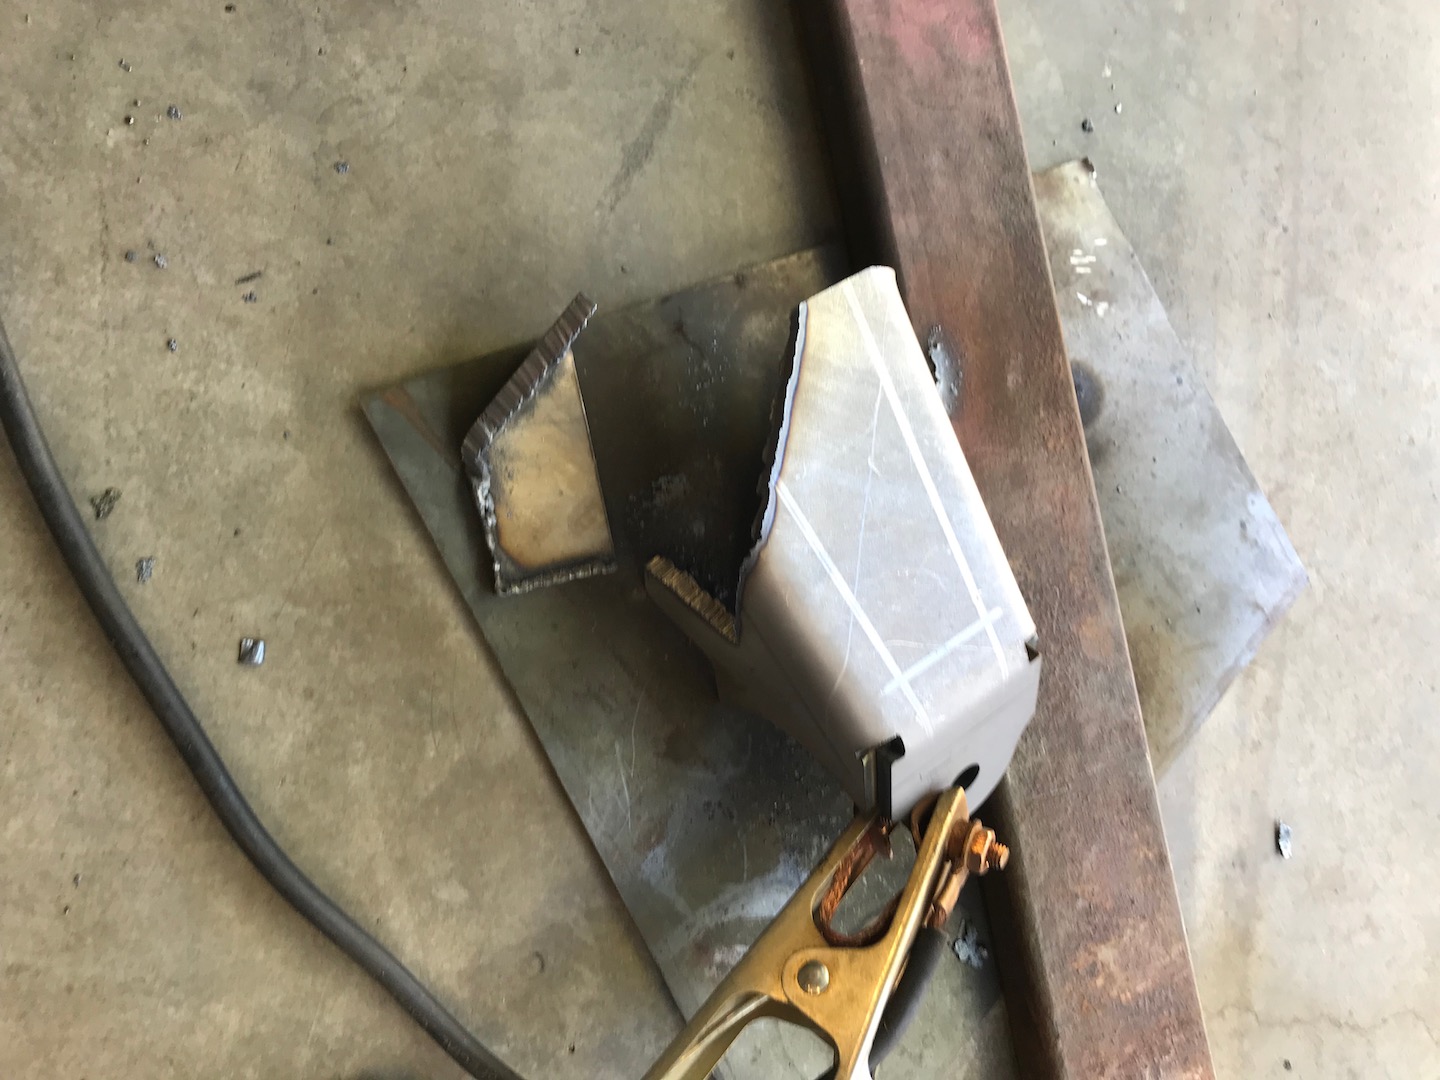
First off, had to make an extra tool today in order to help safely move my jackstands just enough to clear my control arms. This thing is gonna come in handy a lot. The narrowed down section at the top in this photo fits perfectly into the slot on the floor jack. Sure wish I had a metal lathe...
Used the tape method to get the angle of the front control arm mounts on the axle set proper. Turned out to be ~5 deg.
Then I modified my upper arm mount enough to fit partially over the lower frame-side mount.
Nice progress and looking good Shane.
Thank you! I'm getting excited now... I love it when it starts lining up and all the horrible grinding is pretty much done.