Toyota Project: TacoCart

Herzog

somewhat damaged
Admin
Location
Wyoming
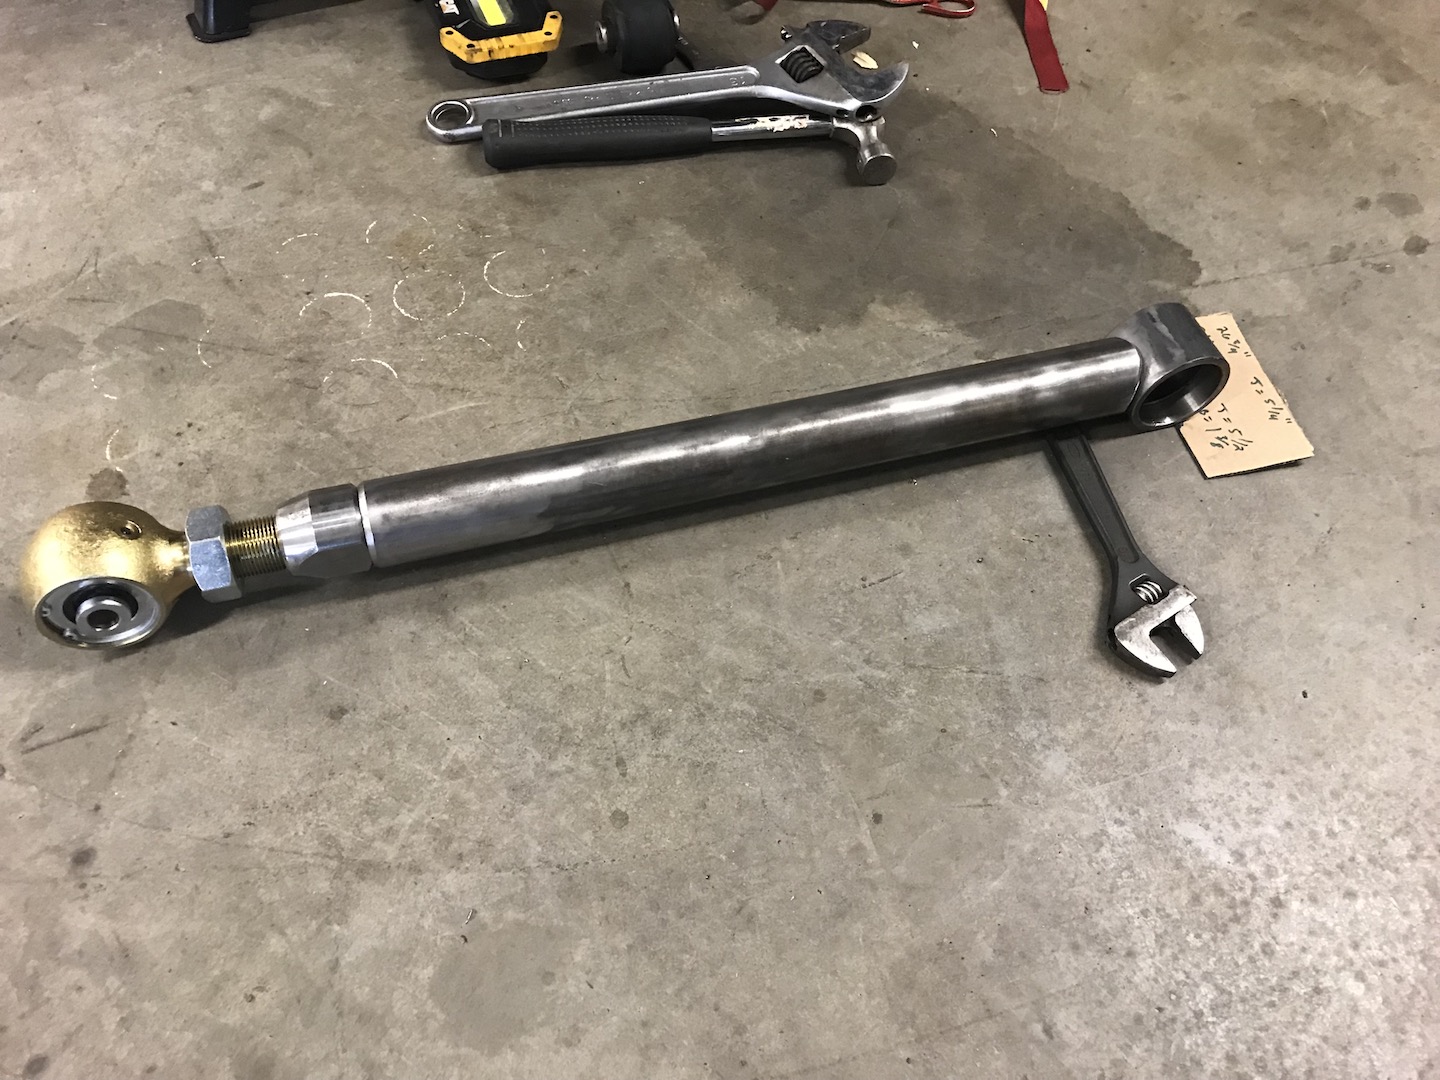
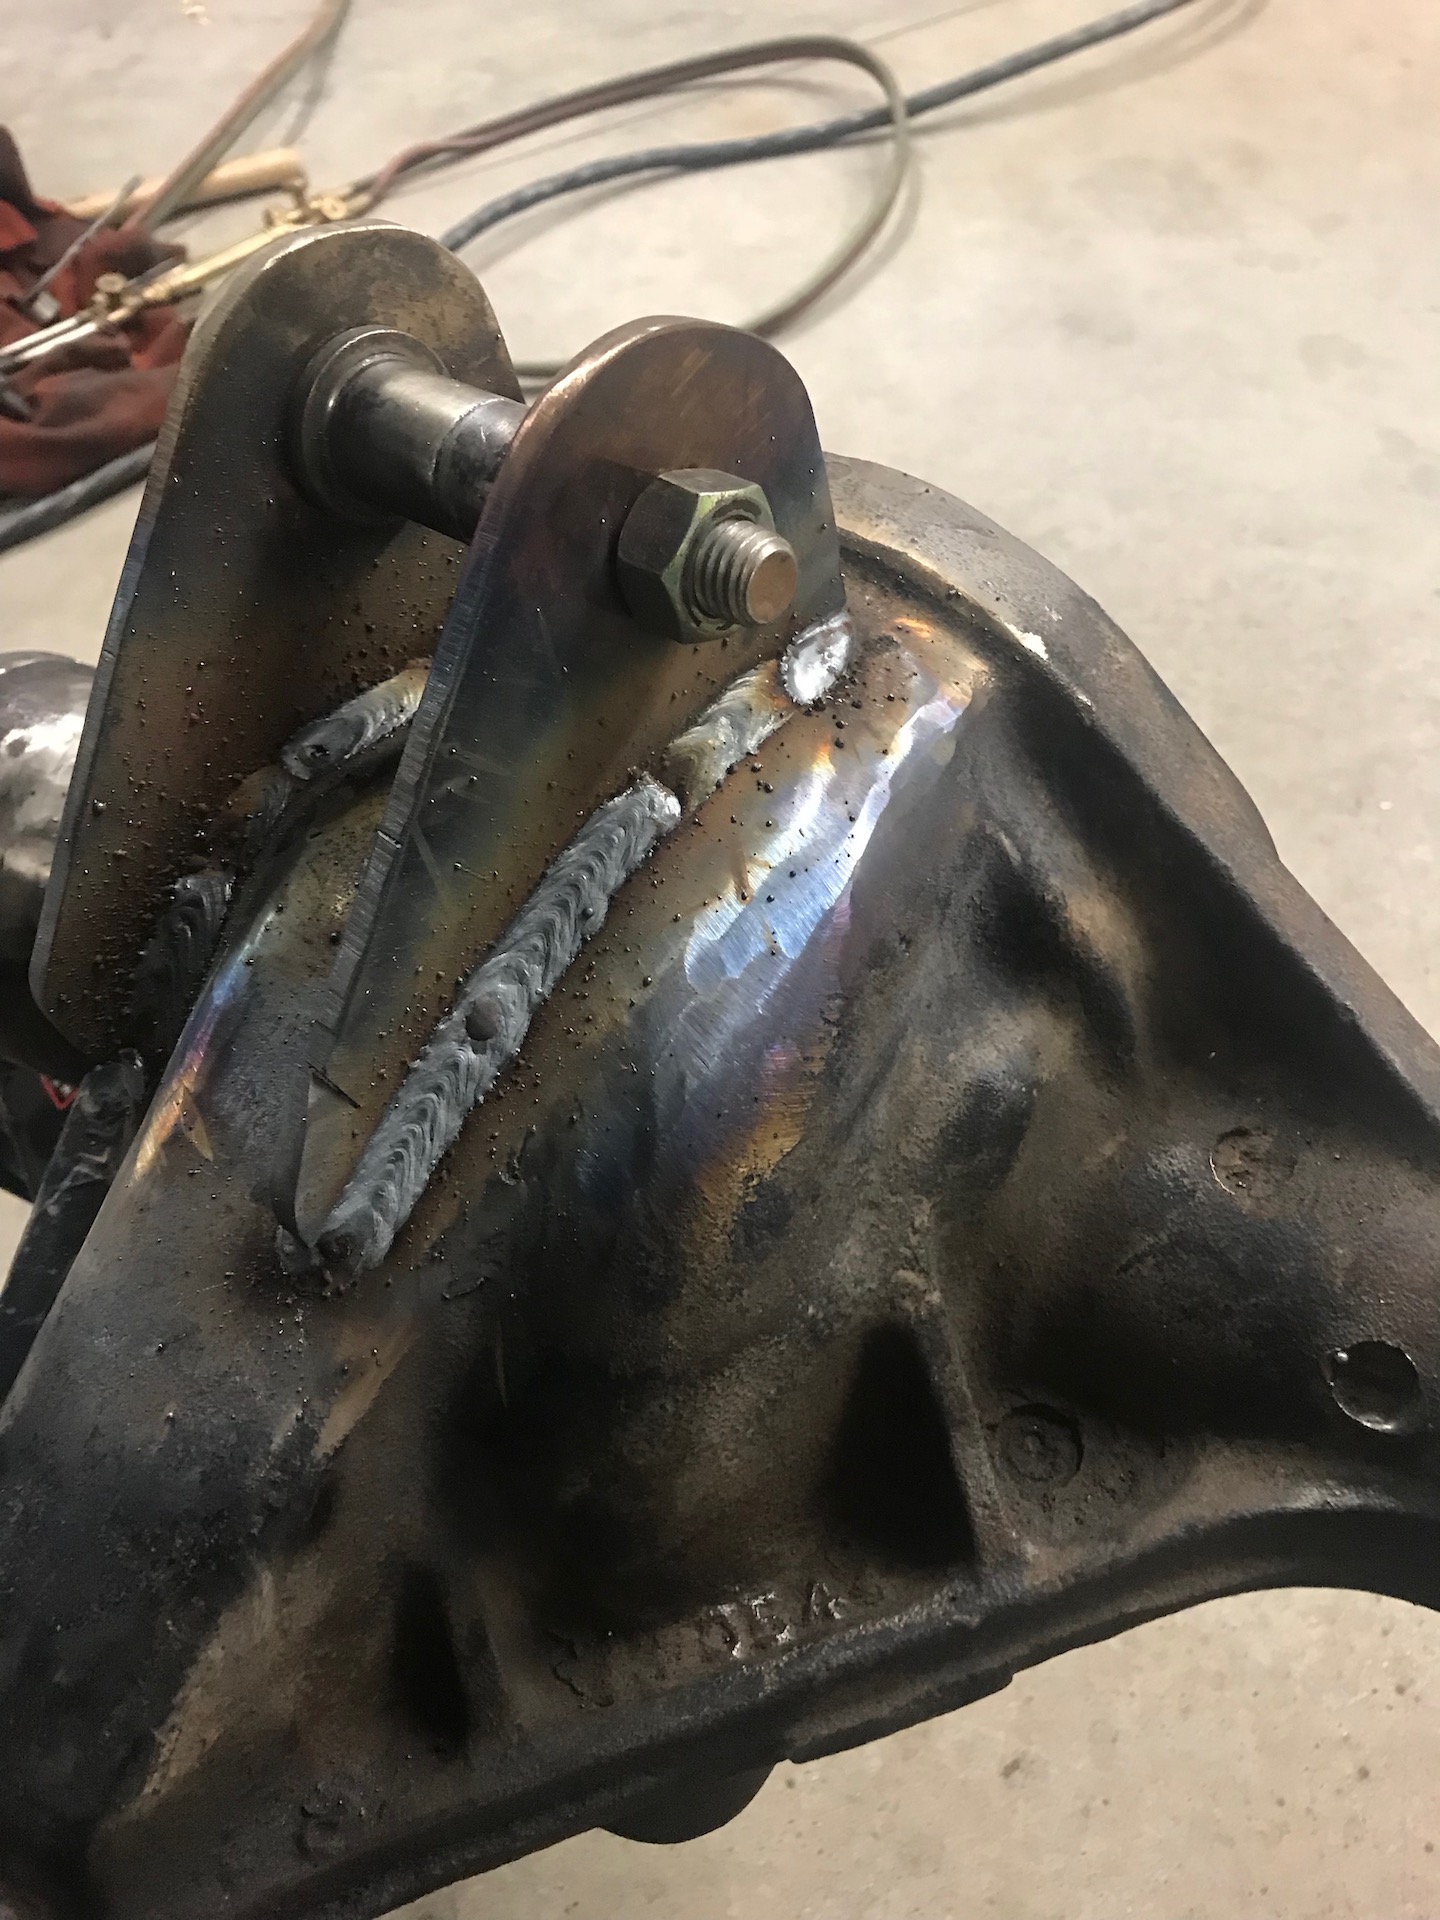
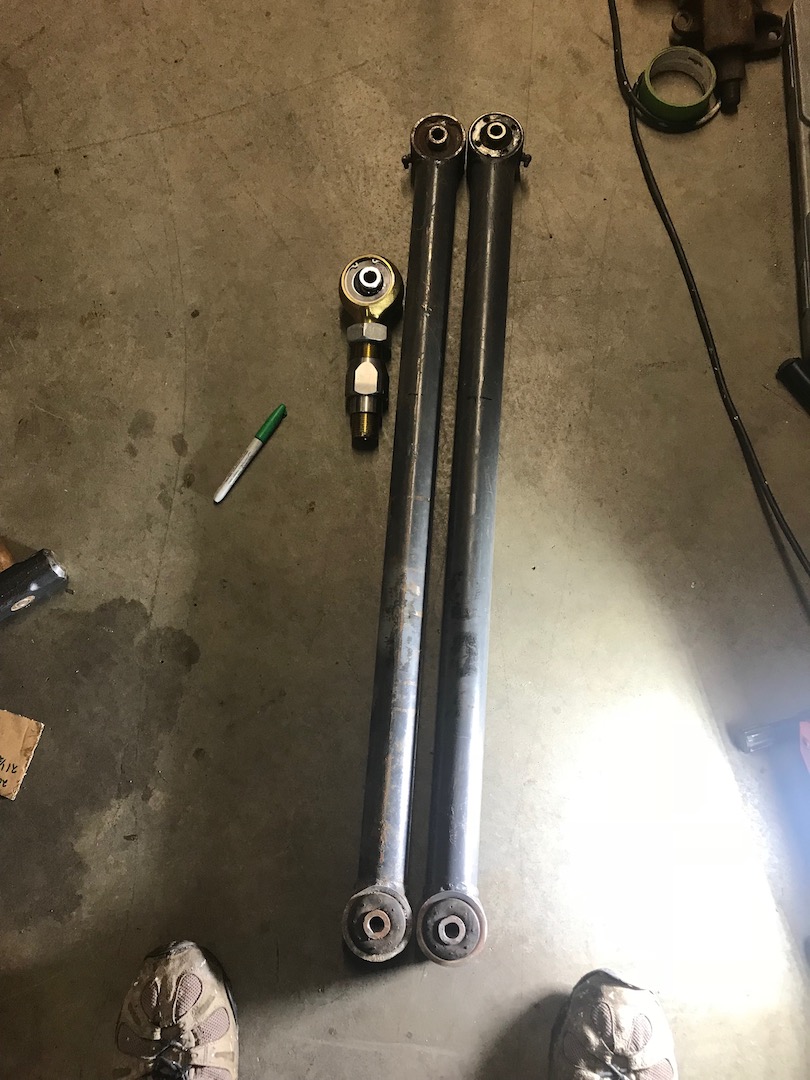
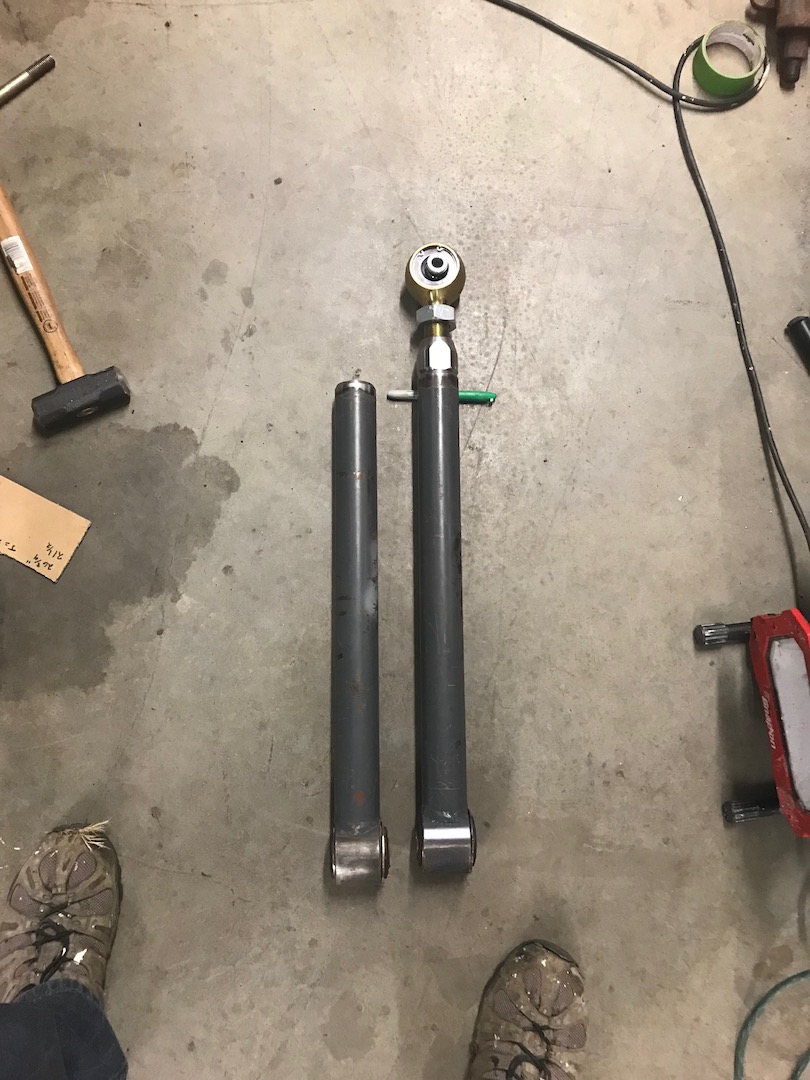
Lower control arms! These are initially from the buggy crawler, but ended up having I Lean make me some fabricated arms back then to help clear the tires during full steer. So, glad I kept them around because I was able to make them into taco-arms.
IMG_1745.jpg

IMG_1746.jpg


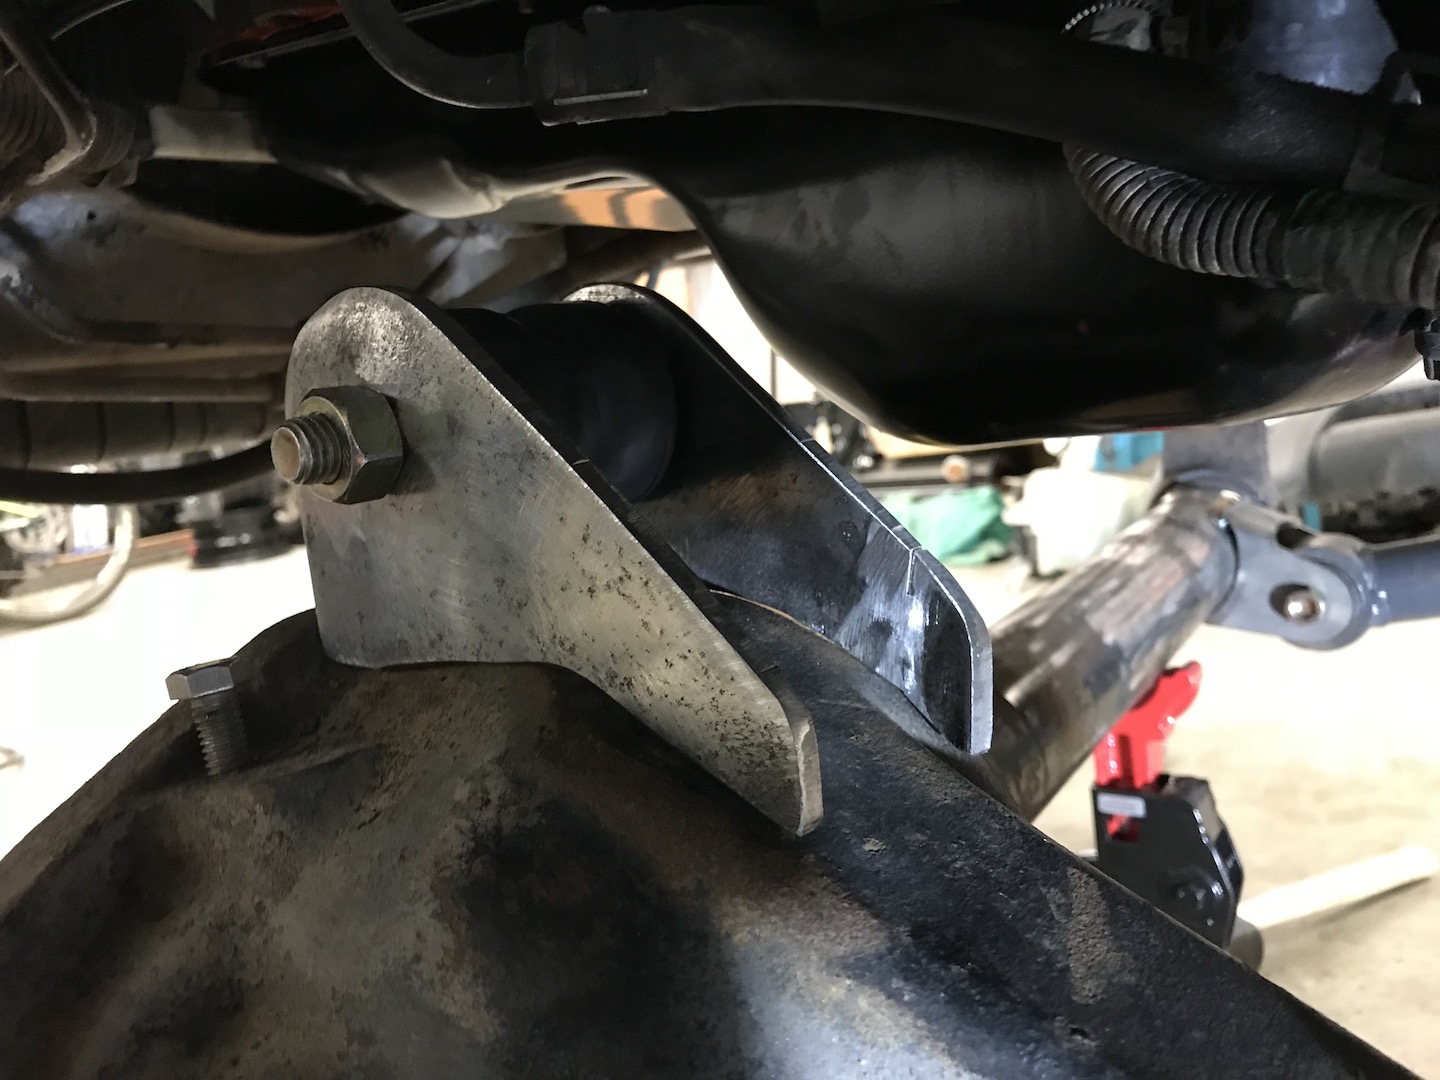
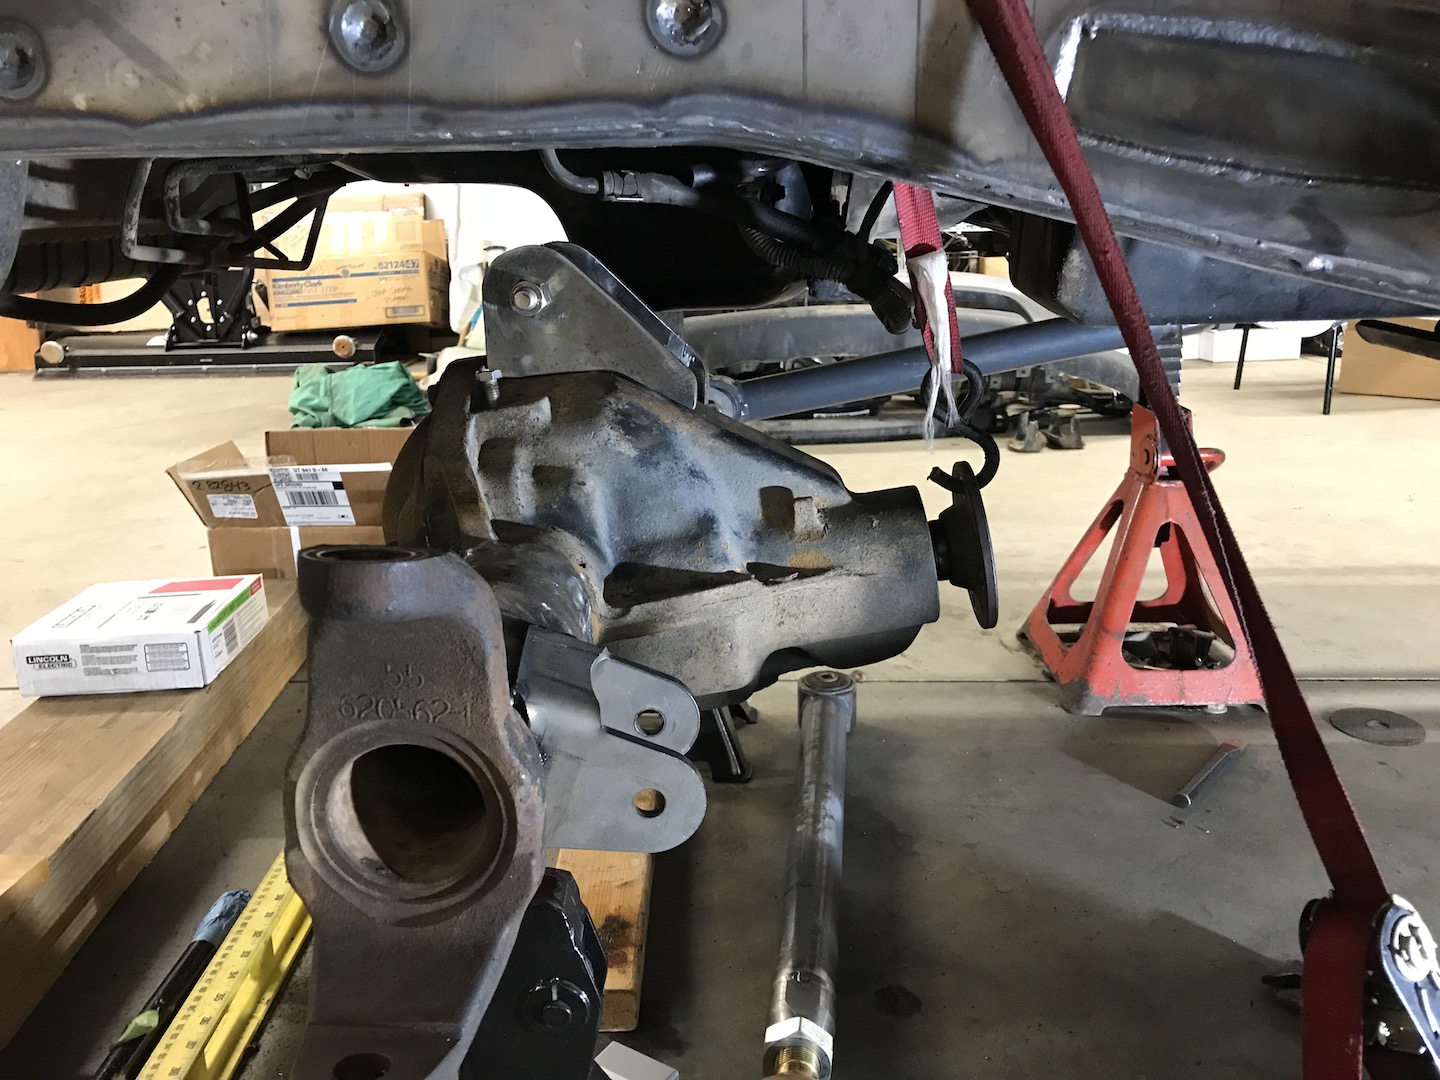
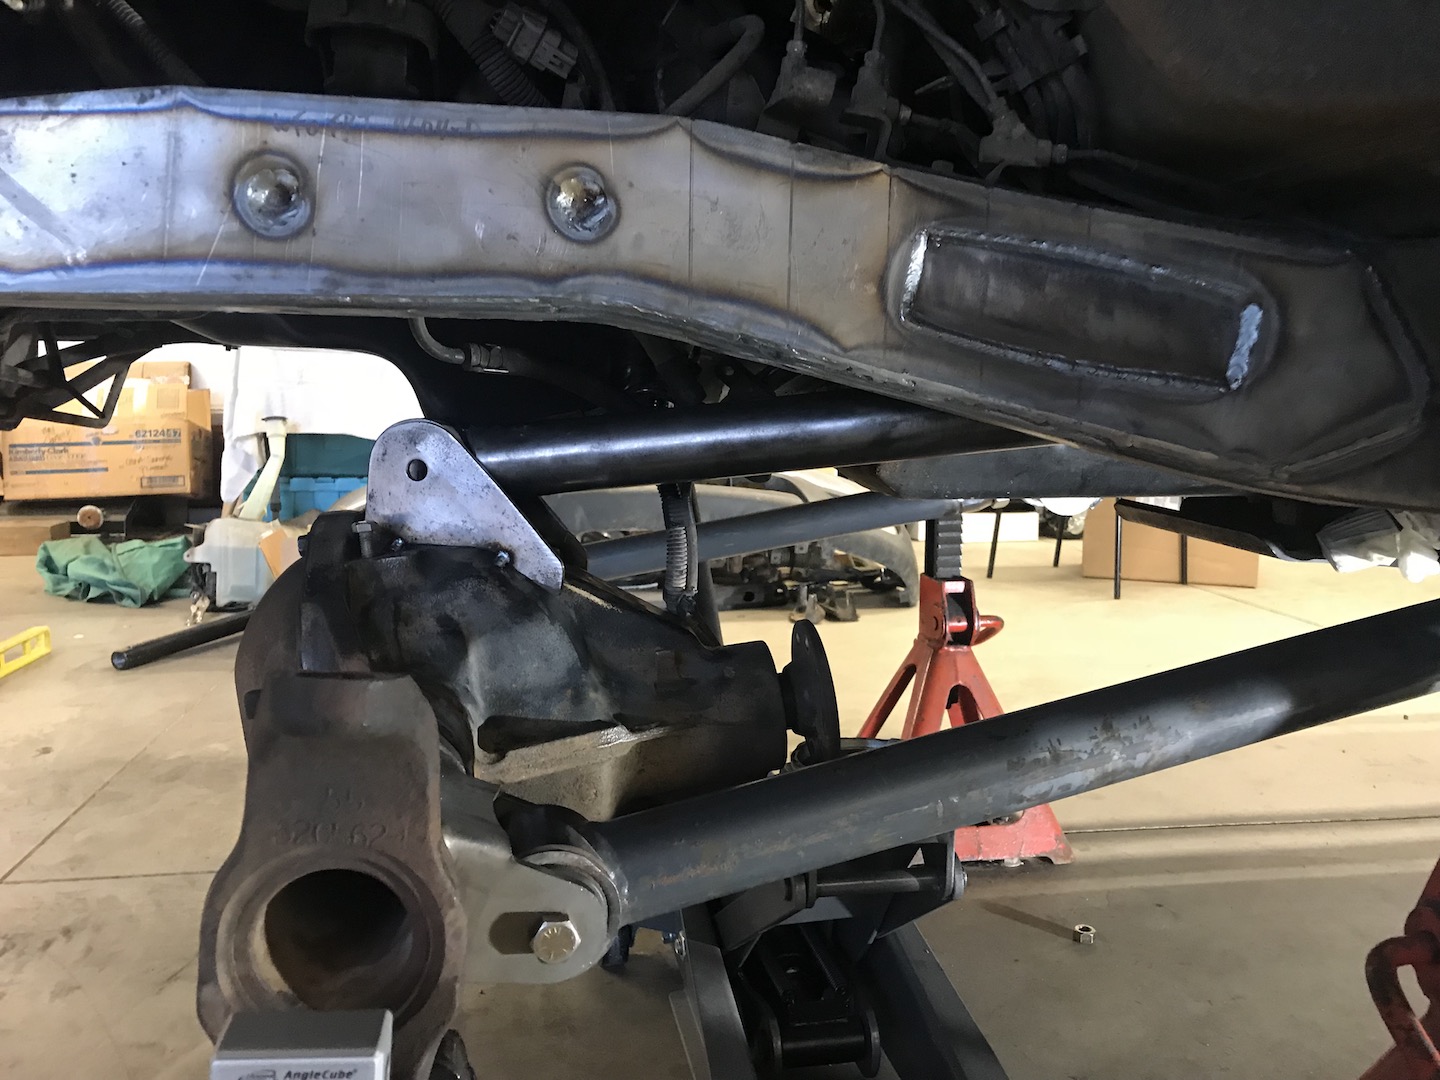
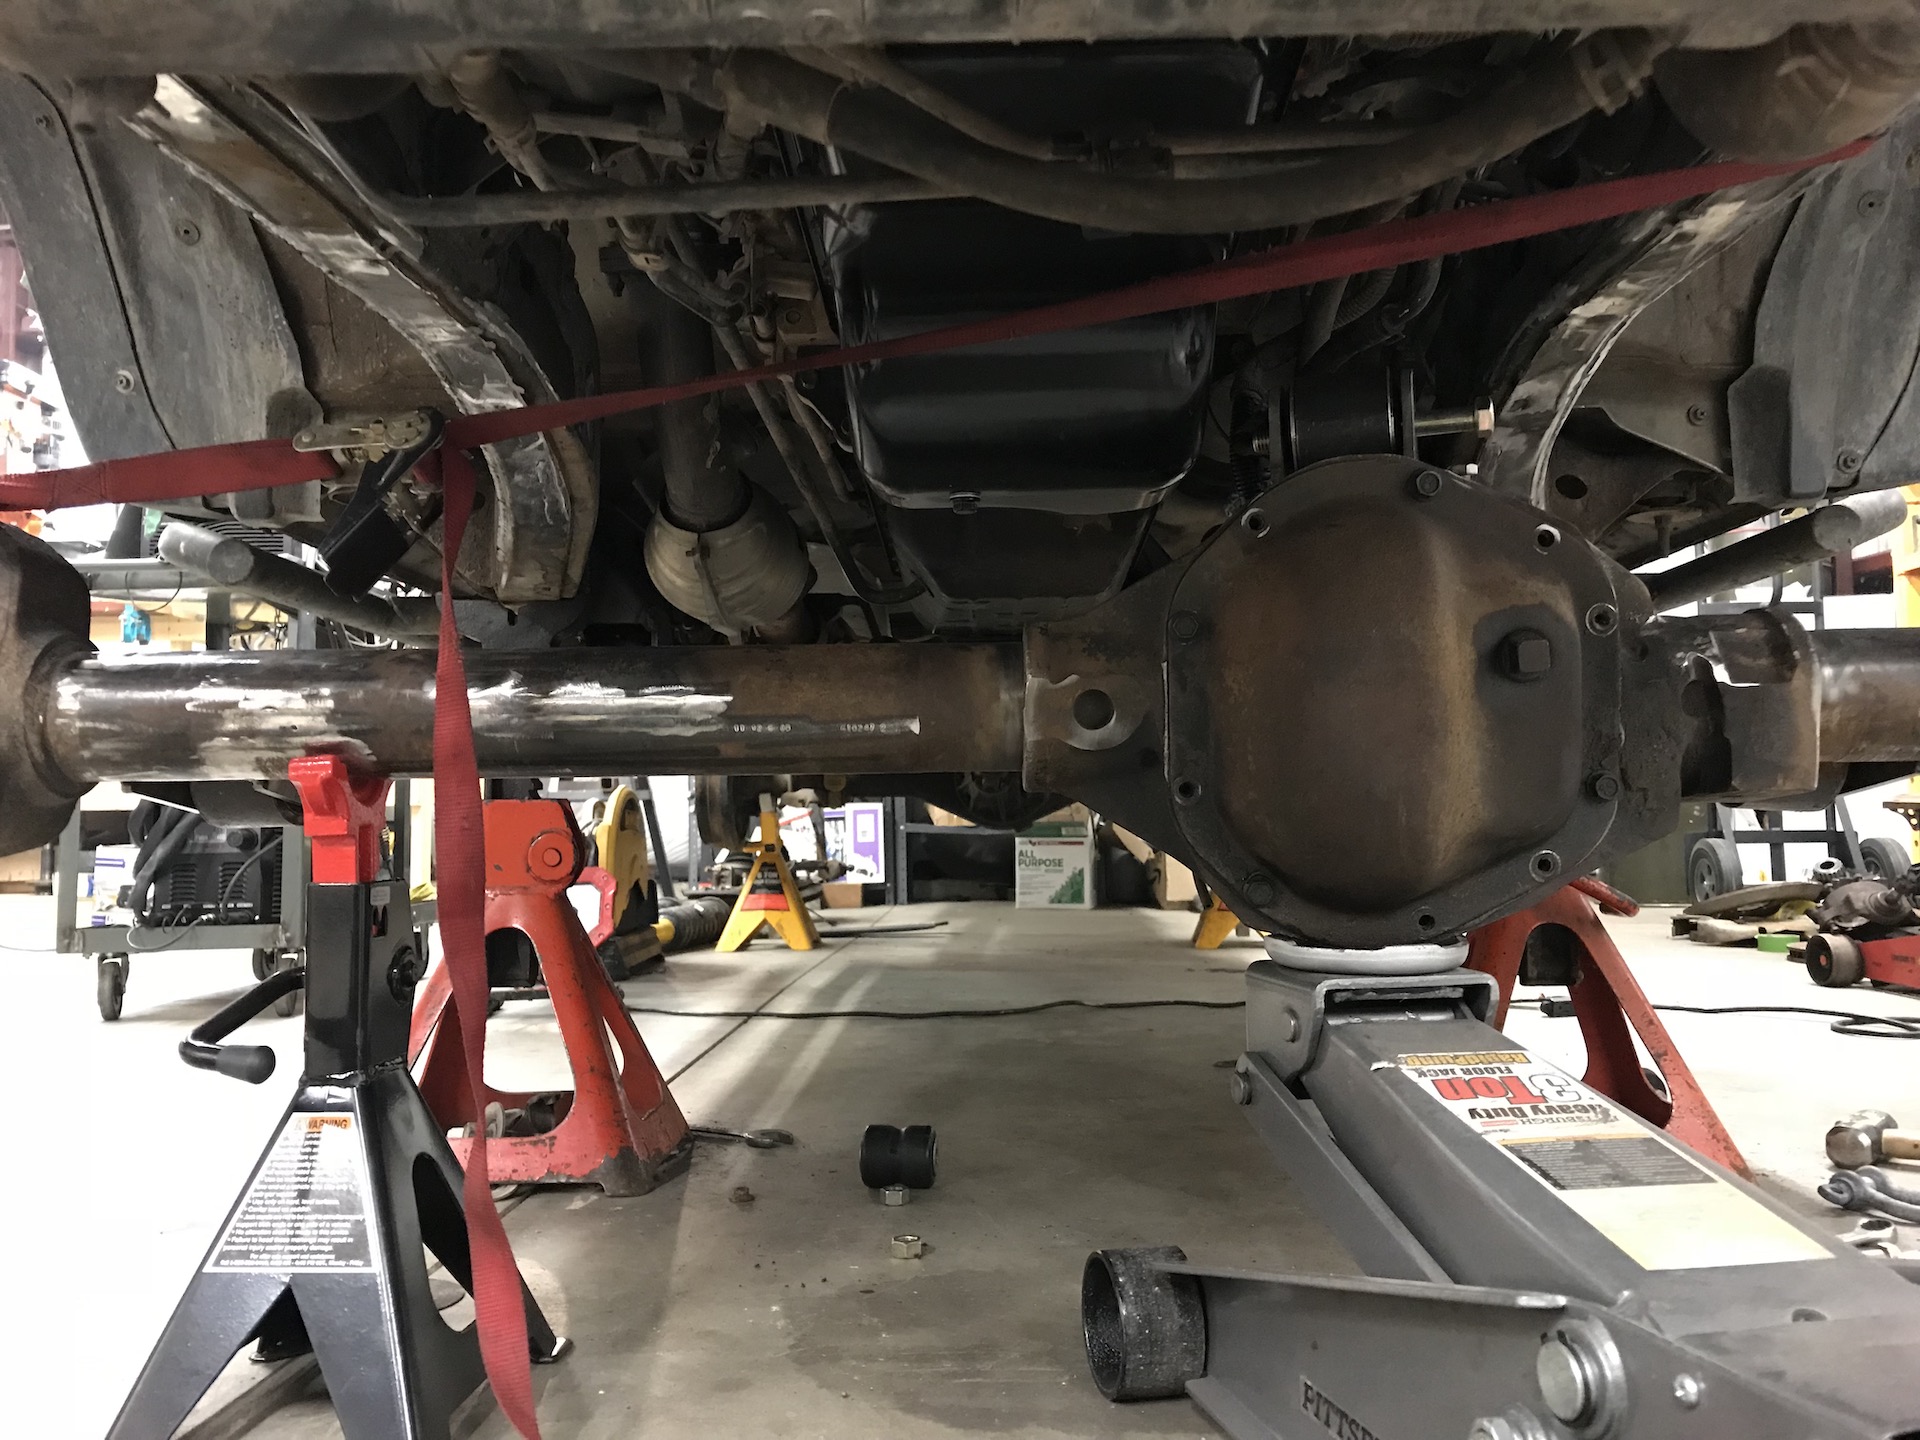
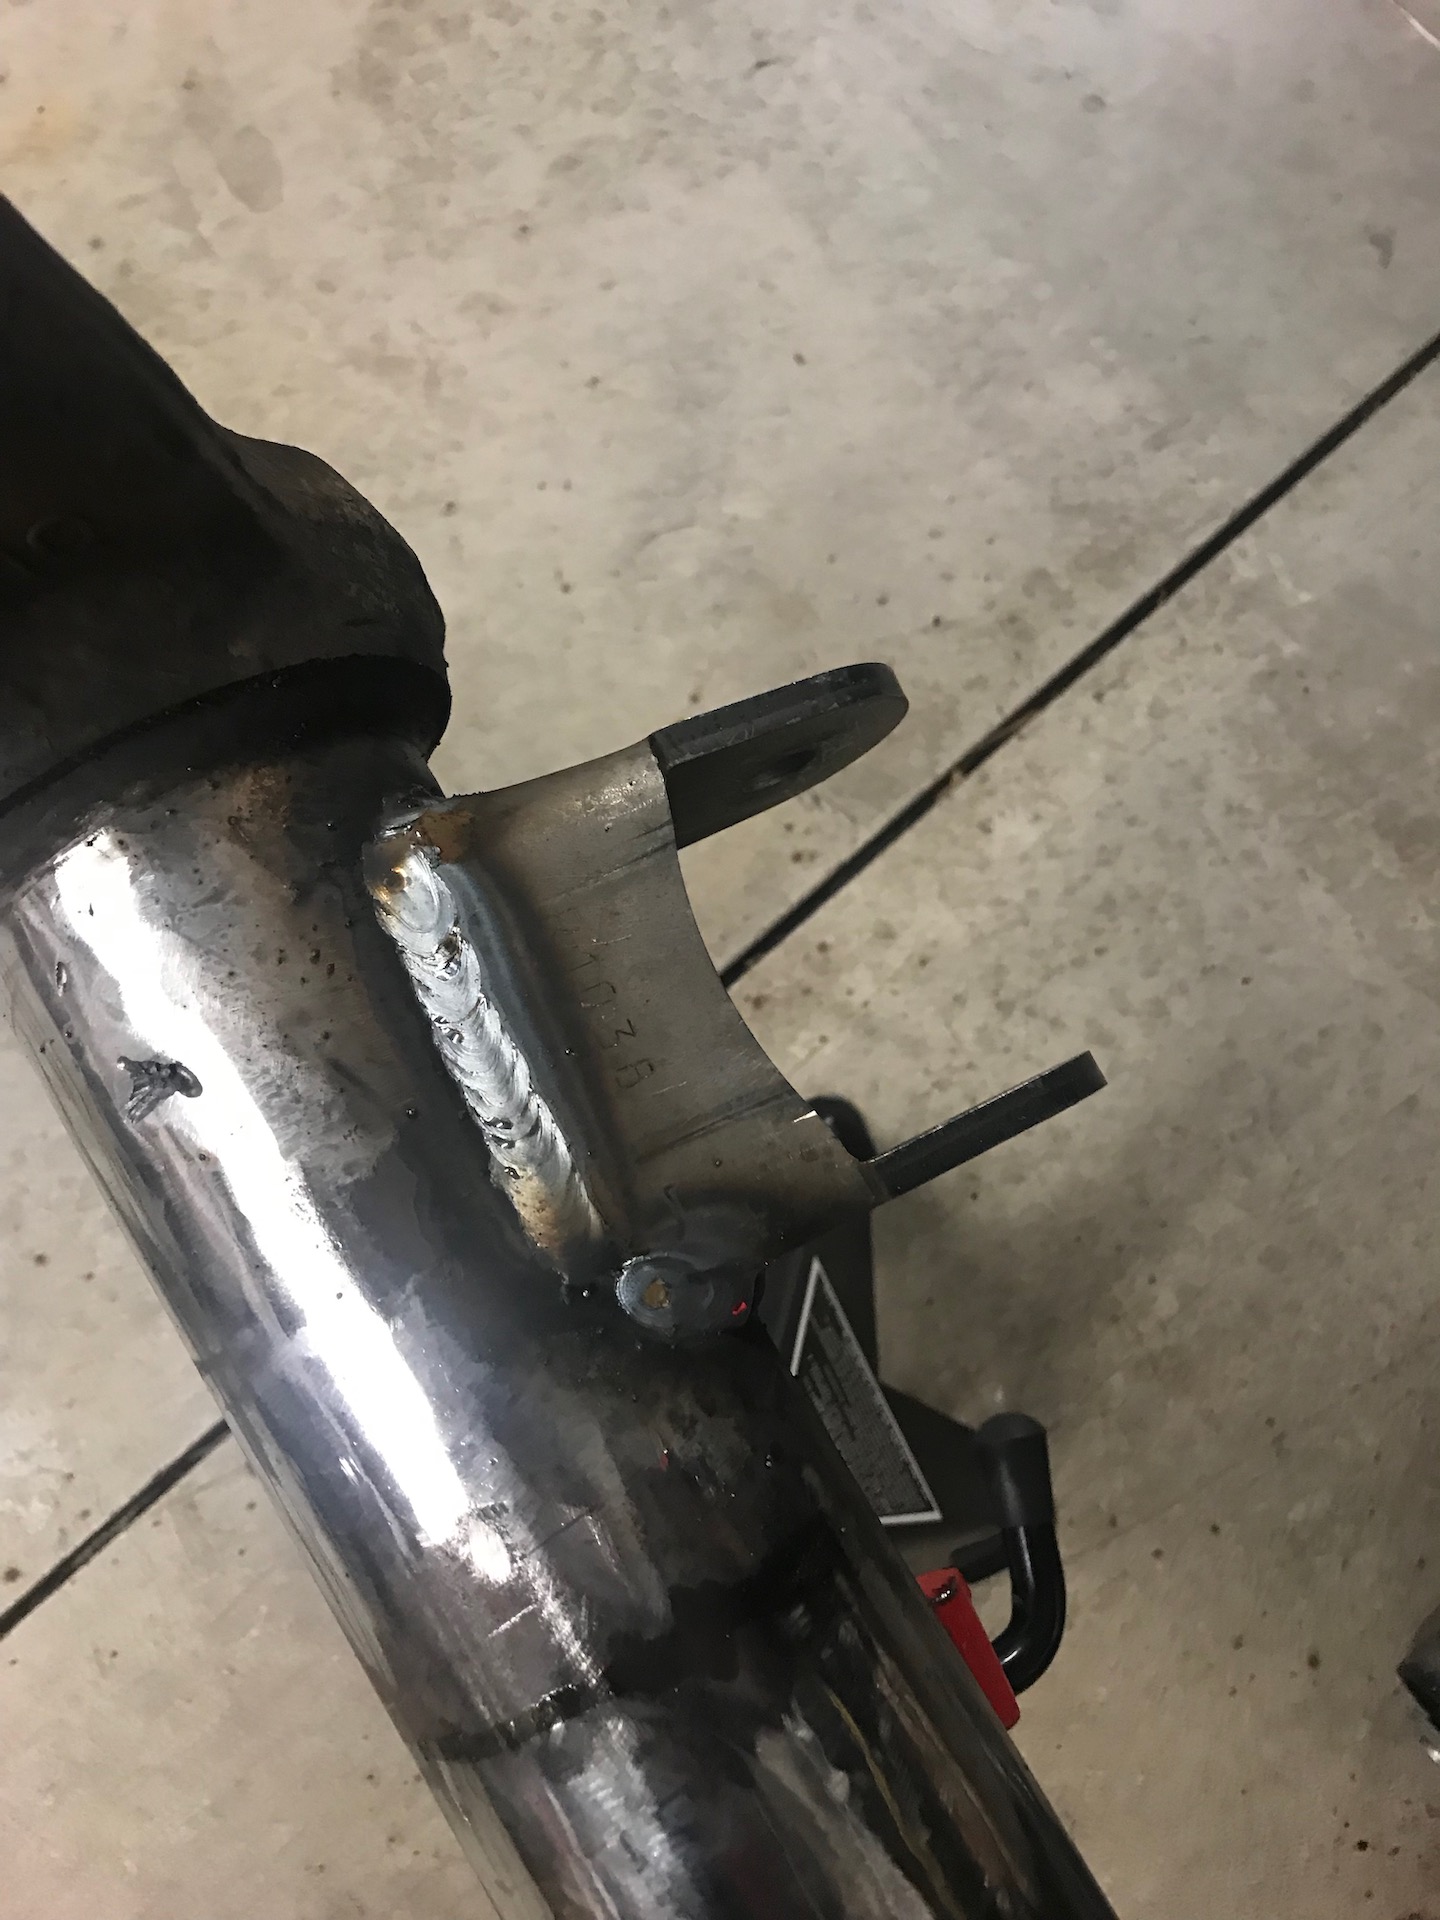
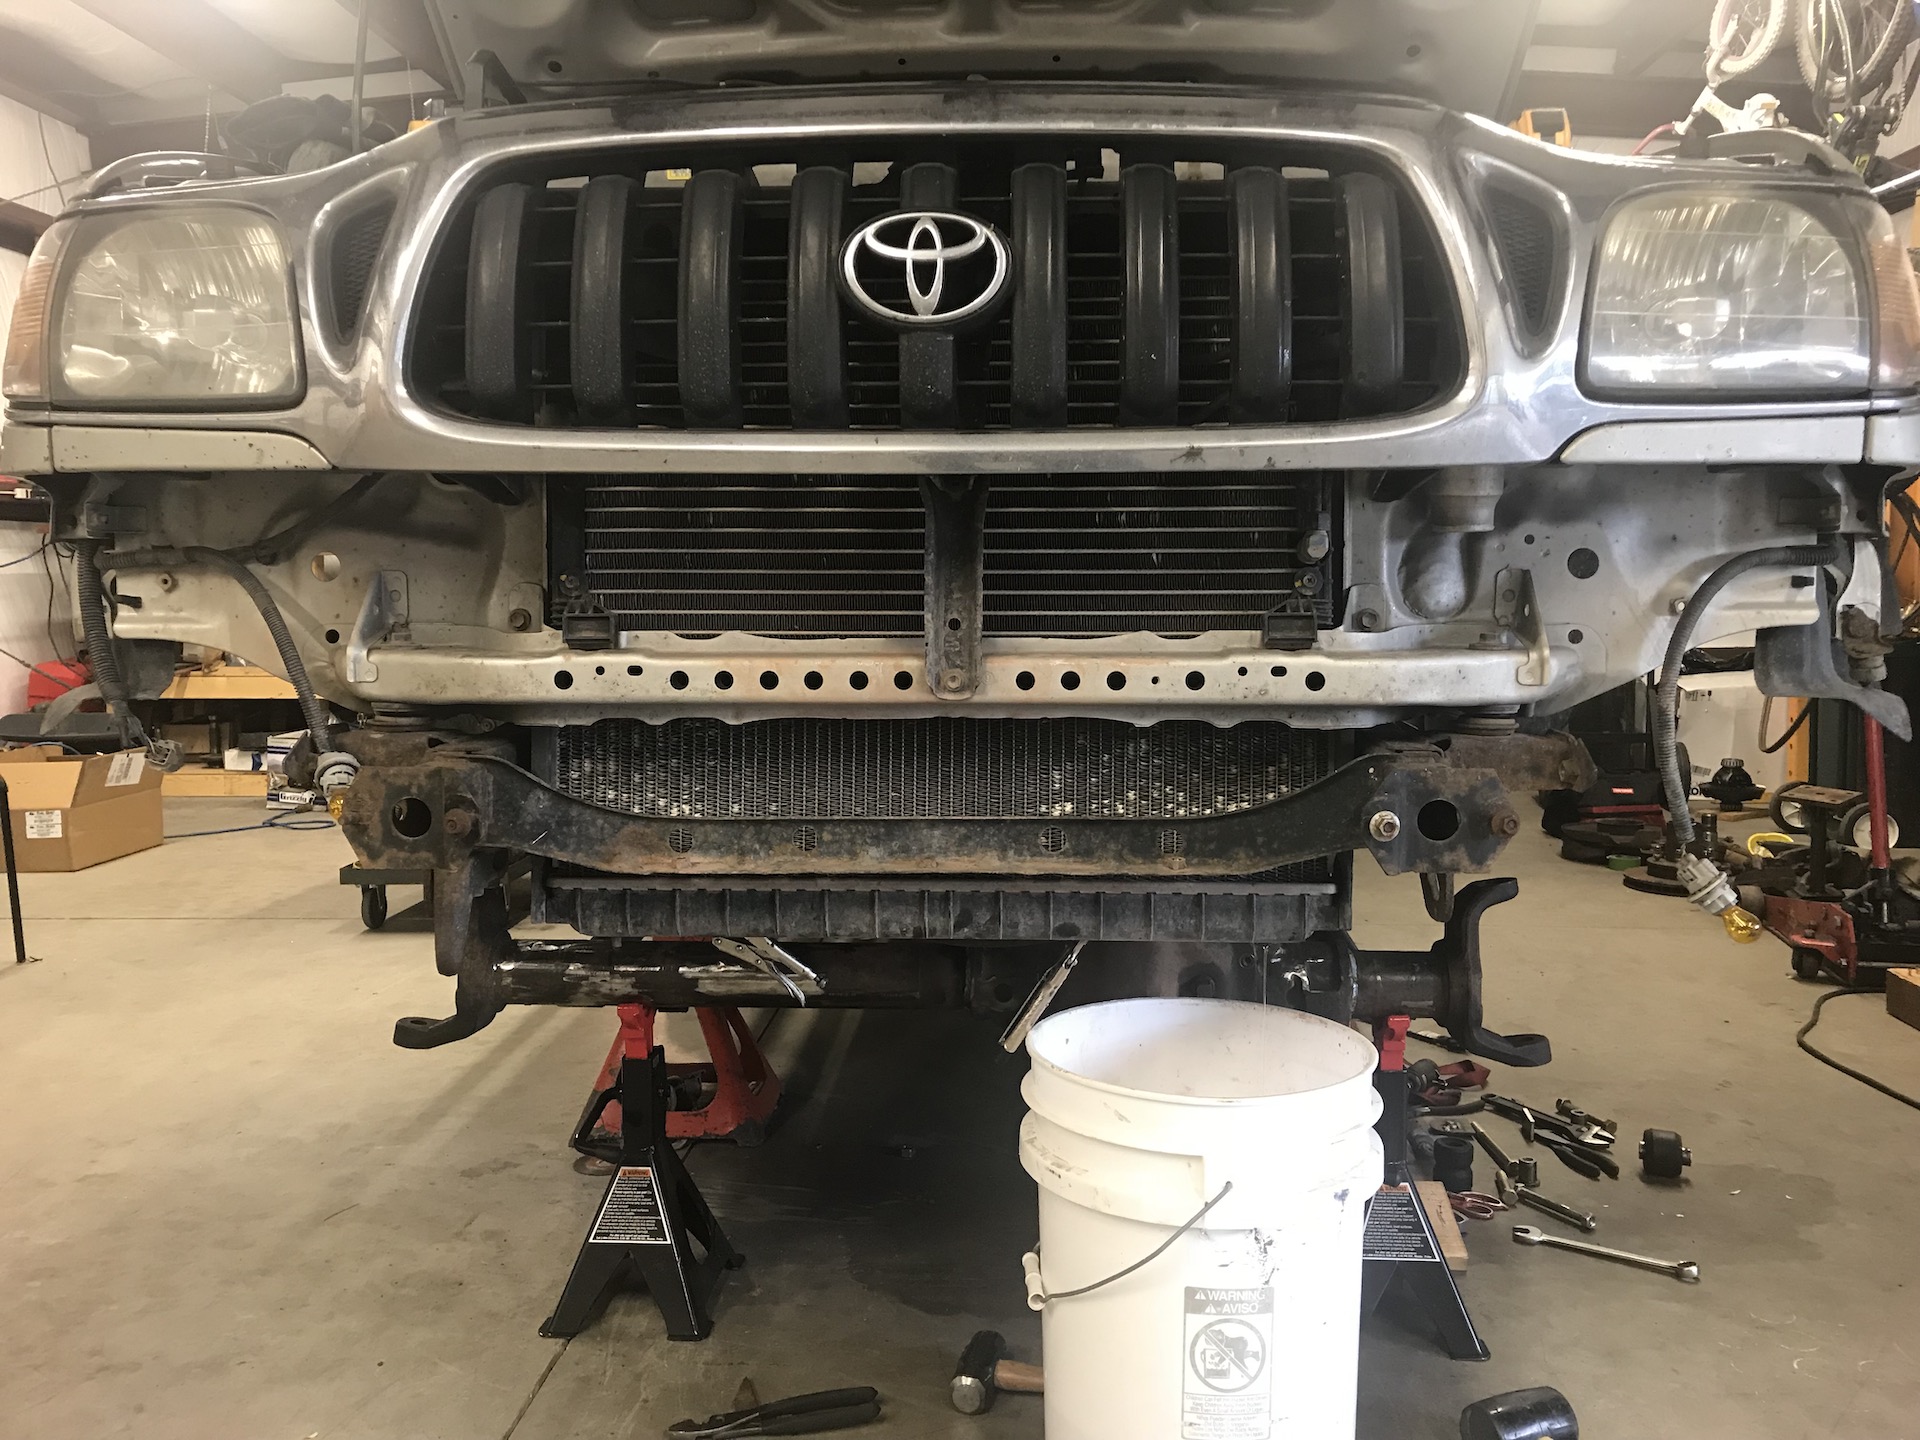
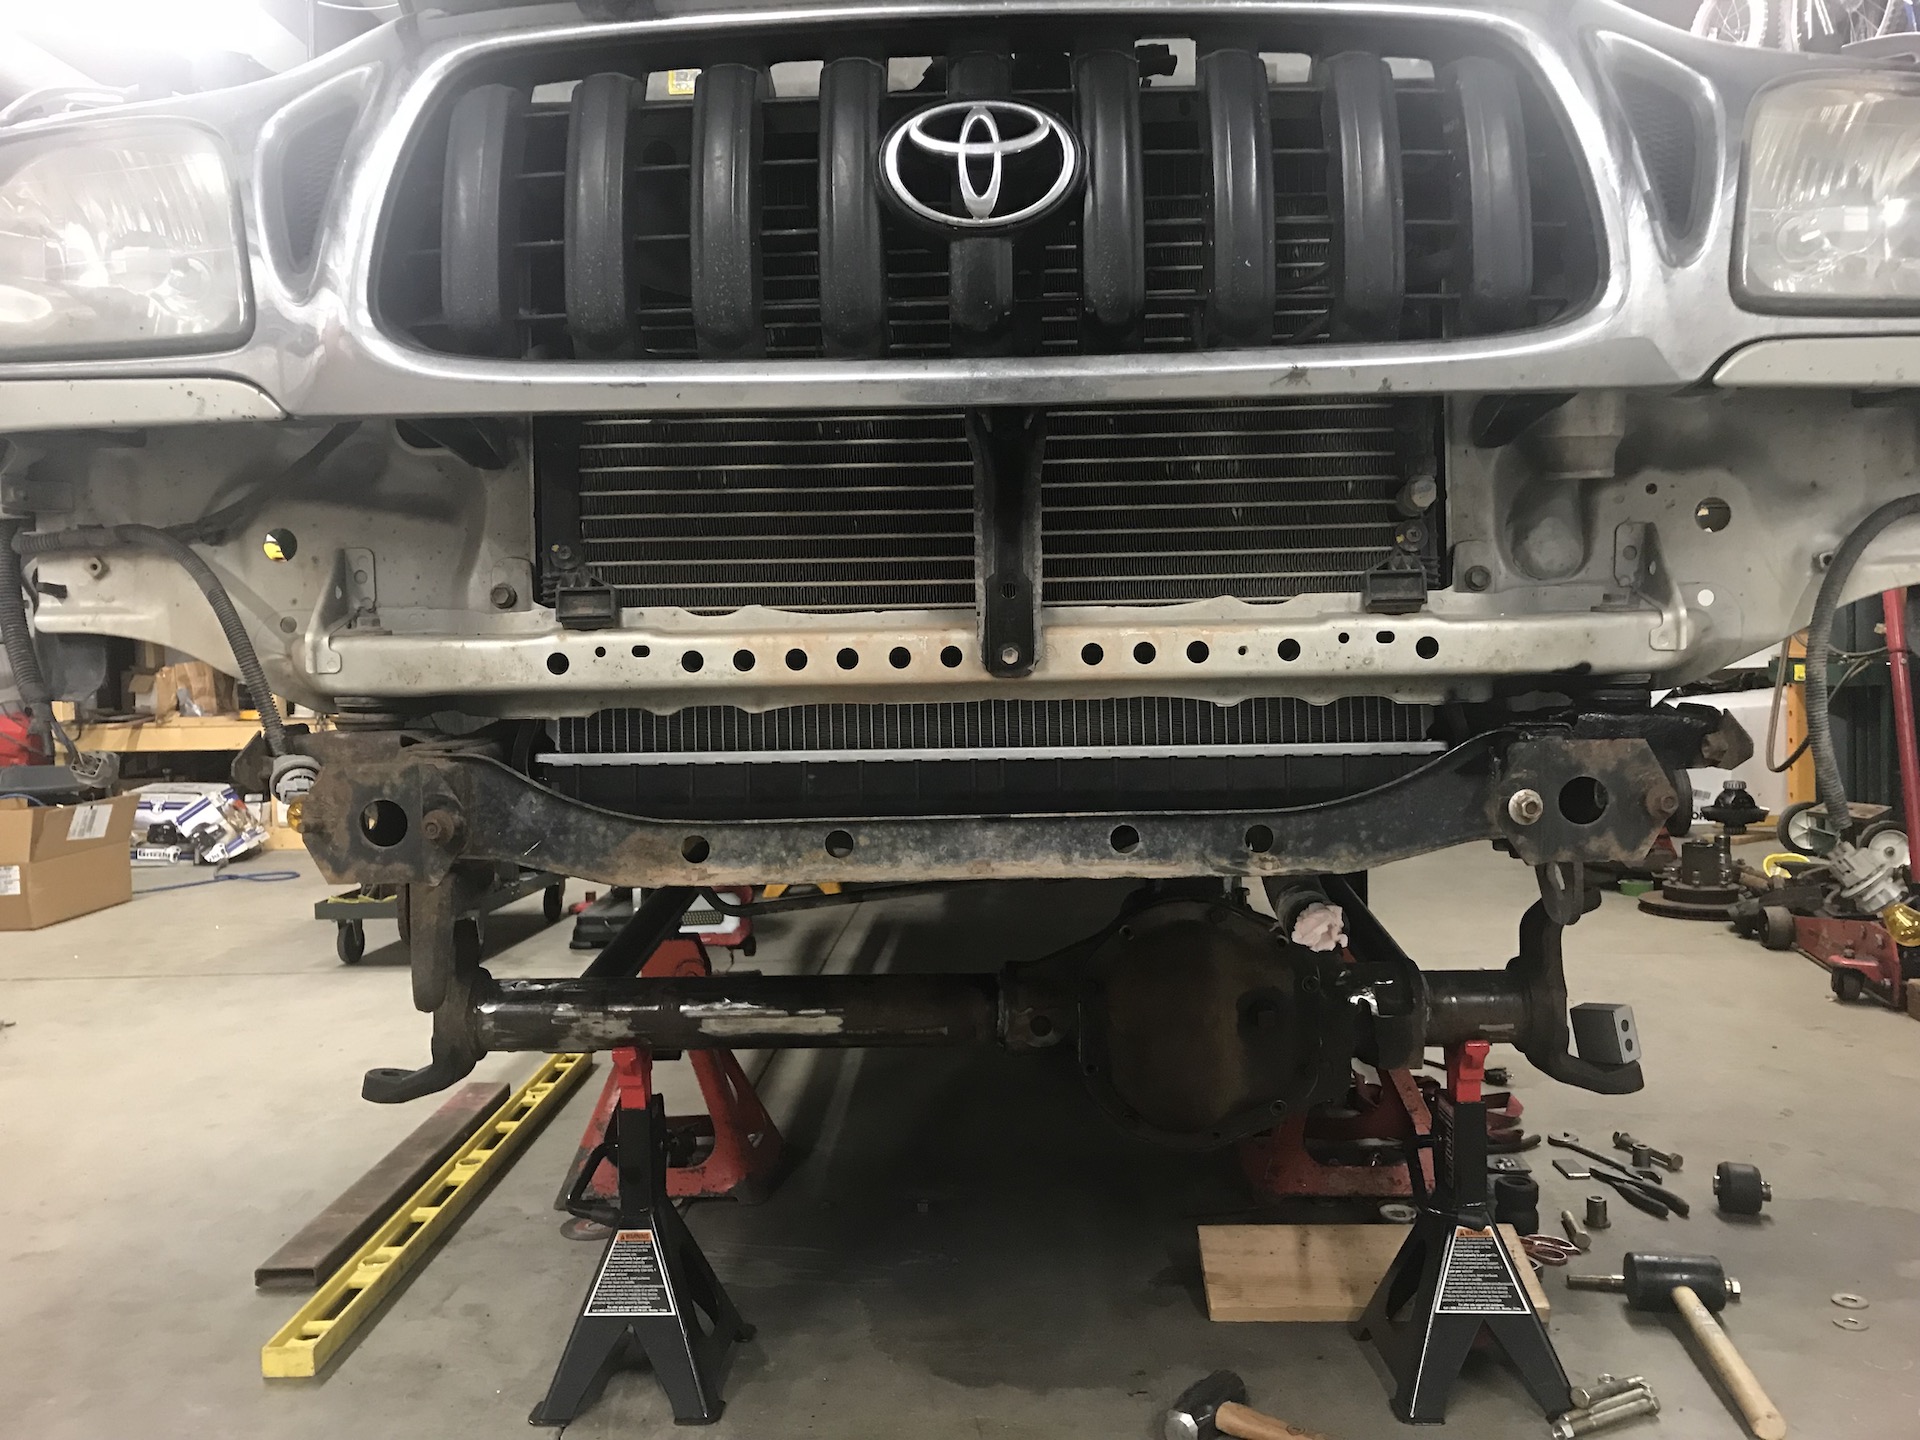
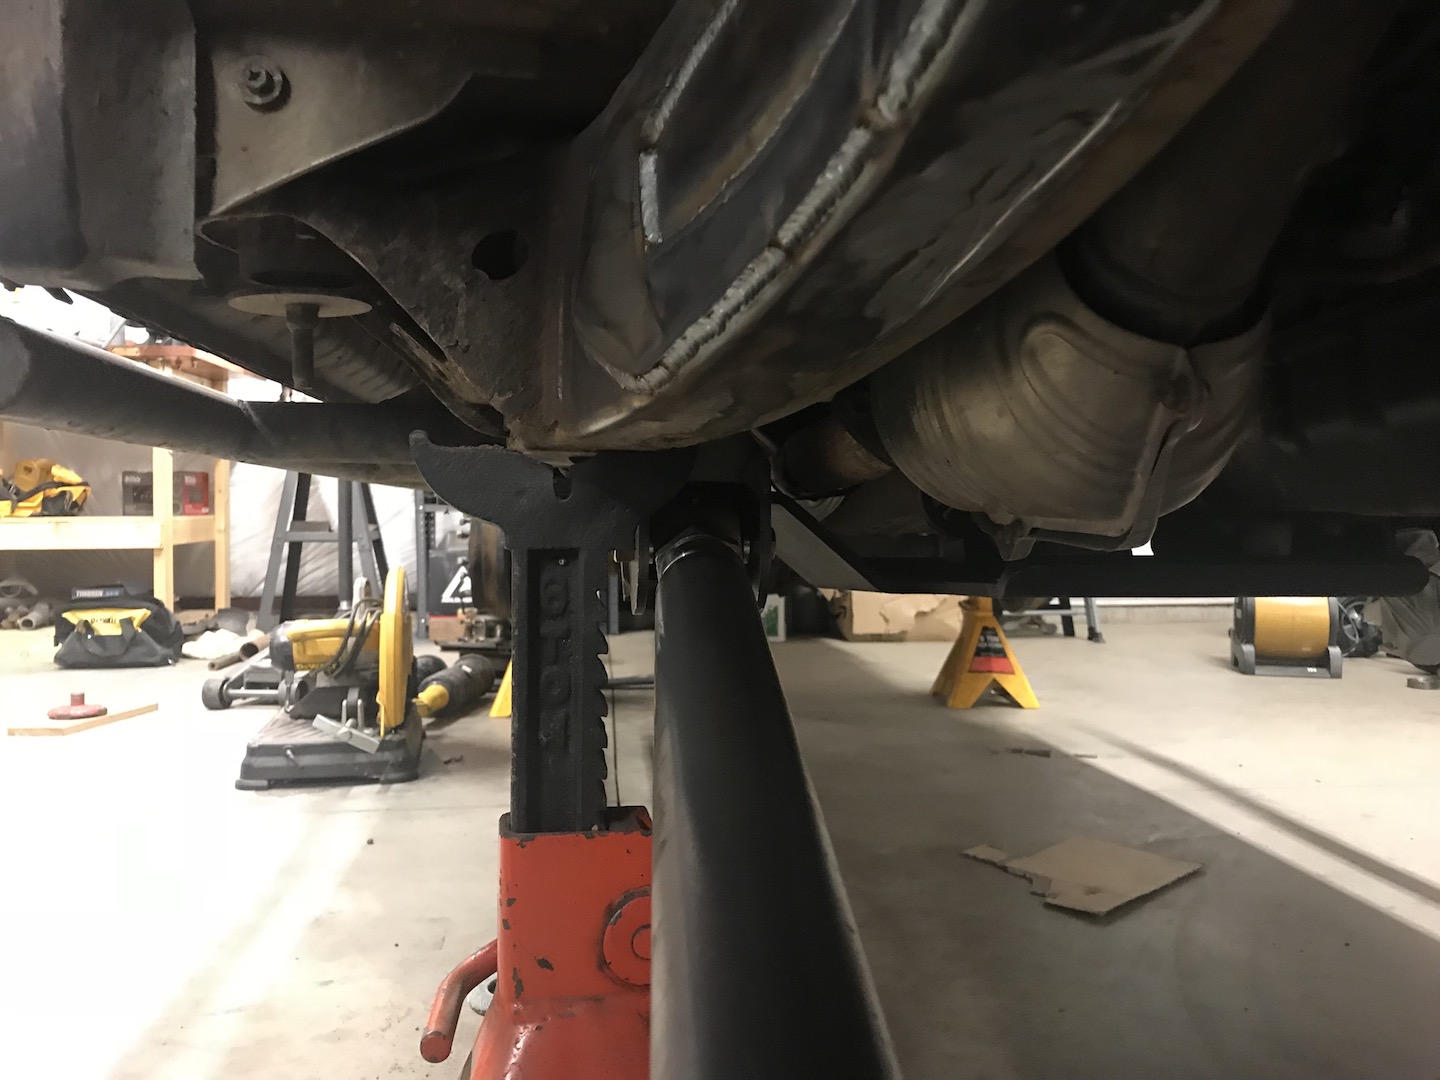
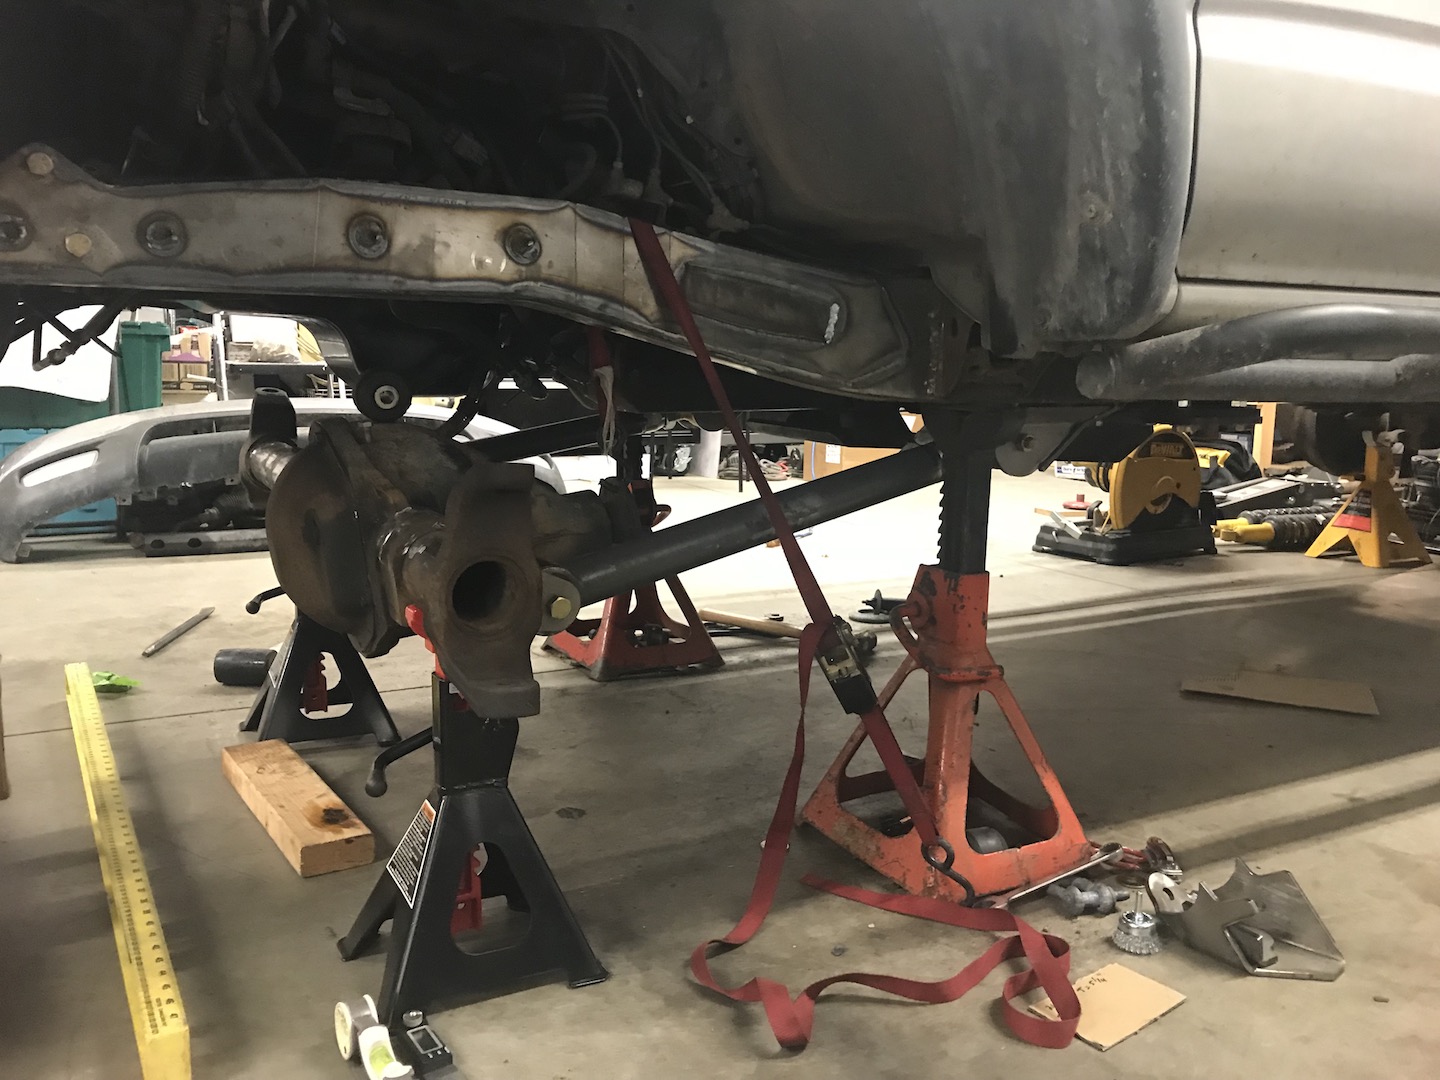
Test mount. Looking good! I left 0.75" adjustment available backwards just in case, since I've essentially pushed the front axle wb forward ~1.25"
IMG_1751.jpg

IMG_1749.jpg

IMG_1750.jpg


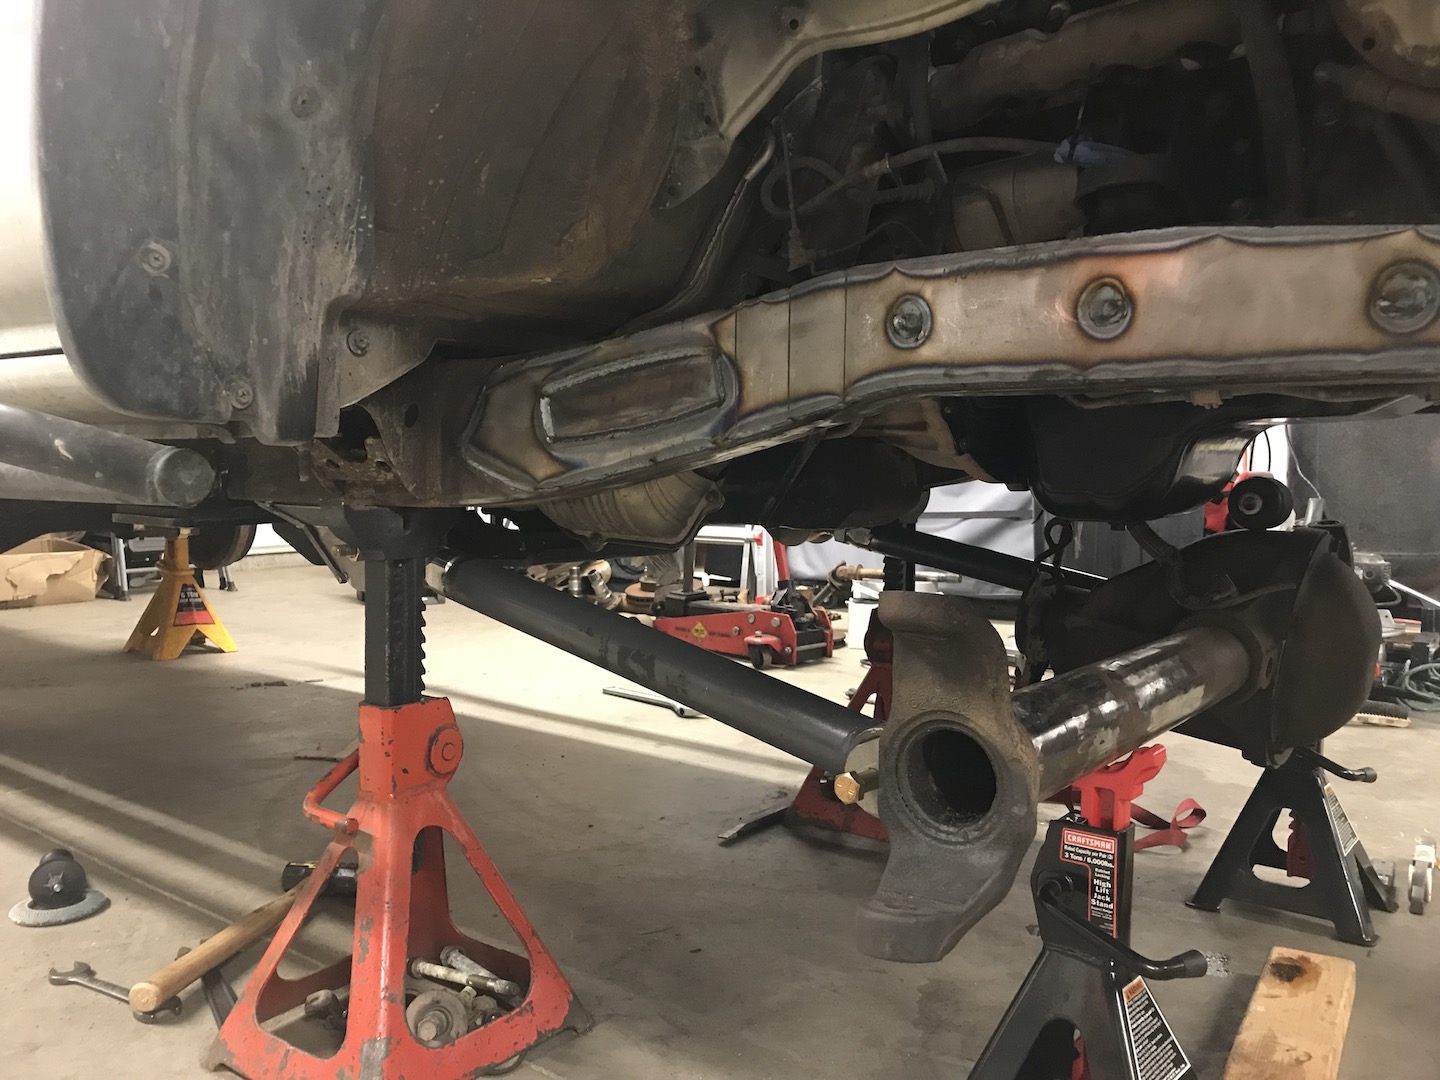
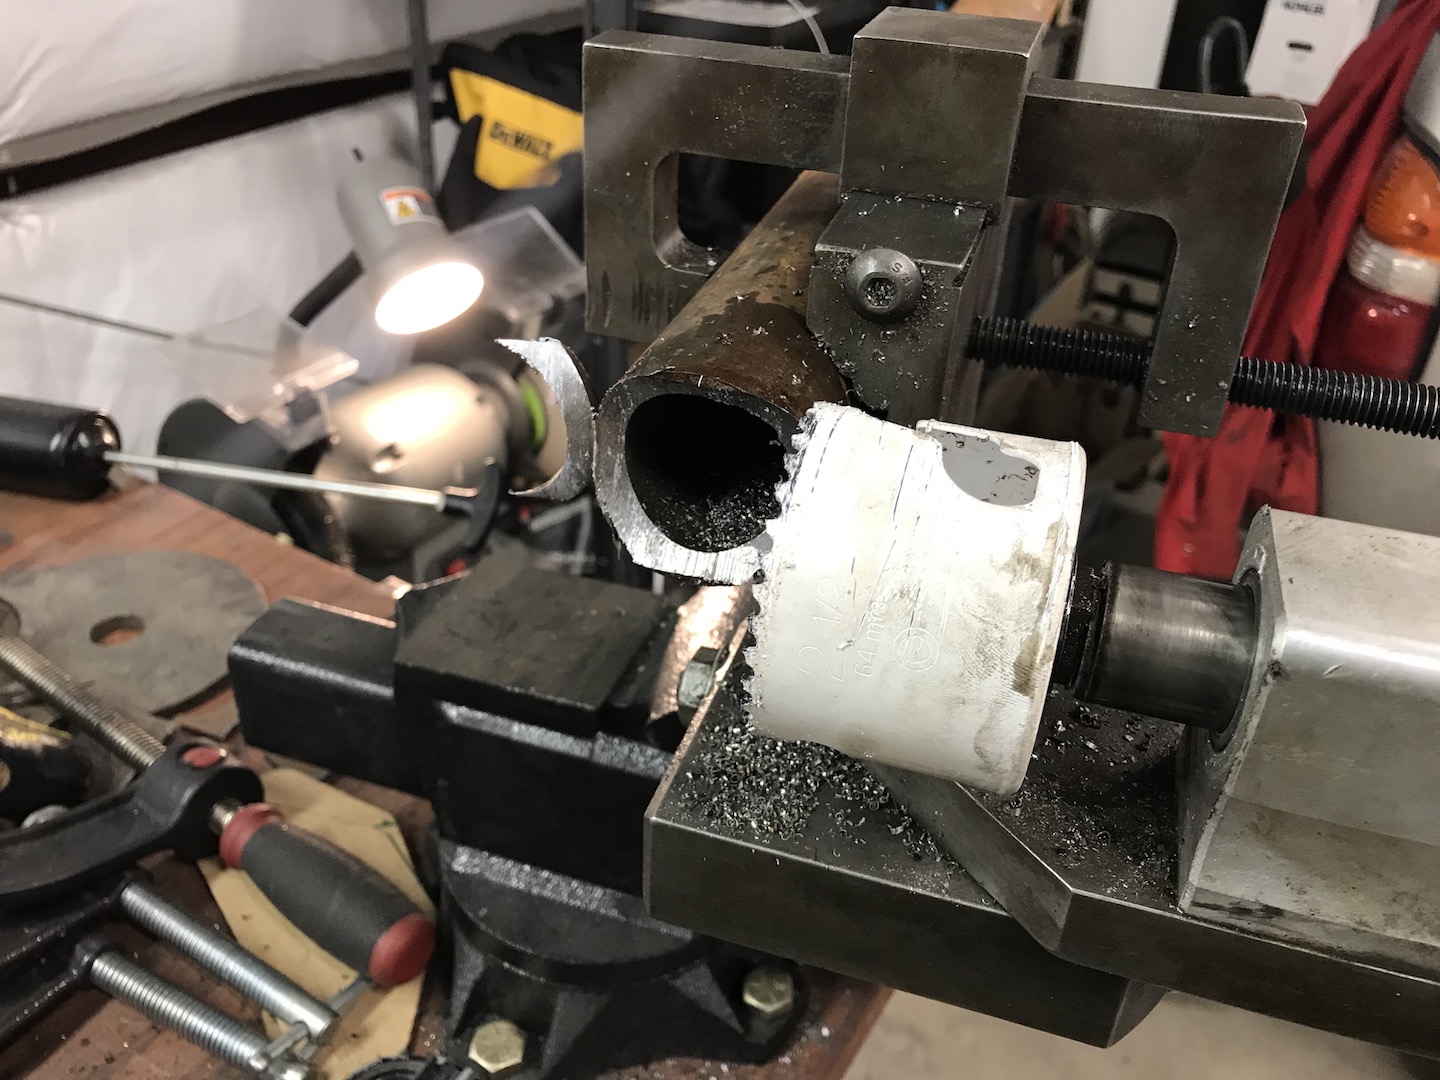
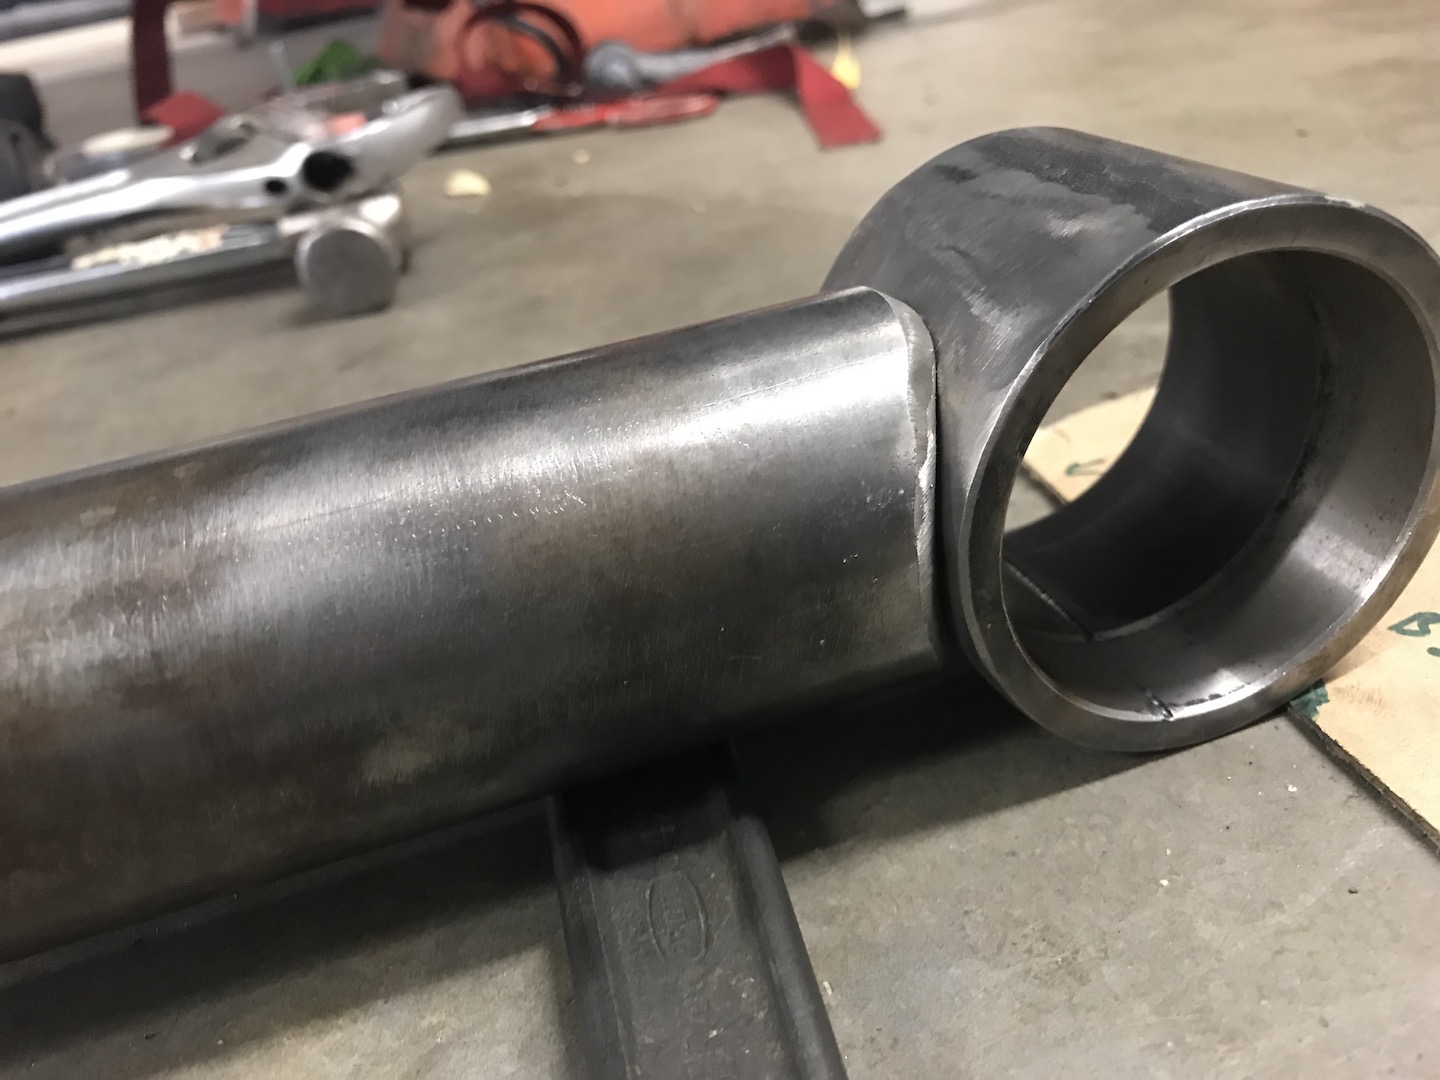
Next is the upper arm... but I need a piece of tube for the bushing. I may just make the upper out of 2" x 0.25"wall since it's a 3 link and the strength is nice even though it's overkill on the upper. Plus I have more than enough of that tube laying around.
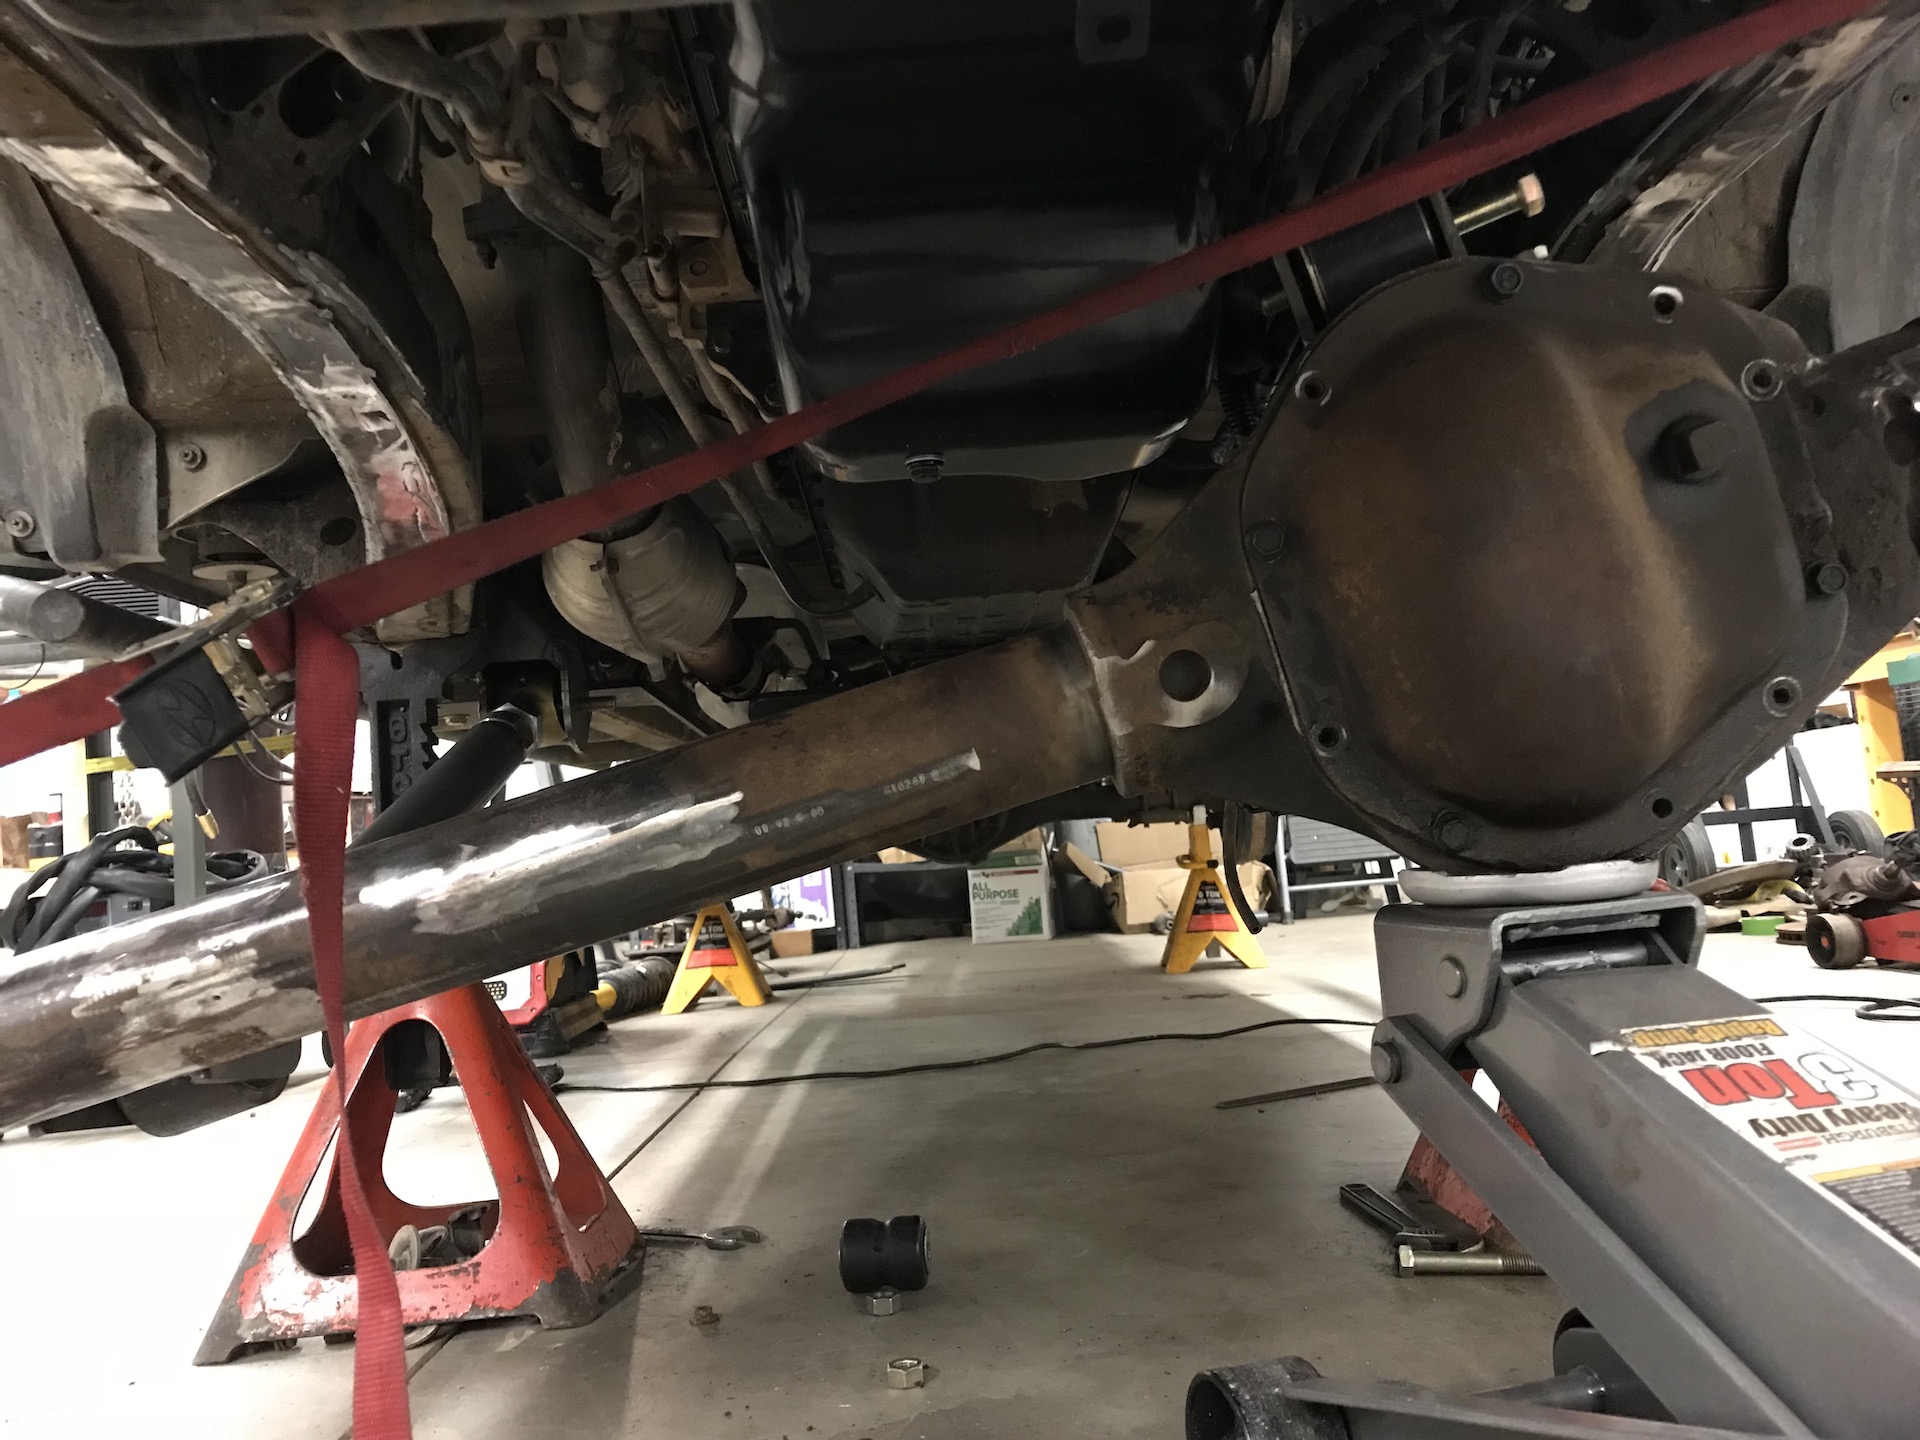
 

YROC FAB.

BUGGY TIME
Vendor
Location
Richfield, UT.
Im glad i got the old lady a solid axled 4 runner i need to work on otherwise this and Ileans rig makes me want to sas my dd toyota pickup, I mean i already have extra yota axle on the shelf. . . No! I must finish the 4 runner.:shawn:

Its looking pretty good herzog.
 

Herzog

somewhat damaged
Admin
Location
Wyoming
Im glad i got the old lady a solid axled 4 runner i need to work on otherwise this and Ileans rig makes me want to sas my dd toyota pickup, I mean i already have extra yota axle on the shelf. . . No! I must finish the 4 runner.:shawn:

Its looking pretty good herzog.

I'm WAY too selfish. The buggy and the taco are mine. :D I figured the buggy sits enough that this will keep me occupied and remind of how fun it is to constantly work on something

Love it when you can use surplus parts you've had hanging around. Looking good.

I feel like I've become a master of recycling parts over the years. :D
 

Herzog

somewhat damaged
Admin
Location
Wyoming
I had to make some custom tabs for on top of the D44 pig. I needed a lot more coverage/material on the tabs because I'm always weary about the process of sticking these to the cast steel.

Got my first-hand experience with how super handy the swag offroad table bandsaw is. Makes making custom tabs painless!
IMG_1767.jpgIMG_1769.jpgIMG_1775.jpg

Seems to fit all right. I'll put some more gussets and plating on there just to be sure, but the last couple times I've done this it's held up very well.

IMG_1778.jpg

IMG_1777.jpg
 

Herzog

somewhat damaged
Admin
Location
Wyoming
Finally got around to making the upper control arm. I decided to use the same 2" x 0.25" wall DOM as the lowers because: Why not; single upper arm, might as well be overkill.

IMG_1795.jpg

IMG_1797.jpg


I left 1" of back adjustment just in case of wheelbase change and/or castor changes.
IMG_1796.jpg


Test fit before I fully weld and press the busing in. The geometry turned out much better than I thought I'd get it with the limited space. I'm pretty happy!
IMG_1799.jpg

IMG_1802.jpg
 

Herzog

somewhat damaged
Admin
Location
Wyoming
Errrrrr day.

I ended up breaking off the upper mount and moving it over 3/4" just in case. I feel good enough about it that I decided to burn it in.

I used the pre-heat / post-heat normal MIG method. This is the 3rd housing I've done this on and haven't had any issues yet (knock on wood). As long as you don't hear pings and creaking after welding (while post heating) you *should* bet good. Still, always a good idea to inspect for cracks over the lifetime of the mount. I think my line speed was off a little, spattery mess.

IMG_1821.jpg


Also burned in the lower mounts. :cool:

IMG_1823.jpg
 

Bart

Registered User
Location
Arm Utah
I always worry about welding to cast, but have used that method the few times we've done it and it's worked just fine. Looks great.
 

Gravy

Ant Anstead of Dirtbikes
Supporting Member
Throw a gusset between the two sides and you can put some more weld down on the casting front and rear. Couldn't hurt.

BTW my pitman arm is a waggy one I welded into double shear and I've had no problems. I welded gussets on to my stock cast Ford KP knuckles too. I preheated all of them in the BBQ. Burned them hot. Peened and post heated slowly down to room temp. in the BBQ over a few hours and I've had zero problems. Plus I got that smooth propane taste.

f354108ae6e408d2ed1e76d70c08625d.jpg
 
Last edited:

Herzog

somewhat damaged
Admin
Location
Wyoming
Operation Saggy Rad:

This radiator sits way too low. I'm no cooling genius, but they do seem to be oversized for a that 3.4. So I searched and to my suprise there's a bolt on mod that many people have done with success. Turns out, a 2.4L rad will bolt right in (need a new lower hose) and people are claiming no difference in cooling. I think that's.... pretty cool.
IMG_1845.jpg


Size comparison
IMG_1846.jpg


Chopped down the shroud
IMG_1847.jpg


Fin.
IMG_1848.jpg


Here's the exact radiator: https://www.summitracing.com/parts/sgt-cu1778
 
Top