General Tech What did you work on Today?

mbryson

.......a few dollars more
Supporting Member
a1be979b-91f6-49fc-bd69-499c71f6e9ec-jpeg.155044


uh.... that's interesting

edfeedf4-c7fe-40ce-82c0-86c23a72b6f9-jpeg.155042


I suppose this is going in there? (or that would be bad ass in the MG!!!!)
 

1969honda

Well-Known Member
Supporting Member
Location
Cache
@Gawynz I decided after seeing your post I needed to finally try making one of these. Forgery is the best form of flattery right? Same idea, family gift made by hand for my youngest son. Engine parts are all from the l92 that grenaded a while ago on a family vacation; complete with burnt carbon on the piston crown and used engine oil in various nooks and crannys

- (2) vvt can phasers with sprockets
- L92 rod and piston
- diamond metal cutting wheel
- 4" long 1/4" black pipe nipple
- NPT to AN Tees
- random 1/2" bolts
- VVT phaser bolt
- random suction tube adapter
- random pipe adapters
- jig saw blade
-1/2" pipe nipple
- 7/16" lug nut
- random bearing
- .45 auto brass

Still want to throw a section of chainsaw chain off the vvt bolt to look like an ammo belt.
 

Attachments

  • 16715132346394138085977565437001.jpg
    16715132346394138085977565437001.jpg
    429.6 KB · Views: 31
Last edited:

zmotorsports

Hardcore Gearhead
Vendor
Location
West Haven, UT
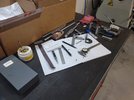
I wanted to make a pen this year as a gift for my cousin for all the years of him asking questions. He allowed me to raid their junk boxcar for used parts from as far back as around 12-years old when I'd drag home a junk lawnmower or snowblower that needed attention so I could fix it up and sell it. He was always so gracious with his time and used parts that I wanted to do something to say thank you.

I hope this conveys that message well enough.

I started with a Waterman Rollerball ink cartridge and a spring from an old discarded pen. Other than that everything will be measured, dimensioned and fabricated.

Starting with the rough mechanical drawings.
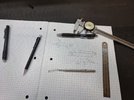
pen1.jpg

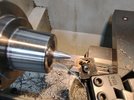
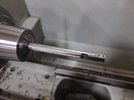
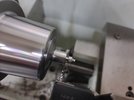
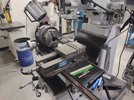
I single point threaded the male threads of the pen's grip.
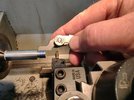
pen2.jpg

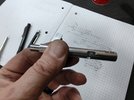
Test fit and they are nice and snug, not too loose.
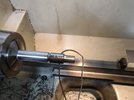
pen3.jpg

After drilling and reaming the three critical dimensions in the grip the test was to make sure the tip protrudes and retracts the proper amount.
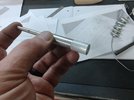
pen4.jpg

Bingo.
pen5.jpg

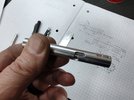
Next was to start machining the body of the pen by drilling, reaming and tapping for the mating threads.
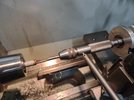
pen6.jpg

pen7.jpg

Perfect fitment.
pen8.jpg

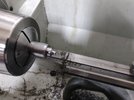
Now to thread the grip and pen body together, chuck between the collet and the live center to turn the pen's final diameter.
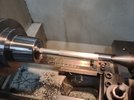
pen9.jpg

And the parting line disappears.
pen10.jpg


Stay tuned for more pictures......
 

zmotorsports

Hardcore Gearhead
Vendor
Location
West Haven, UT
Continuing on with the pen.

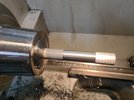
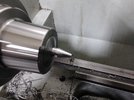
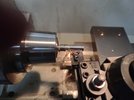
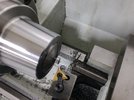
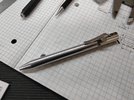
Next I grabbed the pen by the body in the collet, set the compound angle to 14-degrees and cut the pens tip.
pen11.jpg

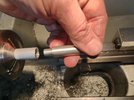
Ran some fine emery paper around it followed by some Scotchbrite and lastly some aluminum polish.
pen12.jpg

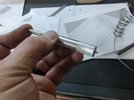
Now it's starting to look like a pen.
pen13.jpg

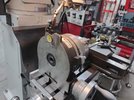
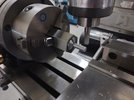
Now moving on to the milling machine I set up the chuck that I made the mounting plate for several years ago onto the rotary table and indicated the rotary table in relation to the Y-axis.
pen14.jpg

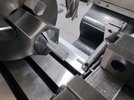
Machining the flat for the pen's clip.
pen15.jpg

Flat deburred.
pen16.jpg

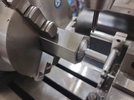
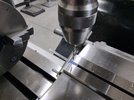
Center drilling for the J-slot in the pen's body.
pen17.jpg

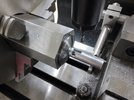
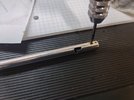
J-slot machined and just needs a little deburring and clean-up.
pen18.jpg

Deburred and polished.
pen19.jpg

Lastly tapping the two 2-56 screw threads for the clip.
pen20.jpg

Stay tuned for more.....
 

zmotorsports

Hardcore Gearhead
Vendor
Location
West Haven, UT
Continuing on with the pen.

Shifting gears from the aluminum over to some 410 stainless steel for the bolt and the thumb knob.
pen21.jpg

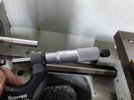
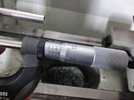
Shooting for .313" and landed right on it.
pen22.jpg

Then took it down to the final finish with a mill file and emery paper and landed on the final diameter giving about a thou and a half for clearance.
pen23.jpg

Bolt test fit into the pen's body.
pen24.jpg

With a tip of the pen's body and a slight shake the bolt slid through easily, yet not loose or sloppy. The goal was to have just enough clearance to allow the bolt to move smoothly but not enough clearance to hear a rattle when shaking the pen. PERFECT!!!
pen25.jpg

While I had the stainless steel chucked up in the collet I cut a small piece for the thumb knob.
pen26.jpg

After taking it to the mill to cut two small flats on the knob 180-degrees apart it was back to the lathe to part it off.
pen27.jpg

After parting off I turned the part and grabbed it with a 1/8" collet to face and chamfer the end.
pen28.jpg

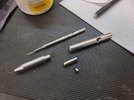
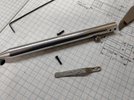
The pen disassembled to give a thorough cleaning.
pen29.jpg

And reassembled for the final time.
pen30.jpg


Stay tuned for the final piece.....
 

zmotorsports

Hardcore Gearhead
Vendor
Location
West Haven, UT
Now for the last feature of the pen, the clip.

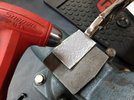
After digging through my stainless steel drawer I found a piece of .050" thick 304 stainless steel. However, with it being a bit flimsy I thought I "toughen" it up by work hardening the surface and peen the metal.
pen31.jpg

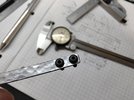
I cut a strip .200" wide then drilled the holes .250" apart for the 2-56 screws.
pen32.jpg

Test fitting the screws in the holes.
pen33.jpg

Cleaned and ready for the last piece of the puzzle.
pen34.jpg

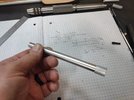
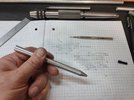
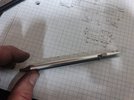
Pen in its final state. The bolt action works smooth as butter and feels extremely well in your hand.
pen35.jpg

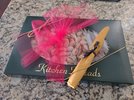
I thought I'd wrap it up in pure gearhead fashion by using masking paper. I was going to use masking tape however, my son thought it would be better to make a bow out of zip-ties.
pen36.jpg

Then to clean up the mess on the workbench and lathe.
pen37.jpg

As well as the mill.
pen38.jpg


Thanks for looking.

Mike
 

Stephen

Who Dares Wins
Moderator
Now for the last feature of the pen, the clip.

After digging through my stainless steel drawer I found a piece of .050" thick 304 stainless steel. However, with it being a bit flimsy I thought I "toughen" it up by work hardening the surface and peen the metal.
View attachment 155097

I cut a strip .200" wide then drilled the holes .250" apart for the 2-56 screws.
View attachment 155098

Test fitting the screws in the holes.
View attachment 155099

Cleaned and ready for the last piece of the puzzle.
View attachment 155100

Pen in its final state. The bolt action works smooth as butter and feels extremely well in your hand.
View attachment 155101

I thought I'd wrap it up in pure gearhead fashion by using masking paper. I was going to use masking tape however, my son thought it would be better to make a bow out of zip-ties.
View attachment 155102

Then to clean up the mess on the workbench and lathe.
View attachment 155103

As well as the mill.
View attachment 155104


Thanks for looking.

Mike
This is so cool.
 

zmotorsports

Hardcore Gearhead
Vendor
Location
West Haven, UT
Thats neat Mike, I just watched a video from Inheritance Machining where he made a similar pen. It was really interesting to watch the whole process as someone whose never done that type of work.

That is actually where I got the idea. Saw it a few months ago and ordered some supplies but then it took a while to determine the dimensions and such. I thought I'd make a test one out of aluminum but it turned out so nice I wanted to give it away as well.
 
Top