General Tech What did you work on Today?

4x4_Welder

Well-Known Member
Location
Twin Falls, ID
I finished metal finishing the main body of my son's WJ bumper tonight as well as did a major cleaning of my shop. I had soooo much grinding dust on the floor it was disgusting. Grinding is definitely NOT something I do very often and it hands down my least favorite thing to do.:mad:
832abcbbf8571d113293d0d7f10d6437.jpg


f795085fce7cdc19244d428efa10896d.jpg


Next up is to fabricate the swing away tire carrier then it's off to powder coating.

Thanks for looking.

Mike
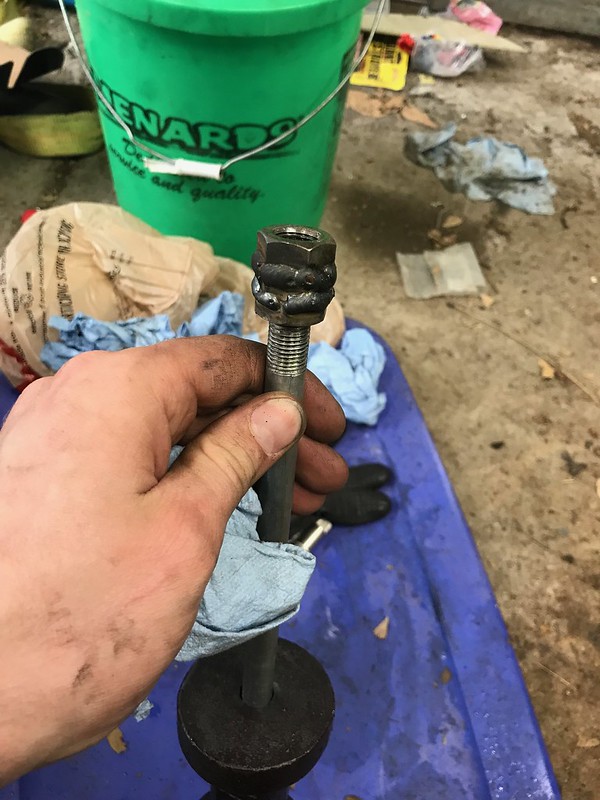
Nice. I like heavy duty bumpers that don't scream about it. Something a bit understated, but hit it and you'll know it.
 

zmotorsports

Hardcore Gearhead
Vendor
Location
West Haven, UT
So the rear bumper of my son's WJ is done and ready to break down and bring to the powder coater.

Fabricating the lower support for the swing away tire carrier. I pie cut the 2”x3” tube to mirror the angle of the bumper.
045c898037cd4c7574765e869d9e3f79.jpg


08332b8dfda75fe639286ba7cd9d3fc2.jpg


Vertical for the tire mount.
73badcaa608f7e78b34ad769e21113e8.jpg


I bent the 1.5” diameter tubing at 30-degrees.
3816d66cc31352b6e77051ace787f850.jpg


Tacked in place.
889582f2298b8fd060c2194b39a5624f.jpg


While I was at it I fabbed up a little mount for the CB antenna and flag mount.
44492e127b4c69a561ce7c6df946bf4a.jpg


c4dc6950513744df8a0865fd1328ba89.jpg


Mount for the carrier lock that holds it in the open position.
f20fff2d1635213992d0e7284f538e4f.jpg


4985212ec5e1be5614852447f789fd1e.jpg


df7b16ad688f58b972ec2cdd117df16b.jpg


f75a400897bafc26389b67686a93f32b.jpg

Done and ready to break down.
2dc1b7c72cef5274900177b0fa9d89d1.jpg


f45a46814c788cf3a6bf3e055adeb33a.jpg


79ec8a11981f385c1a56227be9ba506a.jpg


08db7a280506d04c083b9a3ad63e4e5c.jpg


Thanks for looking.

Mike
 

Pike2350

Registered User
Location
Salt Lake City
Do you worry that the upright and square tybe that comes out could decflect into the hatch? In the 3rd pic it looks like there could be some deflection. Maybe this is strong enough not to deflect much. Just can't tell that kind of clearance the is.
 

zmotorsports

Hardcore Gearhead
Vendor
Location
West Haven, UT
Do you worry that the upright and square tybe that comes out could decflect into the hatch? In the 3rd pic it looks like there could be some deflection. Maybe this is strong enough not to deflect much. Just can't tell that kind of clearance the is.

Shouldn't be any issues. The latch is near the bottom 2"x3" tube and it is a good inch away so there is no way for it to make contact with the latch. The square tube at the upper portion for the tire mount is a half inch below the inset for the license plate and nearly 2 inches from the gate and with the vertical support only 9" tall there isn't going to me much if any deflection. Had this vertical support been taller I would have compensated a bit more but it will have to deflect more than 2 inches to come in contact with the hatch. I actually dropped the mount down about an inch and tucked that receiver tube inboard of the license plate recess on purpose to give a bit more support to the tire mount.

Mike
 

The_Lobbster

Well-Known Member
Finished up my drag link. Then pulled one of my injectors, it was leaking past the copper crush seal, cleaned it up, put a new seal in, had to weld some nuts together to make an injector puller for my slidehammer.

32524435867_cbeb09c247_c.jpg


32524435747_df4dce5dcc_c.jpg
 

2002maniac

Active Member
Location
Brigham City
@zmotorsports, The bumper looks awesome!

Would you take a moment to tell us about your welding technique?

Your MIG beads look odd to me, almost as if you are making a string of tack welds. What's the purpose of this? Heat control? Trying to avoid warping?
It seems like this would be a time consuming method, I'm just curious what the motivation is.
 

zmotorsports

Hardcore Gearhead
Vendor
Location
West Haven, UT
@zmotorsports, The bumper looks awesome!

Would you take a moment to tell us about your welding technique?

Your MIG beads look odd to me, almost as if you are making a string of tack welds. What's the purpose of this? Heat control? Trying to avoid warping?
It seems like this would be a time consuming method, I'm just curious what the motivation is.

Thank you.

Just for the record, these are NOT a series of tack welds or tac, tac, tac, etc. This is squeezing the trigger once and manipulating the gun to get the desired affect. I do one of several techniques based on the situation. I will either move forward in a cursive "e" pattern or forward with a slight backstep to freeze the puddle then forward again. This puts those distinct ripples in the weld. All the time being certain to keep the molten puddle at the root and front of the puddle where it is biting into the parent material.

Hope that makes sense, kind of hard to verbalize but the important thing is that this is all with one squeeze of the trigger and not a series of overlapping tack welds.

Mike
 

Hickey

Burn-barrel enthusiast
Supporting Member
I use the same technique as @zmotorsports and it is considered an acceptable technique, especially in the motor sports world. The tack, tack, tack method is not acceptable because these tacks are all much colder and do not properly fuse the metal together. The tack tack tack method can usually be spotted by a pronounced pin size divot in each ripple of the weld.
119145
 
D

Deleted member 12904

Guest
I actually learned to “stack dimes” with a mig similar to these guys. Like hickey said it’s extremely common to mig like this in the motor sports world where people like the idea of having the stacked dimes look.
 

zmotorsports

Hardcore Gearhead
Vendor
Location
West Haven, UT
Thanks Jeremy, that is a perfect example of the tack, tack, tack method as indicated by its distinctive dimple or crater. Sometimes on mine if I whip too far ahead and move back I will get a small depression similar to that crater but you can tell the difference by the way the toes are wet out compared to the ones in the picture that stand a bit proud of the parent material.

Mike
 

zmotorsports

Hardcore Gearhead
Vendor
Location
West Haven, UT
Damn. I need a lathe for fun things like that.

It definitely spoils ya. I bouht a small 3-in-1 Smithy way back in the late 90's and built a LOT of one-off parts for my race cars, motorcycles, ATV's, snowmobiles and sand rails with that little unit. Then it got to where I was doing more machining and fabricating for people and decided to upsize and get a separate lathe and milling machine about 5 years ago and I haven't regretted it once.

Mike
 
Top