Sixstringsteve's 2003 Mitsubishi Montero Non-Build Thread

sixstringsteve

Well-Known Member
Location
UT
What can I say, I'm pretty hardcore. Who needs dual batteries, lifts, winches and bumpers when you have a new rear windshield wiper?
 

TJDukit

I.Y.A.A.Y.A.S.
Location
Clearfield
I like Steves threads. They encourage people to discuss even if it gets sidetracked a little. Sometimes things need to get reigned in a little but this is probably not one that will be worried about if sidetracking happens.
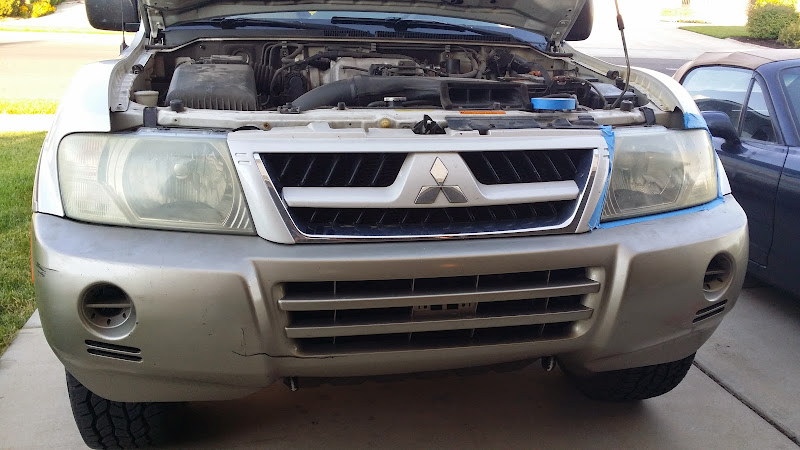
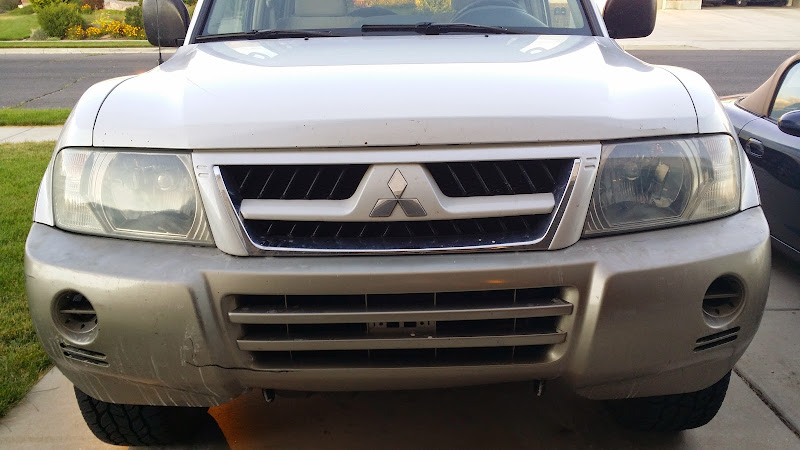
 

sixstringsteve

Well-Known Member
Location
UT
Supposedly 5 of the 6 spark plugs are easy to change, but one is a royal pain. I figure it's probably time to change the plugs and wires just for peace of mind. I plan on following these instructions:

Disconnect all wire connectors on top of intake,2bolts in front of intake holding 2 fuel lines,2bolts on drivers side from bracket to intake,2bolts to egr pipe,2bolts to throttle cable and then slide it out of throttle body,disconnect plug wires at coils dont worry the firing order is on the intake,fuel pressure regulator vacuum line,ground wires,bolts in center of intake some you may have to lean over front of engine to see.It should lift off and move it to the passenger side to change plugs.there is no need to completely remove intake.

I realize this isn't exciting for non-montero owners, but the online Montero community is nothing compared to Toyotas and Jeeps. I figure if I collect all the useful posts into this thread, there's a greater chance of other Montero owners finding what they need. Hopefully this thread can be used as a reference for future montero owners. So forgive the boring info if you don't own a monty.
 

sixstringsteve

Well-Known Member
Location
UT
Here's one more detailed set of instructions


Unfortunately you will need to remove the upper intake in order to change the spark plugs on this model.

I prefer to leave the throttle body attached to the vehicle as this eliminates the need to drain the coolant.

Start by removing the air intake hose (10mm clamps and one slide on hose).
Remove -all- electrical connections to the upper intake. This includes oxygen sensors, igniter, temp sensors, coil connectors, etc. The harness will be able to be set aside once it is fully unplugged from all the ends.

Remove the four 12mm bolts holding the throttle body to the intake manifold. Loosen the throttle body and slide the gasket out, making sure to note the orientation (it only goes one way).

Loosen the throttle cable from the bracket, and ten remove the end from the throttle body.

Remove the two 12mm bolts holding the steel vacuum lines to the driver front side of the intake. Remove the two 12mm bolts holding the intake manifold to the support bracket on the driver side. Remove the two 12mm bolts holding the EGR pipe to the manifold, making sure not to drop the gasket.

Remove the rubber vacuum lines attached to the manifold/steel pipes.

Remove the 10mm bolt on the rear of the manifold holding the two O2 sensor connectors in place. Remove the 10mm bolt on the front of the manifold holding the cam and crank sensor connectors in place.

Remove the four 12mm bolts holding the small bracket on the top from section of the manifold... these also hold down a plug wire loom and a capacitor.

Remove the 12mm bolts that hold the manifold down straight down the center of the intake. The igniter will come out at the same time, it is held in with these bolts as well.

BE SURE you mark the bolts and their locations, or lay them out in order! These are ALL different lengths and can not be swapped without causing damage.

Remove the plug wires from the coils, then lift the manifold up and off the engine. You will now have access to the plugs and wires.

---Things worth noting---

If you have valve cover leaks, the plug seals are likely leaking as well. THis fills the plug tubes up with oil, which will drain into the engine when you pull the plugs. This will cause the engine to smoke for a bit until it burns off. Ideally the gaskets should be changed if this is the case. Additionally if you have this condition, it is common for the plug wires to fail (tear apart on removal) due to oil saturation. The wires would need to be replaced in this situation.

The plug wire order across the ignition coils (as you stand in front of the vehicle looking at the coils) is [5,2] [1,4] [3,6].
The cylinder order, is driver side, front to back 2-4-6. Passenger side front to back 1-3-5.

Inspect the intake manifold gasket while the intake is off. If it looks even remotely questionable, replace it.
 

Troop92

Well-Known Member
Location
Layton, UT
Nice, man. Love it. One if these will be on my short list when the eventual day comes that keeping my Trooper alive is too cost-prohibitive. Love the 7-pass seating (Trooper does currently) and the mix of all-around utility. As you've mentioned IFS/IRS is fine for most of what I do as well.

Look forward to seeing the "tweaks" you do to it.
 

sixstringsteve

Well-Known Member
Location
UT
I got the tires road force balanced today. No more shake at 70 mph. The tires are starting to cup slightly, which means I'll need to stay on top of my tire rotations.

I had the feeling the gas gauge wasn't working, so I topped it off with fuel. It took 13 gal, so I figured it was pretty empty and the gauge didn't work. Once I hopped in, I saw it was full. These babies come with a 23.8 gal gas tank! That's a bit more than my 10 gal miata and honda fit tanks.

I removed the 3rd row seat (seriously awesome engineering on that seat) and realized my jack and lug wrench are missing, so I'll need to figure something out there.

I polished up the headlights today. It went from this:

20140730_193138.jpg


to this:
20140730_201322.jpg


You'll notice the polishing kit took care of the blue tape I had around the lights, and it helped me close the hood as well. I'm not sure I could have done that without the headlight restoration kit.

I've started brainstorming my sleeping platform and I have some great anchoring options between the child seat tie down points and the 3rd row seat pivot. I'm trying to decide if I want to build the platform around the seats folded forward, in half, or 100% reclined. I'm leaning towards 100% reclined (see what I did there?), because I think it'll give me the most headroom to move around. Now that we're backpackers we don't bring half the gear we used to, so we should still have plenty of room.

Tomorrow I'll either completely remove the plasti dip from the wheels, or I'll shoot another coat to cover the edge of the wheel where the weights go. The wheels look ghetto right now.
 
Last edited:

Rock Taco

Well-Known Member
Location
Sandy
Have you tried to sleep with the seats reclined yet? I think i would do that before building a platform. If you do build the platform with the seats reclined how much storage space will you lose under the platform? May not be a concern for you. But your stuff my fit better if you build the platform above the folded forward rear seats.

By the way lets see some more pictures of this thing. Interior shots would be cool.
 

johngottfredson

Threat Level Midnight
Location
Alpine
What about fabbing up some pieces of foam to flatten out the 'bed'? I always wanted to do something like that. You could carve out a thick foam mattress to fit the weird contours of the seats when reclined. However, that may not be as sexy as a custom designed sleeping platform that folds into the rear basement storage compartment, so maybe its a bad idea...
 

sixstringsteve

Well-Known Member
Location
UT
Have you tried to sleep with the seats reclined yet? I think i would do that before building a platform. If you do build the platform with the seats reclined how much storage space will you lose under the platform? May not be a concern for you. But your stuff my fit better if you build the platform above the folded forward rear seats.

Great points. I haven't slept in it yet, but it is far from flat or comfortable. John has some good ideas with adding foam to the contours. I'll get some pics of the the interior. I appreciate the brainstorming, I'm all ears to suggestions.
 
Last edited:

sixstringsteve

Well-Known Member
Location
UT
Here are a few pics of the interior. I'll get more tonight.

20140731_073129.jpg


small action packer in the back for reference.
20140731_073146.jpg
 
Last edited:

sixstringsteve

Well-Known Member
Location
UT
Random brainstorming about the sleeping platform...

If the action packer were 1" taller it would be even with the 1/2 folded seat. The 1/2 folded seat is 13" tall. The fully reclined seat has a huge dip in the middle. Maybe I could find a wedge of foam that takes up this space.

Since the action packer is 1" lower than the 1/2 folded seat, I could still build a platform and be able to slide action packers underneath it. I'd probably build the platform so it only covered the area behind the 2nd row seats. In other words, my sleeping pad could rest on the 1/2 folded seat at my feet and the rest of my body would be on the sleeping platform.

Another thing to note is that the storage box beneath the floor is about 10" deep (which would be 23" to the top of the platform). I'm not sure I"m going to get an ARB fridge, but if I do it'd be nice to design the platform so the fridge fits under it while in use.
 
Last edited:
Top