Deweyxj
Invisible, on purpose!
- Location
- In my own private Idaho
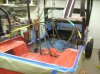
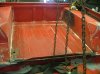
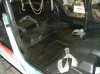
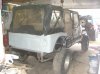
UPDATE! I got the rollbar finished and the bed sprayed with bed liner! Pics to follow!

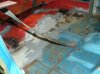
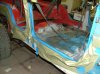
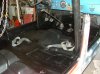
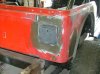
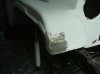
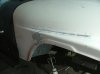
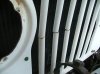
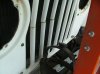
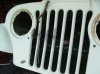
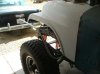
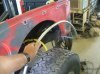
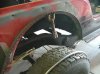
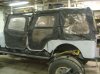
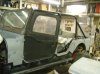
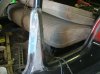
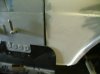
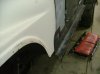
 Then I took 3/4 light angle & cut slots every 1" on one side& then bowed it to fit the fender opening. :-\The first go wasn't a tight enough radius so I used a cutoff wheel to open every other slot which was just right! There is no exaust to speak of so it sounds like a dragster!! I'm sure the neighbors were impressed! A quick moment of panic & a couple of O'Shatz later we back inside & safe!:thumbs: It almost looks like it was designed to be a 4 door from the beginning, (at least in my mind!) It is amazing how much time I've spent on fab of little brackets & spacers & holders & backing plates ect... Right?
LOVE IT! Glad to see you're excited about the project again. Looking forward to seeing it on a trail one day.
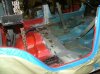
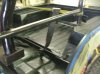
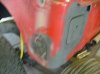
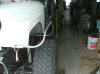
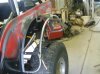
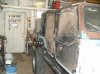
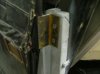
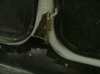
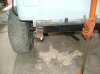
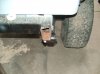
) Only prob. is that the center hole is about 3/4" too small! The body shimming gave it a nose up attitude, so I tore the rear spring packs apart & added a couple of leaves per side! No way!! With just bars on the sides there was enough slop to get the bolts through but with everything square & solid there was no way to force them into the right position! The spring eye is 1 1/4" outside the frame rail on either side!