Okay, next upgrade.
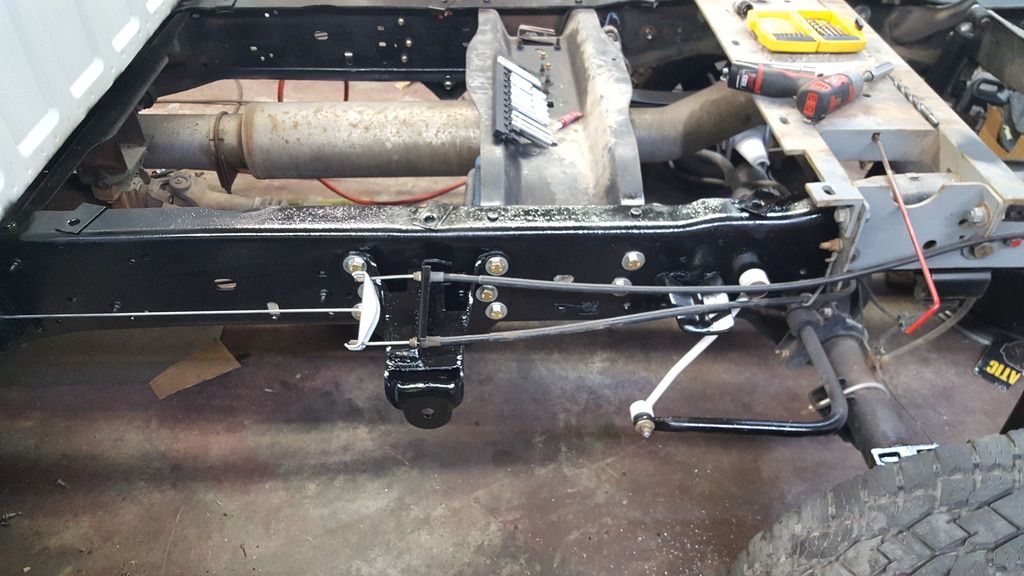
08+ leafspring swap and shackle flip.
This was pretty easy but leave dunno if it's worth it.
Everyone says it makes a huge difference but I don't see it.
Some conditions it dose but others not so much.
So I decided to do the swap when I got laid off due to the down oil market and when I was picking up all my stuff my co worker saw my rear sway bar link was hanging and when I looked at it i noticed my leafspring was actually broken.
I had a set of 2015 ish spring take offs from bryson awile back and they have been sitting around so figured I now have time to do the swap.
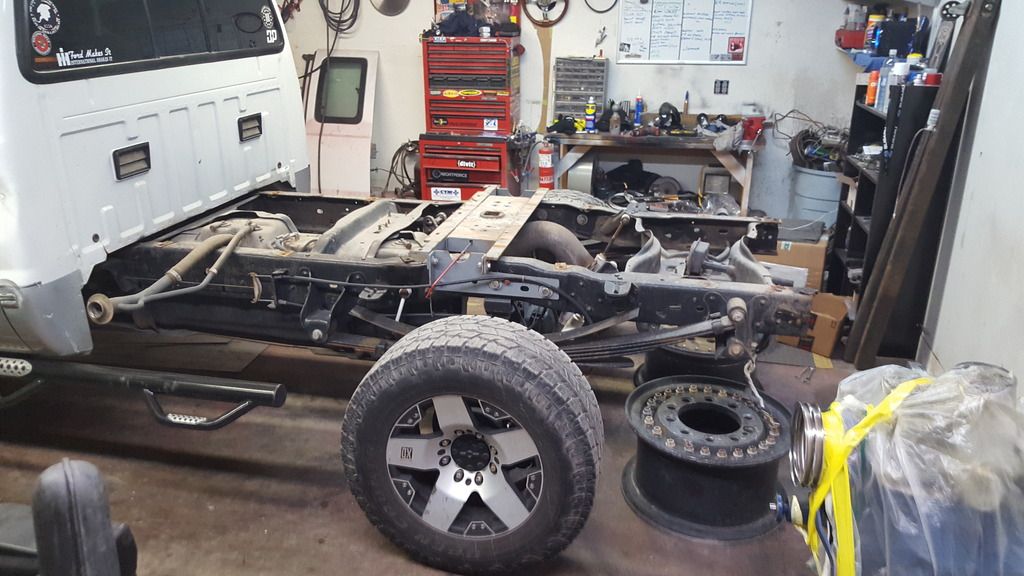
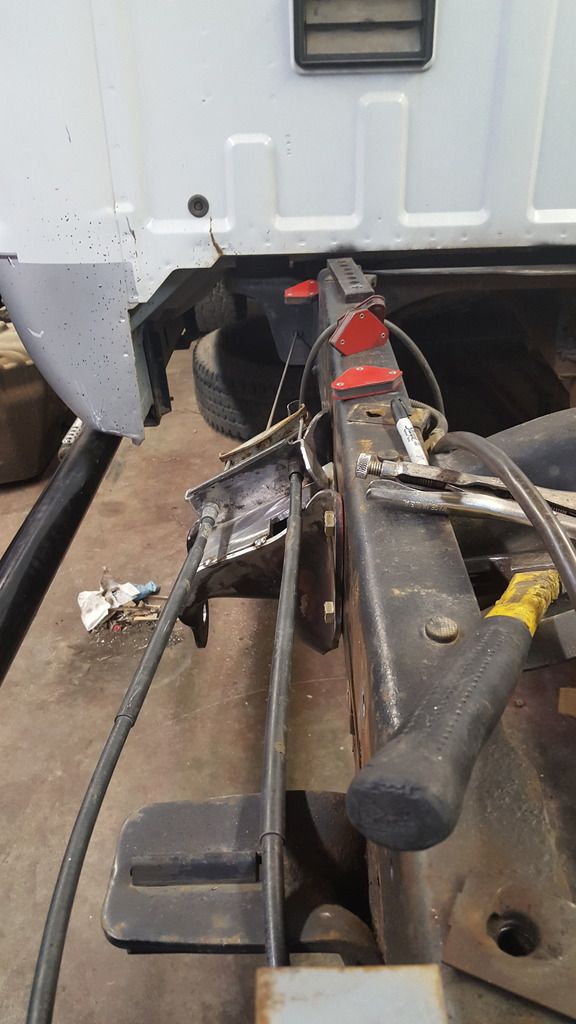
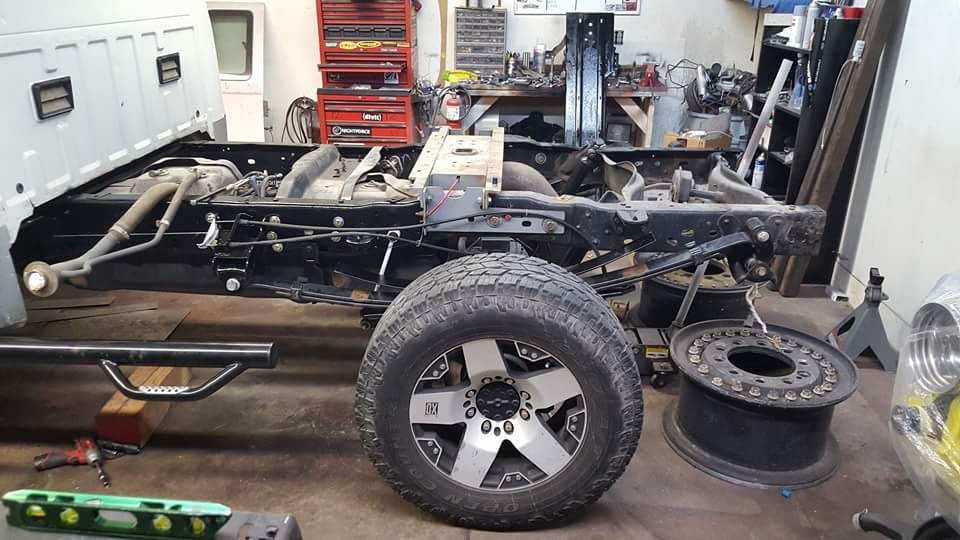
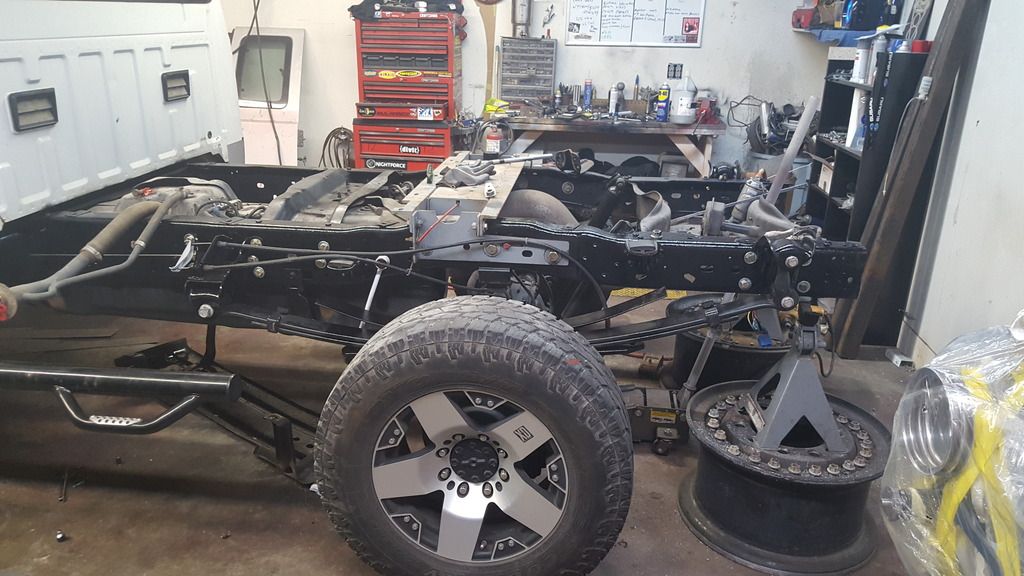
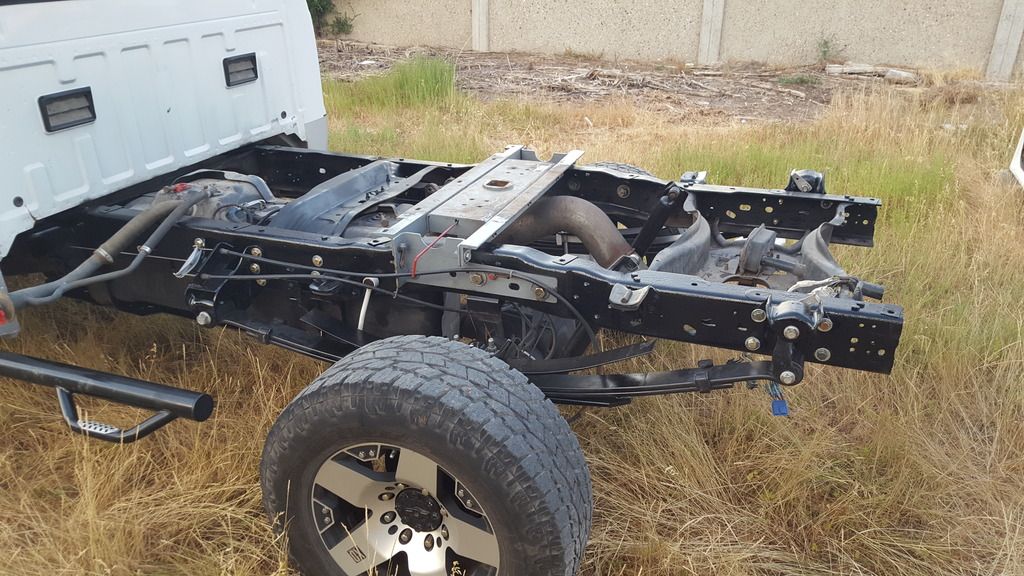
I took the bed off just to make life easier.
I got some 10 ton Rockwell wheels and taller stands from my buddy Steve over at dieselsellerz.
THANKS FOR EVERYTHING STEVE!
I decided to do one side at a time as there was not a hole lot of info available for reusing the front mounts. (Couldn't justify spending over $300 for the bracket kit)
Seriously, if you don't have a air hammer then get one.
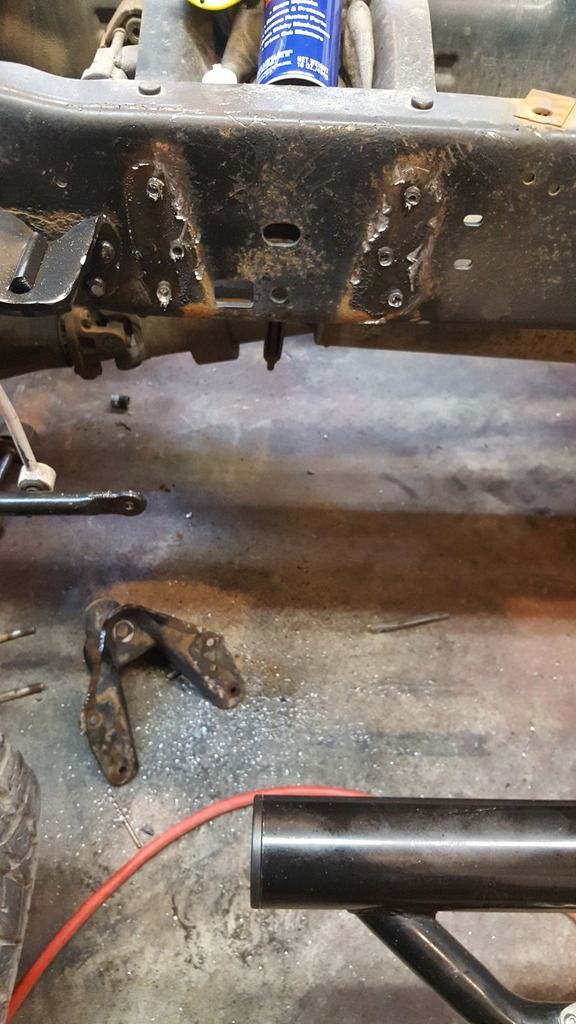
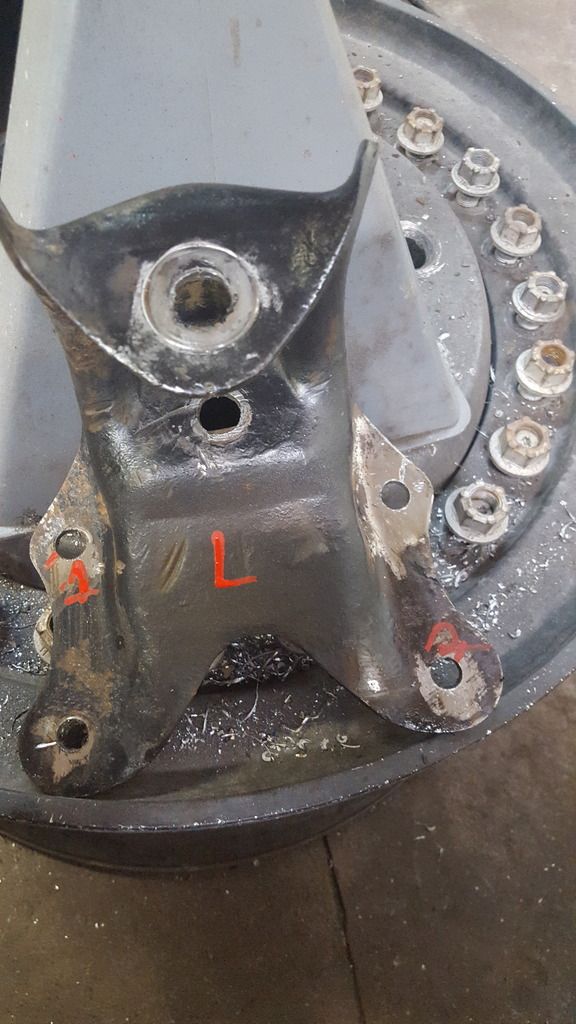
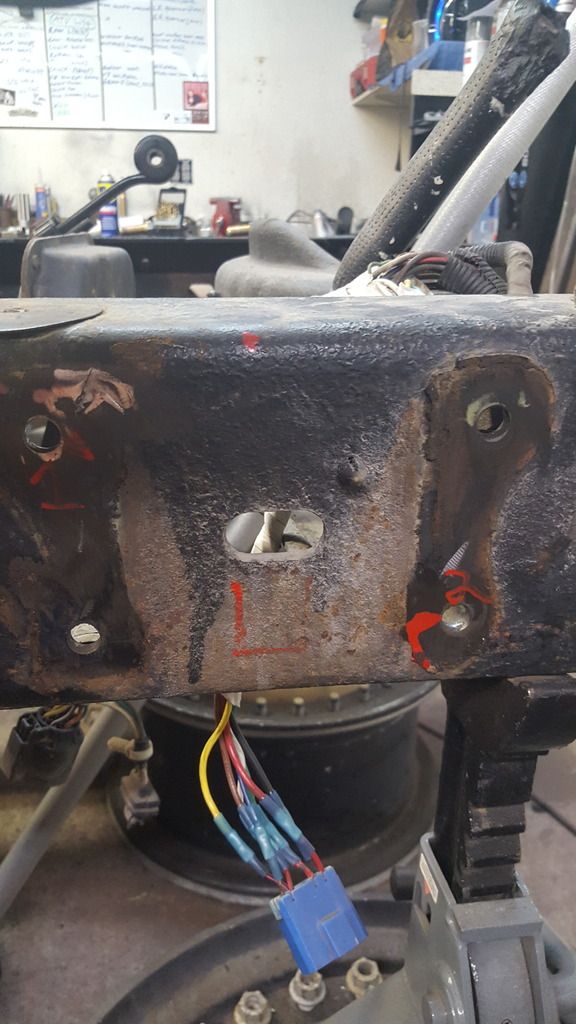
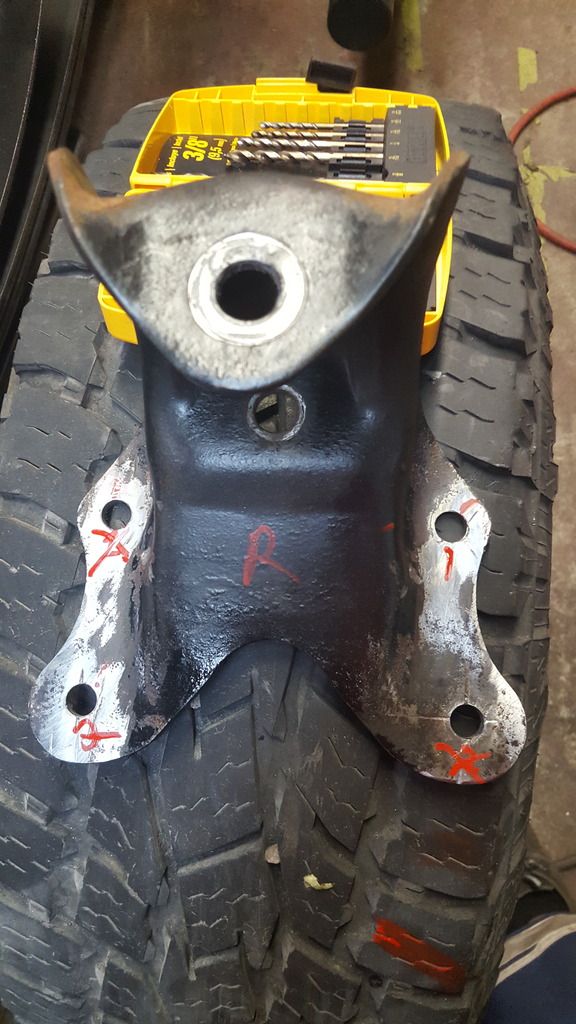
So started by cutting pie shapes into the heads of the rivets then buzz them off and i like to drill a hole through the rest and they will normally buzz the rest of the way out.
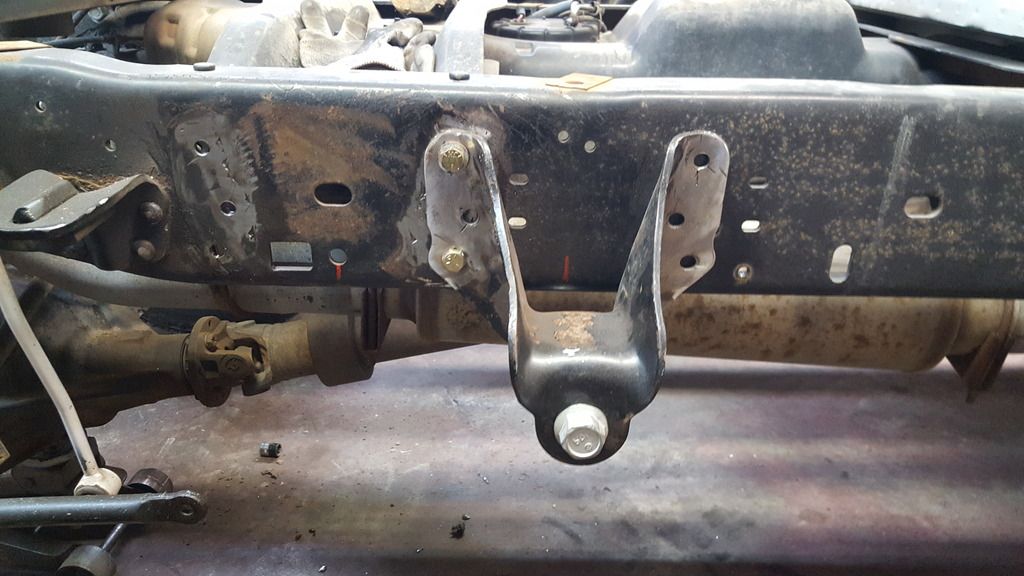
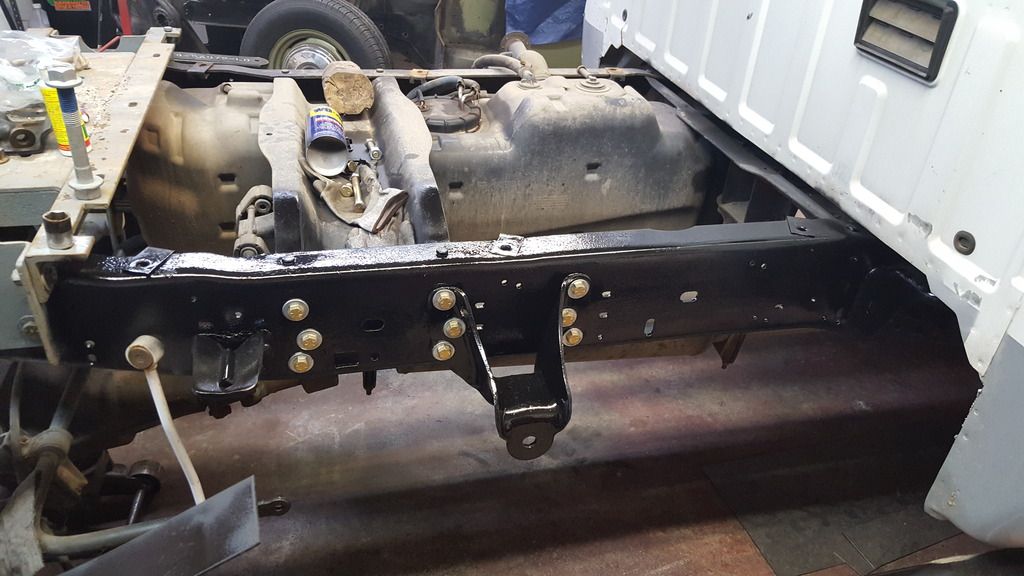
once you got the brackets off move it forward 8" two of the old rivet holes will line up with the bracket and these will be your alignment holes that all need to be drilled out to 1/2".
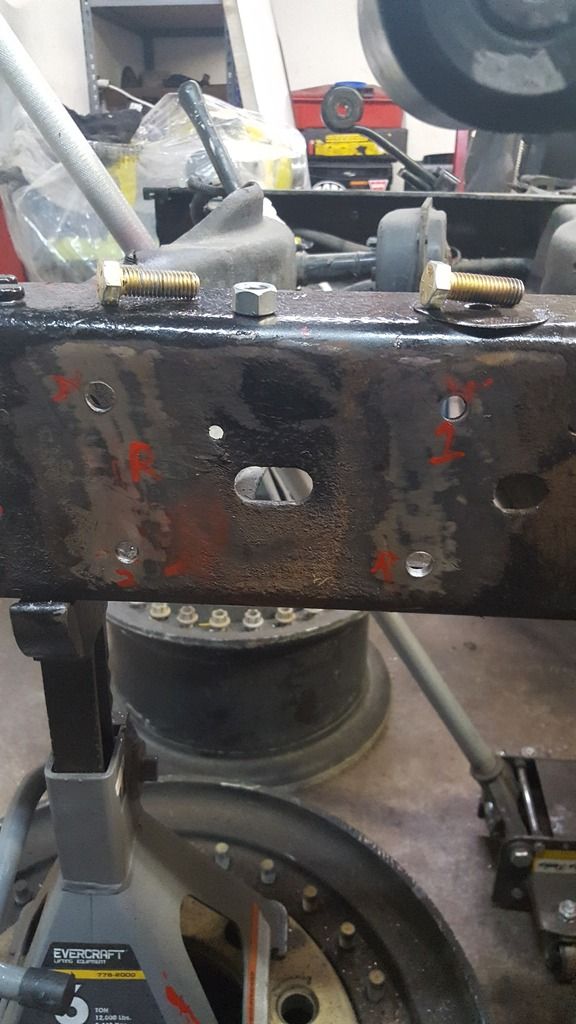
The passenger side is nice and accessible to get to the back of the frame rail but on the driver's side gas tank is in the way, so on the driver's side I dropped the tank and welded nuts to the back of the frame (tho really, the frame is thick enough to drill & tap but didn't think of that till I was done).
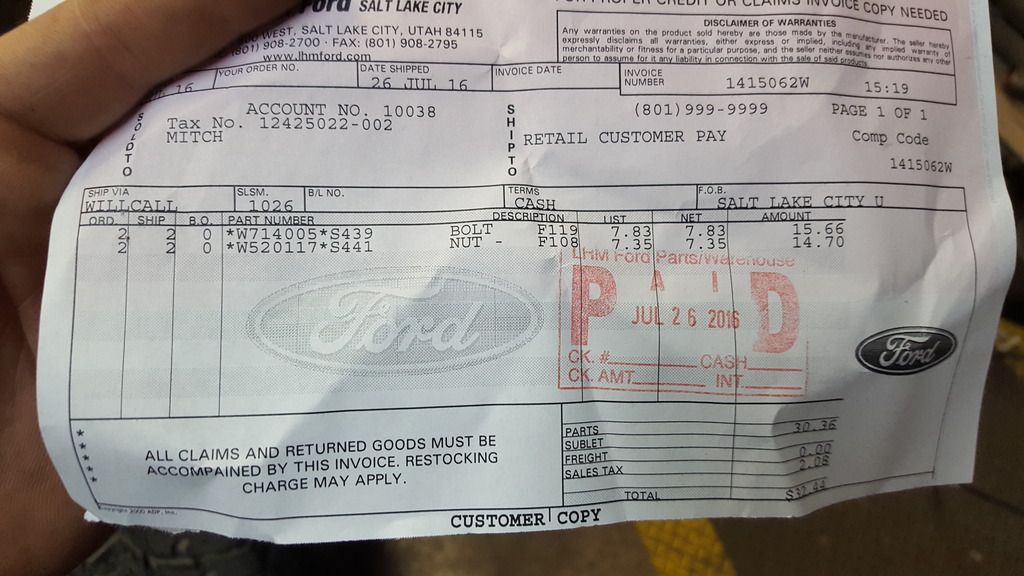
Also the front bolt is bigger then the mount and old spring so these are the ford part numbers your need (
) and I used a carbide bit to open up the hole from 18mm to 20mm. I also made a key for the drivers side mount sense I have put a plate over the frame mount making it hard to get too.
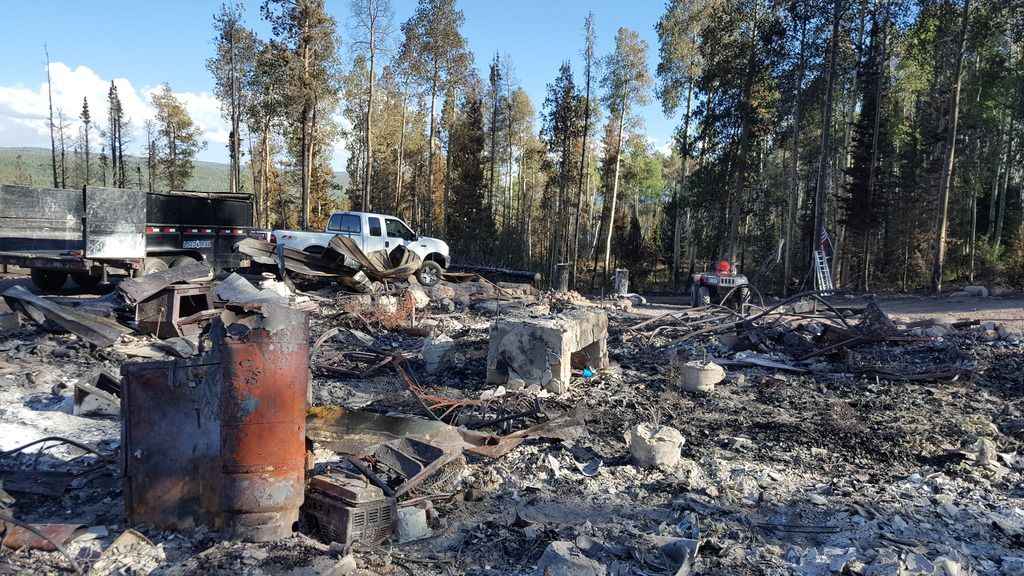
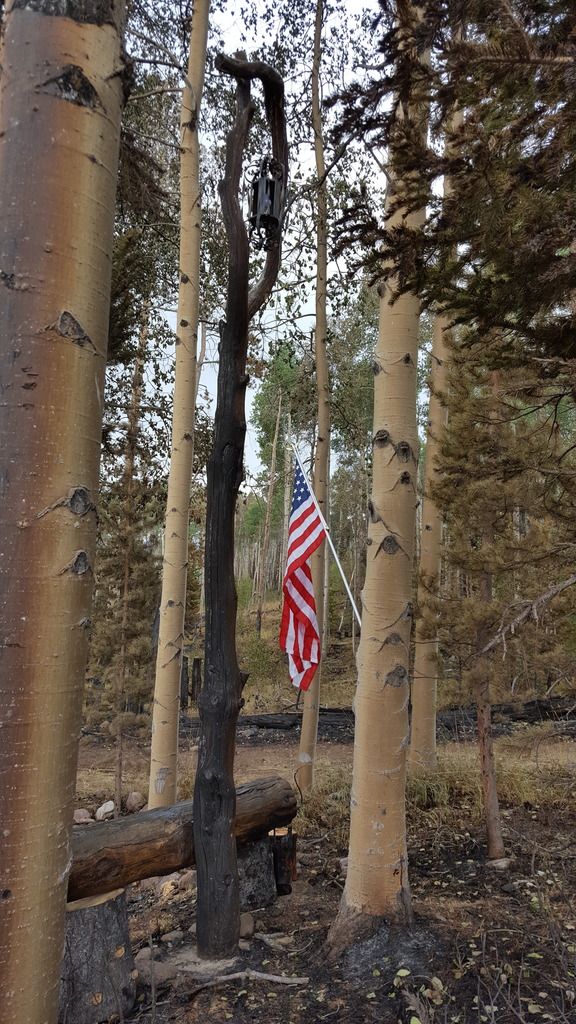
it was about this time when i got word on the fire that claimed my grandparents cabin...at the time when it first happened we were not sure if the fire took it or not and I couldn't handle the emotional stress or anxiety so just worked on the truck all day and all night trying to shut myself off from the world..then my brother called...couldn't handle the news and did the only thing I could,work and cry.
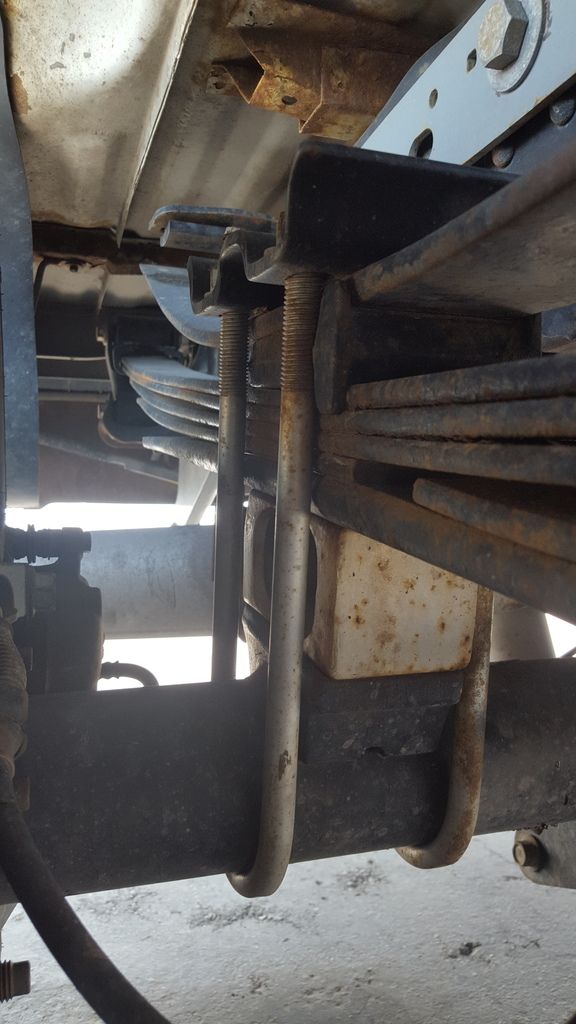
I didn't have all the spring Hardware from the donor truck I just had the springs so used my old ubolts and blocks, witch i figure would work out due to these springs sit 1" lower and the blocks on the newer trucks are smaller so so win win right? Meh, not so much it turns out.
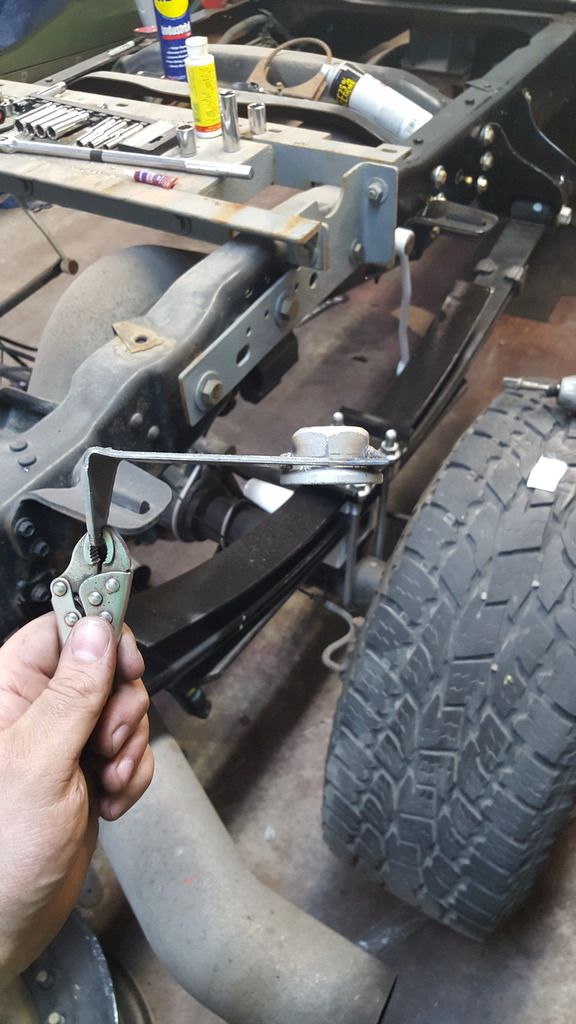
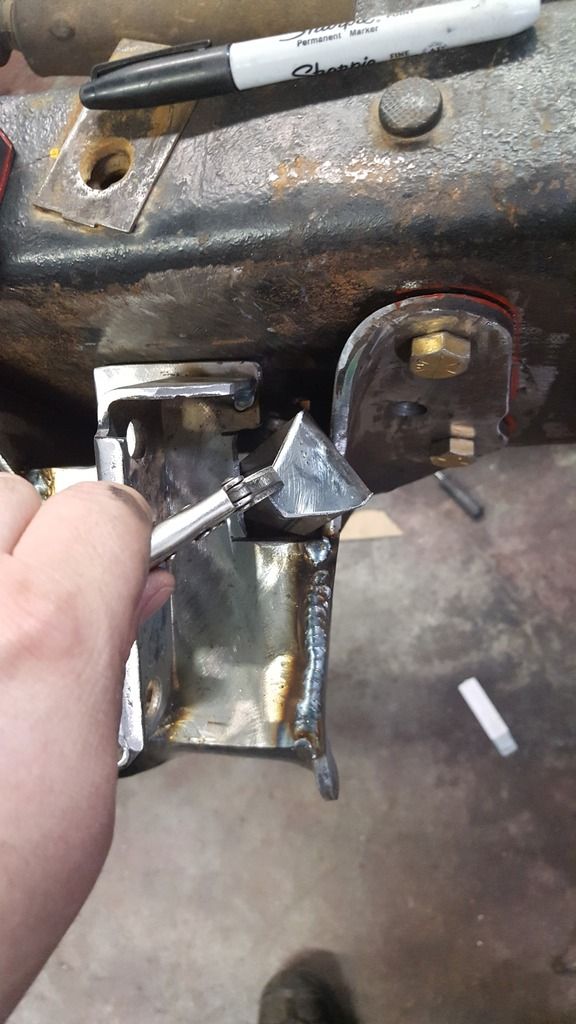
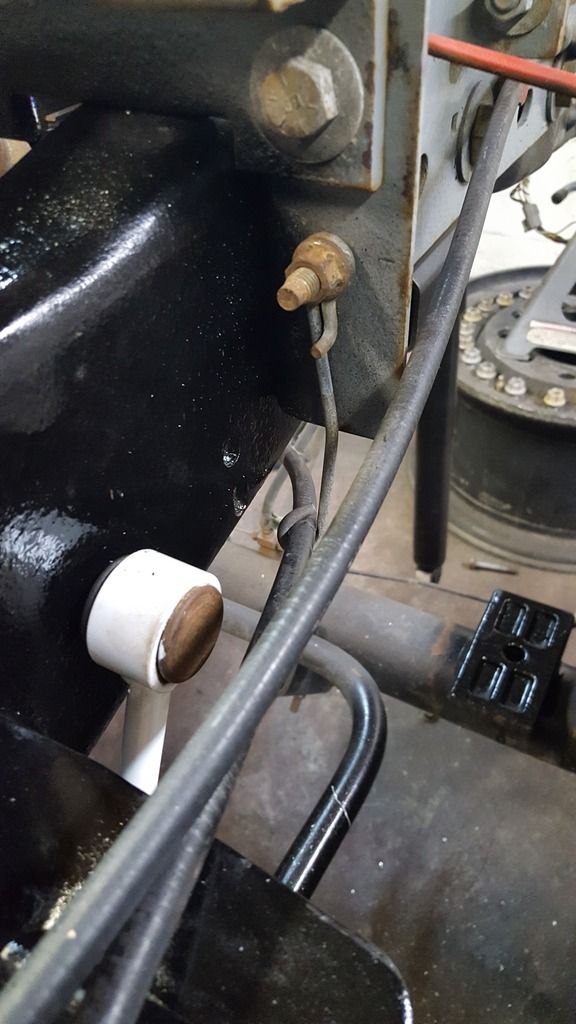
So the parking brake,
mine had the worse style to work with and the bracket is smack dab in the middle where the bracket needs to move to.
So cut the bracket off put the spring bracket in place on the frame and wound up making a flat plate that welds between the mount and keeps it in the same position.
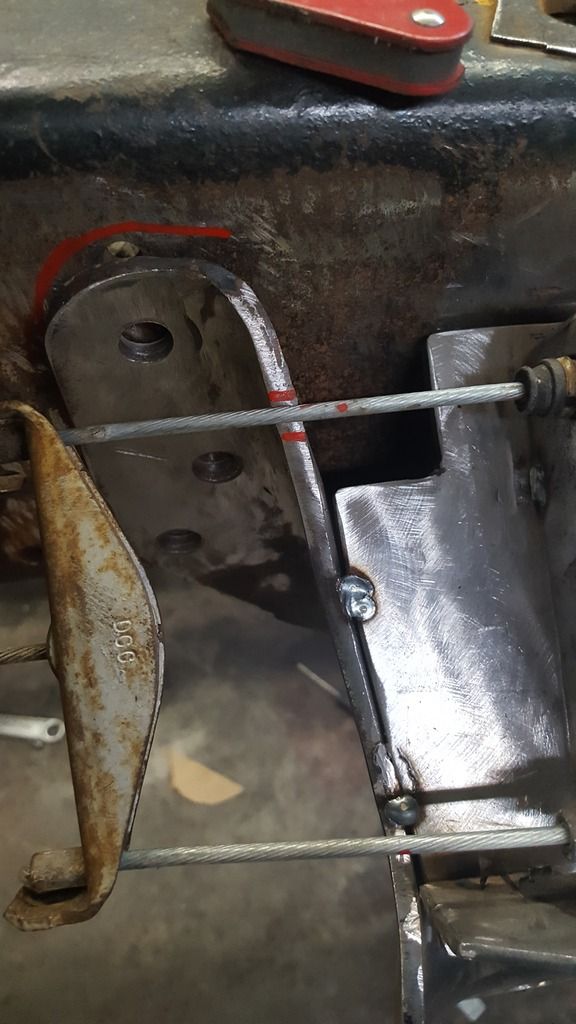
Now the problem with this is the angle is different so it pulls on a angle but doesn't bind anywhere but the cable dose get close too the bracket so I notched the bracket a little just in case. but it is pulling harder on the passenger side then it dose the driver side about 1/8".
I tried moving the bracket in different angles but made no difference.
So actually welded a small spacer behind the bracket where the cable slides into so it's a little bit farther and now pulls the same, good and done.
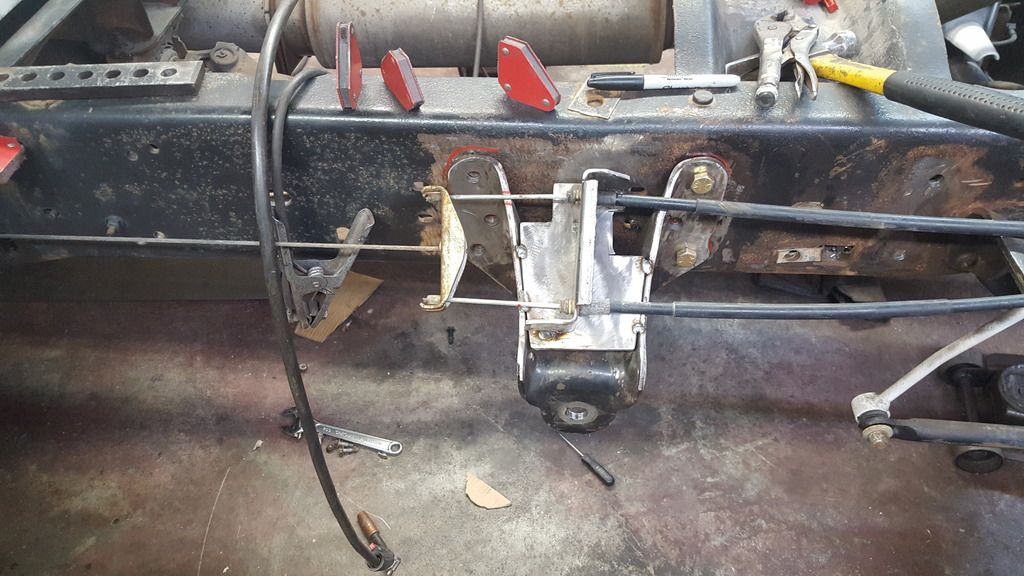
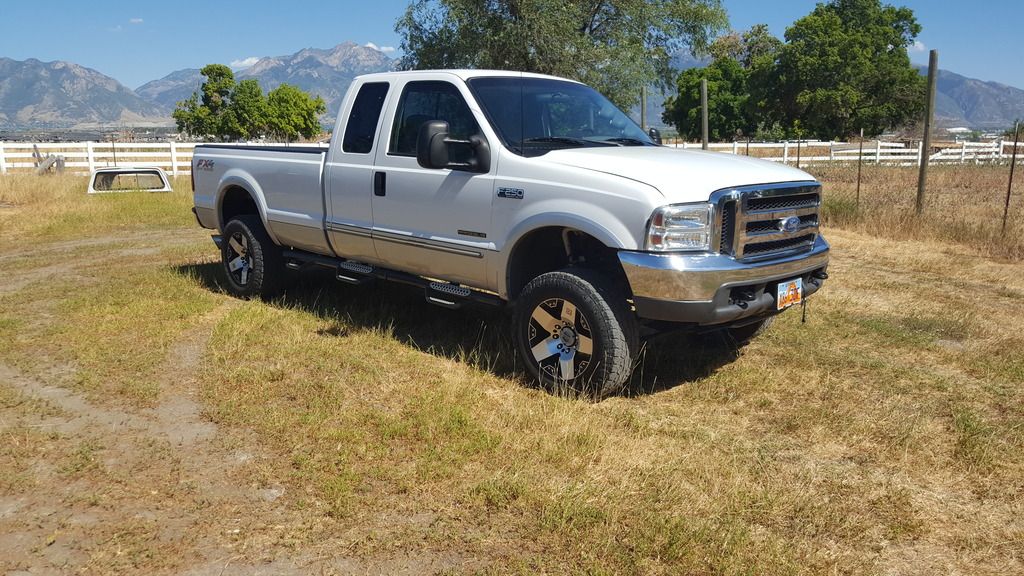
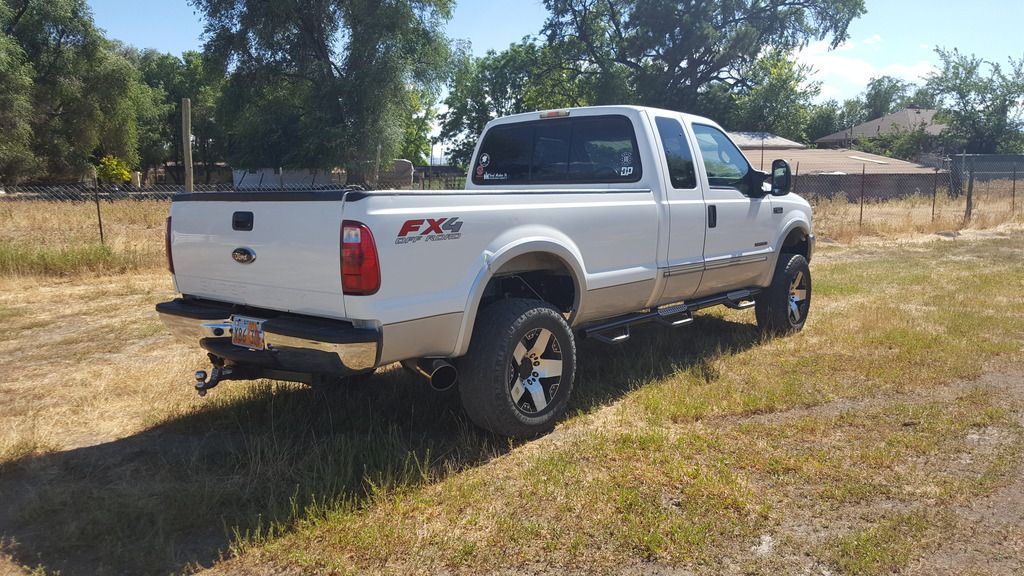
So to reiterate back to my conversation with the blocks. When I got everything in place and bolted up I lowered the truck back on the ground and seemed like it sat a bit lower then before...the body line and frame was level but still seamed like it was squatting hard in the back...
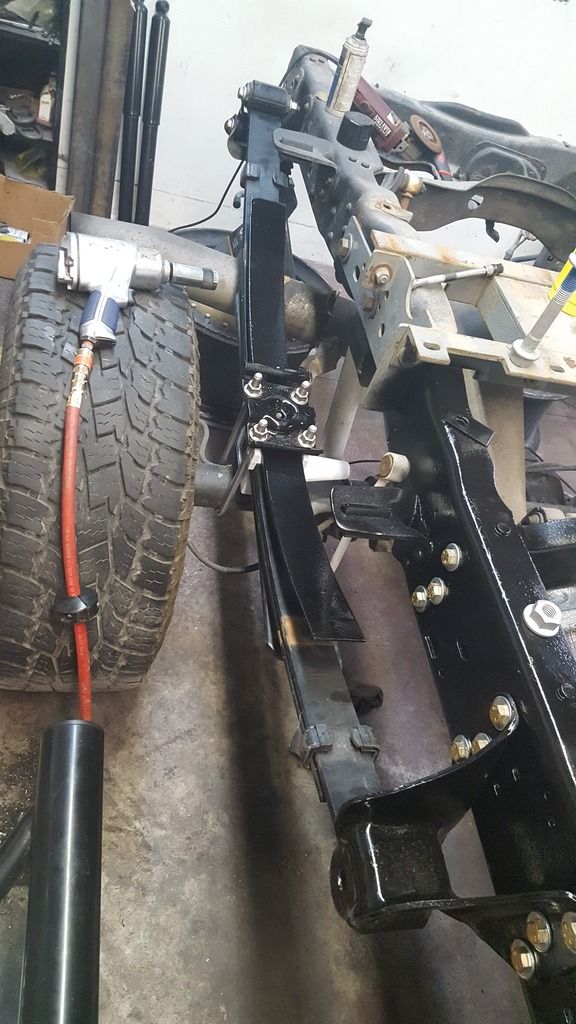
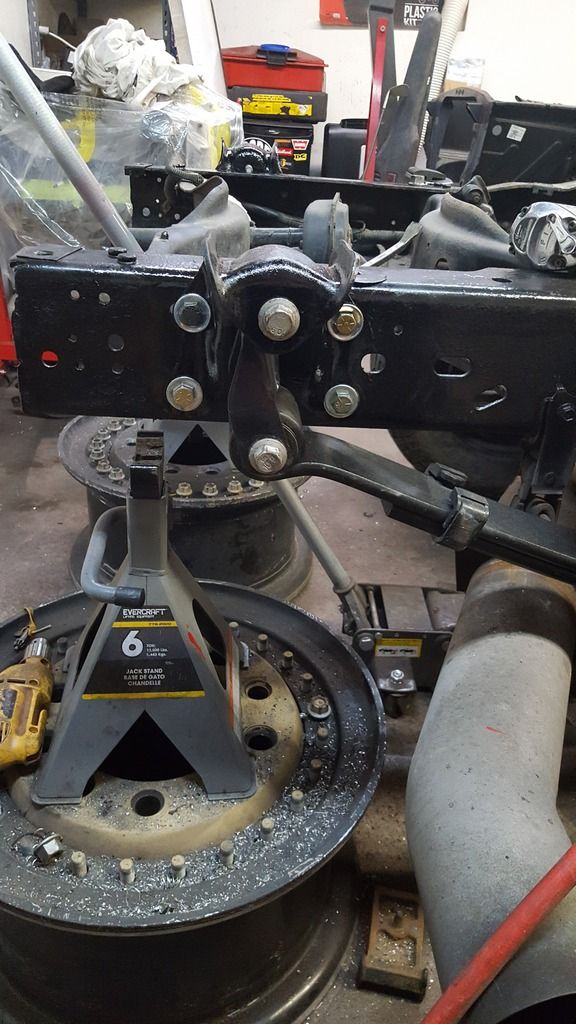
my buddy Steve come over and hung out for a little bit and see what i had going on and as he was looking it over we decided to do a shackle flip in the back witch would lift it 2".
So next is the shackle flip.