I'm still working on learning Tinkercad and having fun with it. Today I built a little piece that keys into itself around a 1.5" tube. The idea is having a nice, flat surface to make a straight line (around the tube) with a sharpie- which is the hardest thing ever if you've ever seen me try and mark a tube...
Is it dumb, yes? Do I like the idea of it? Also yes. Most importantly it helped me learn some stuff and things and I'll learn even more about tolerances and whatnot when I go to put it on a tube. Hopefully I can get the neighbor to print it for me.
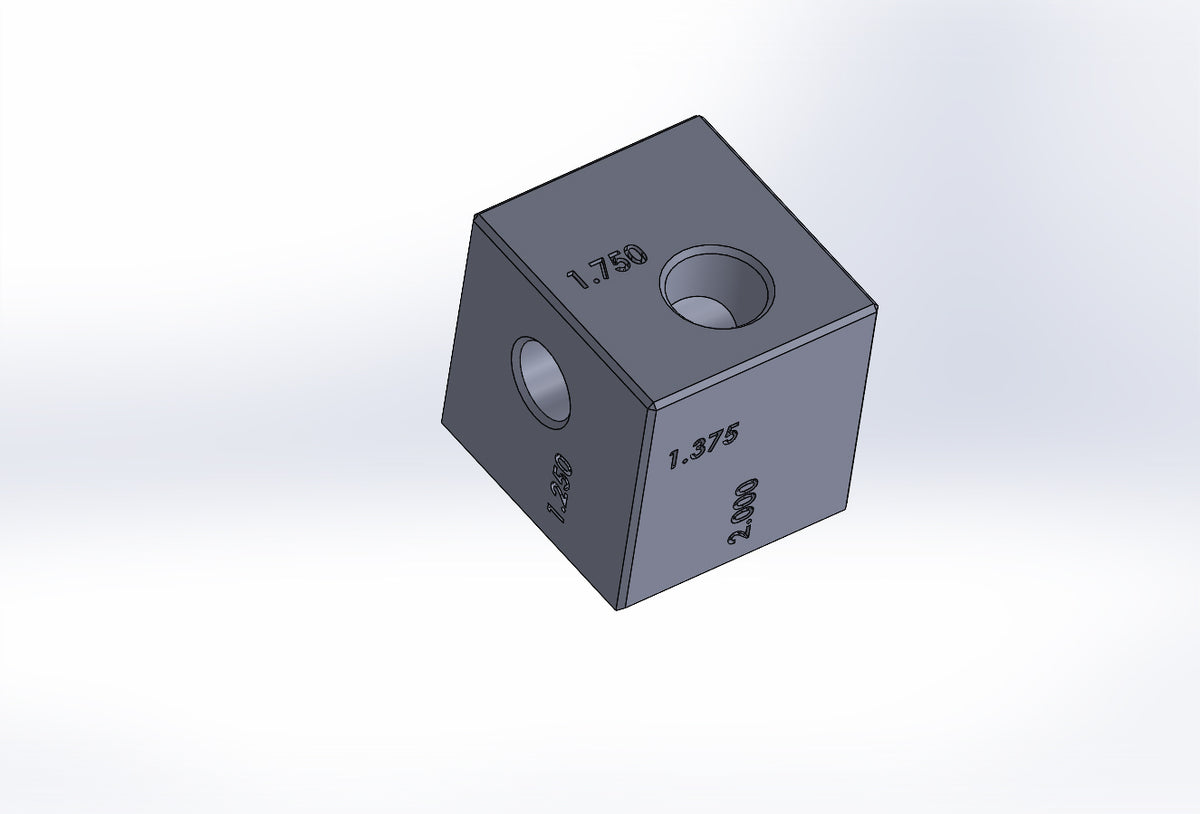
View attachment 168644
Oh and I also designed a piece to fit over a Ryobi battery that holds a velcro strap in place. It has a little more detail underneath but it's still nothing that neat to look at. This one should be helpful for me. I actually designed it first today and then realized I could've done it way faster with some tips and tricks I learned later in the day lol
View attachment 168645
Sorry for continually derailing the 3d printing thread