My Mini Lathe Projects

MikeGyver

UtahWeld.com
Location
Arem
I am not a machinist And the only prior (minimal) lathe experience I have have had is using a mini lathe for really basic and non critical stuff at an old job.
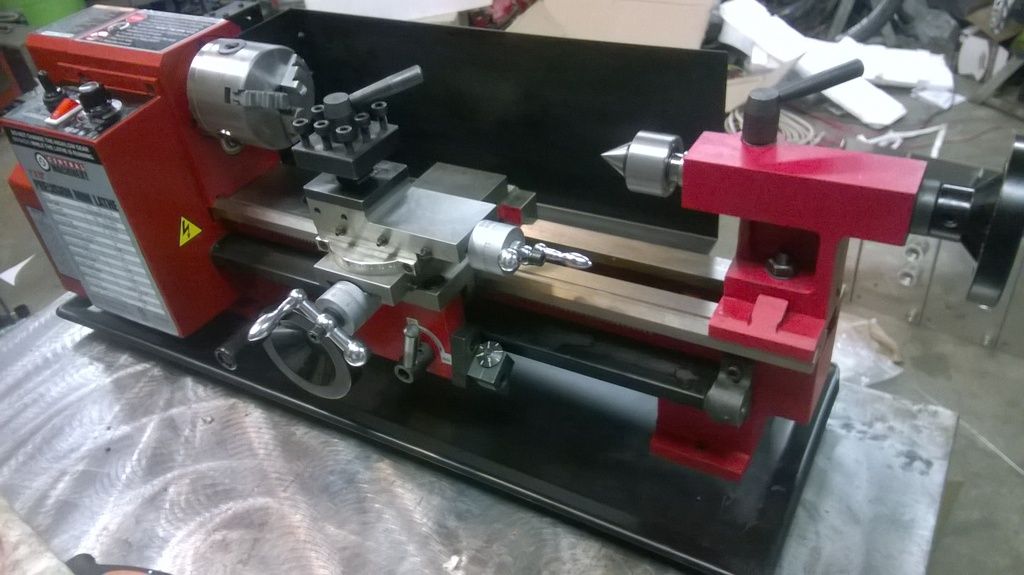
Anyway, I've been wanting to get a lathe forever because I realized how much it would expand my capabilities in making things. I didn't want to spend ton or have room for a very big machine, so after some research I saw that the 7x mini lathes can be made decent for hobbyist use with a little upgrading. I ordered the 7x12" lathe from the harbor fr8 website on black friday, and wish I would have done so years ago.


WP_20151202_003_zps2gqpkmjj.jpg


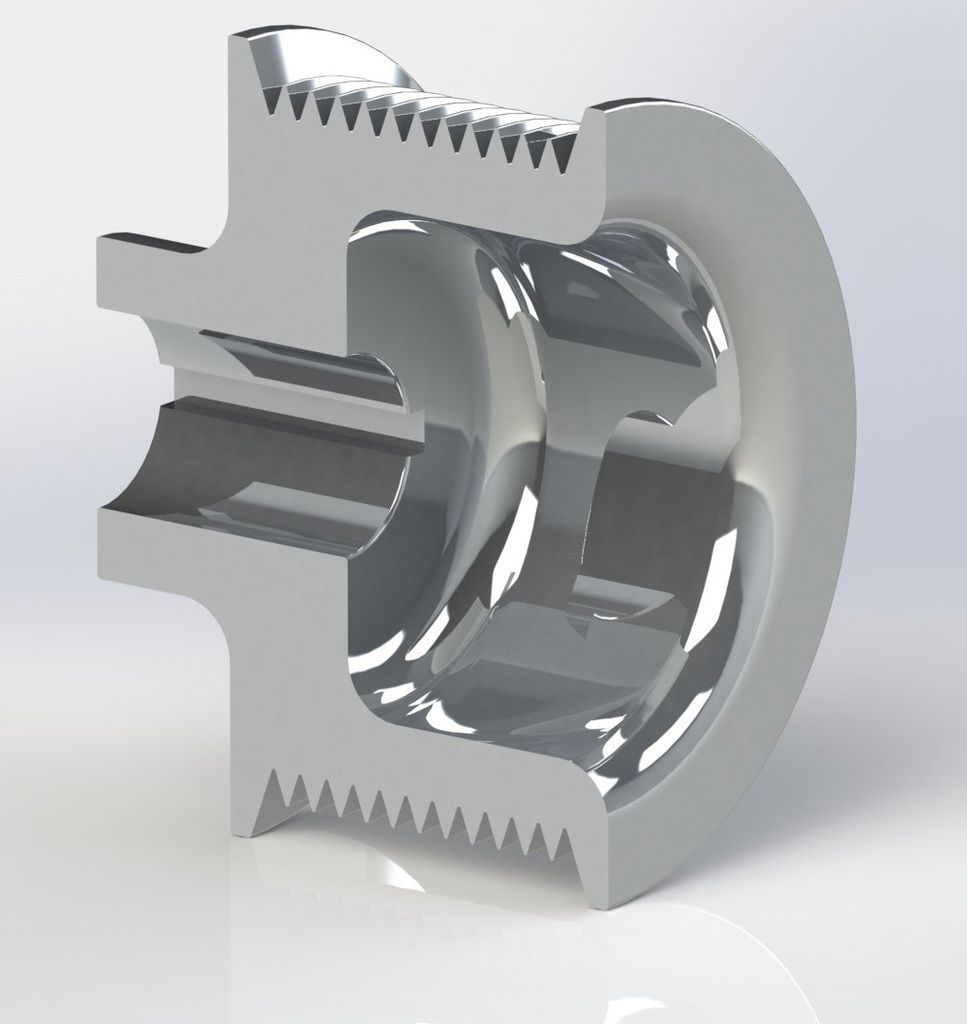
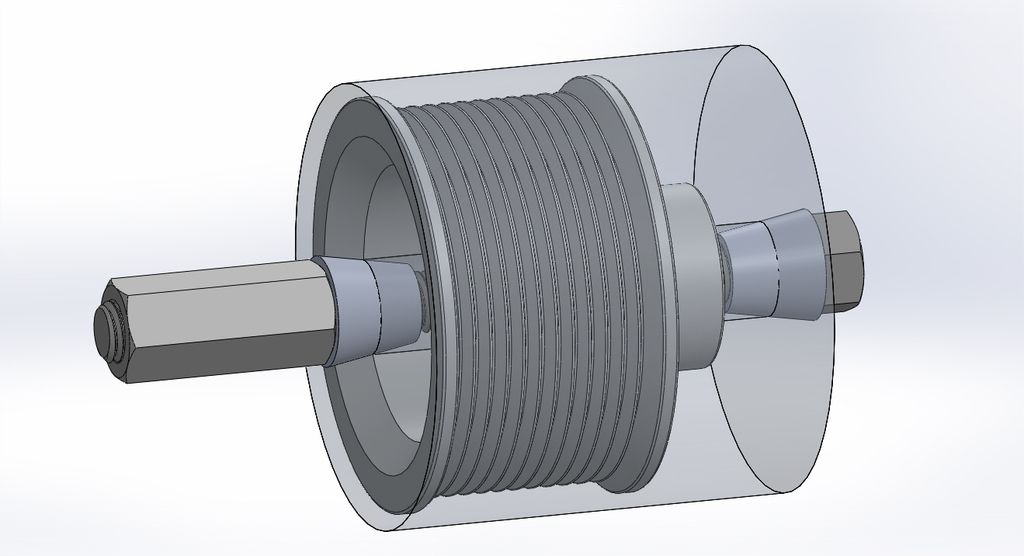
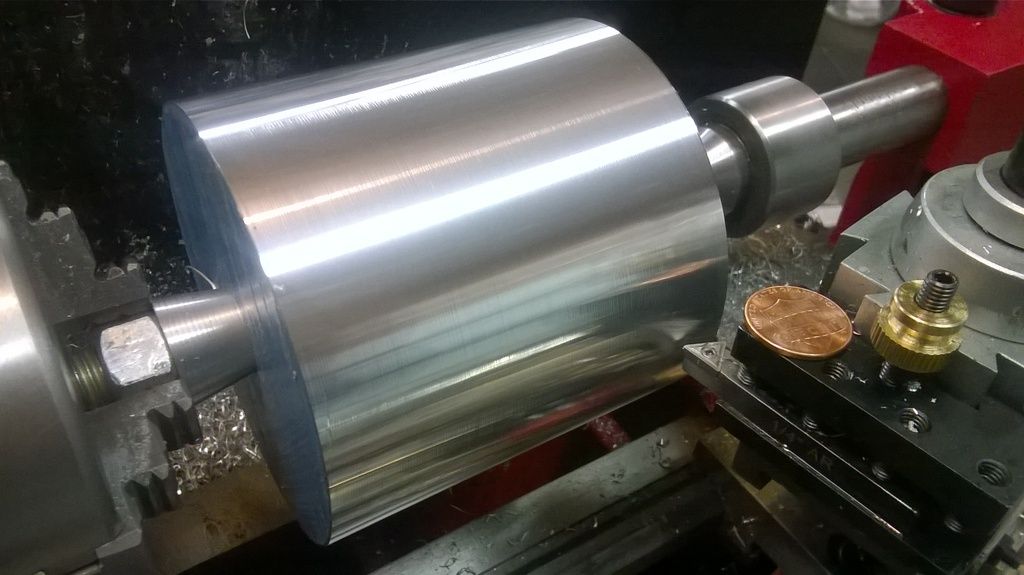
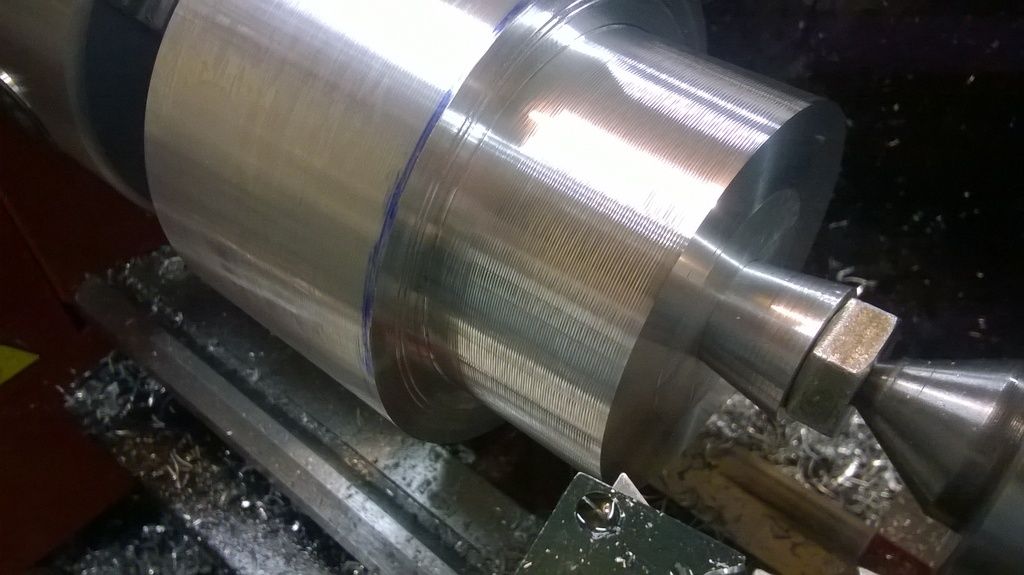
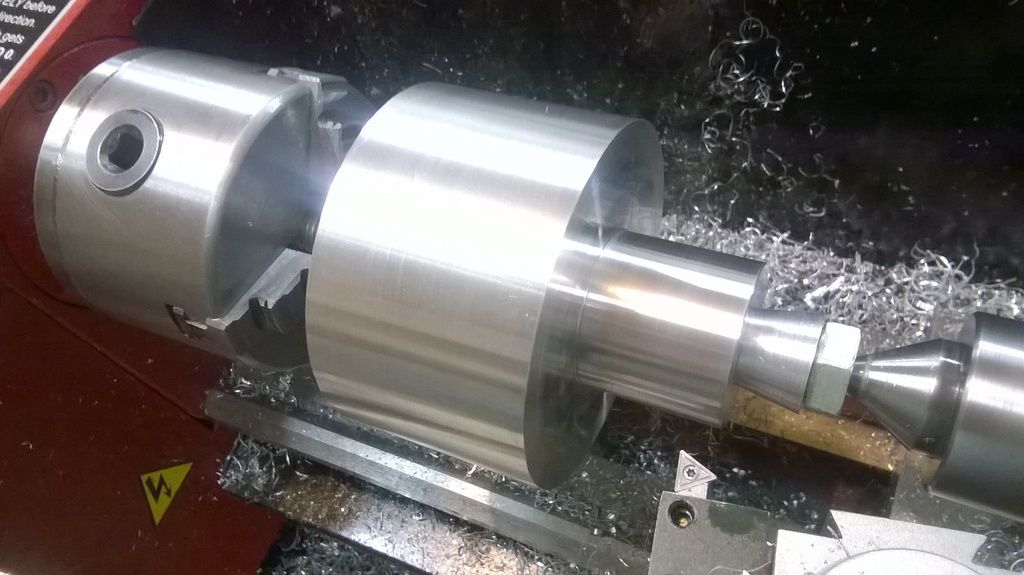
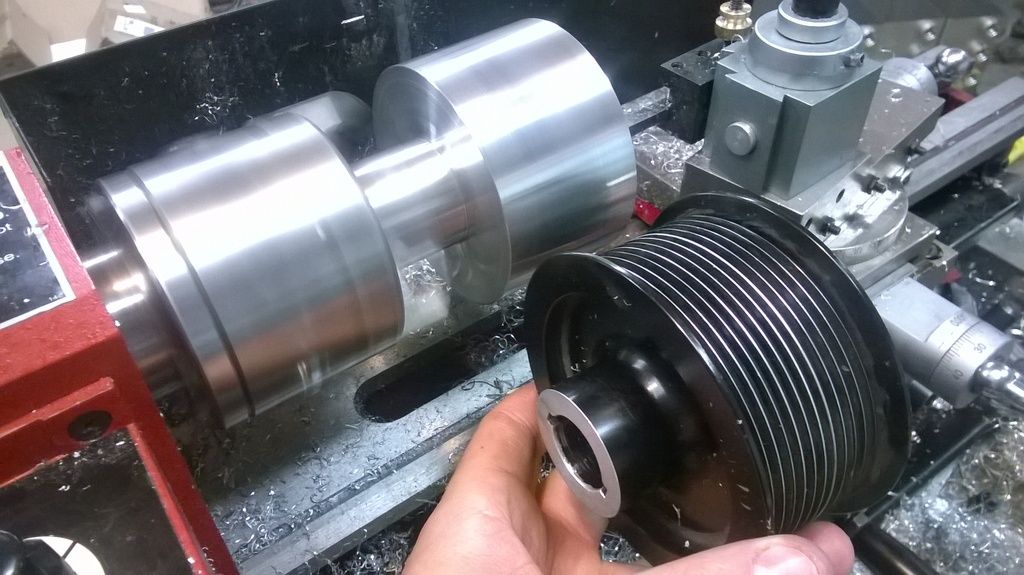
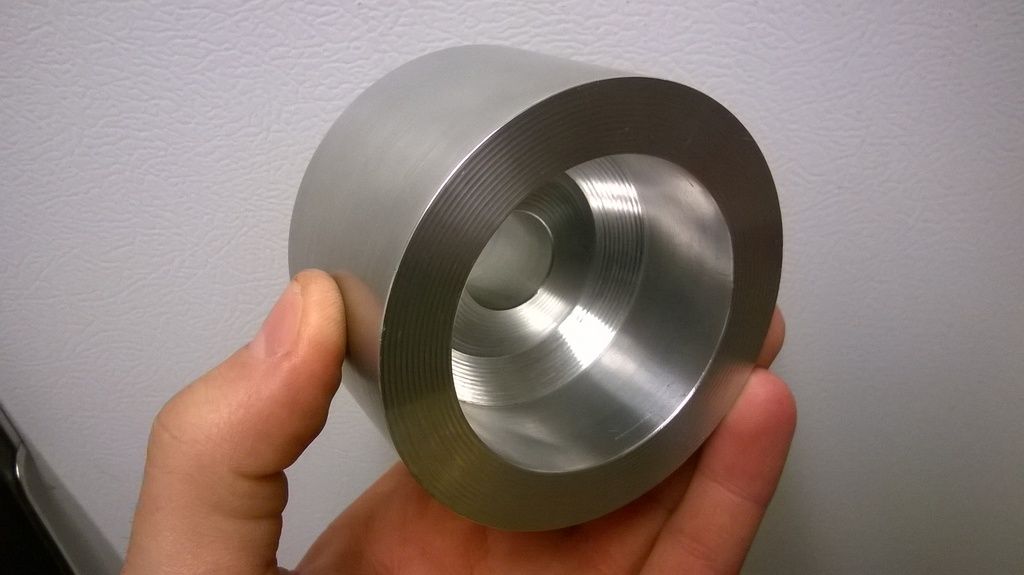
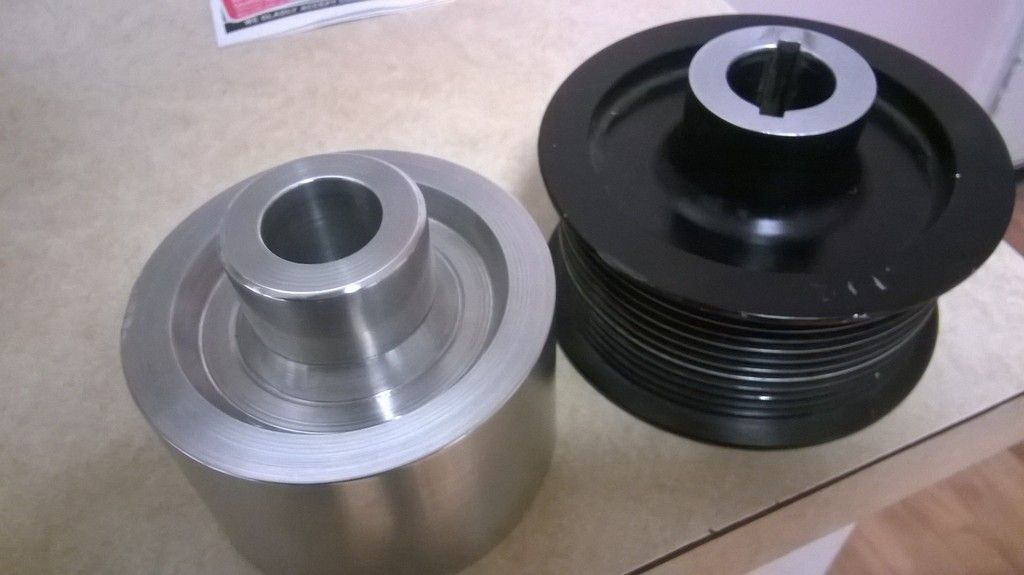
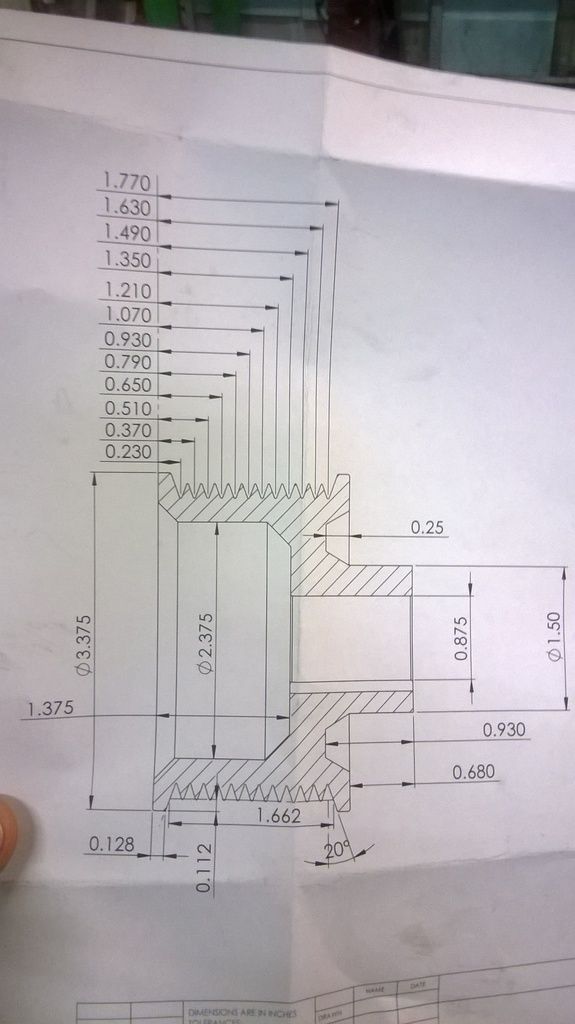
My first project is to make a supercharger pulley for my friends Procharged Camaro. He's currently running a 3.7" pulley and seeing about 11psi of boost on his 383. We are making a 3.2" pulley.
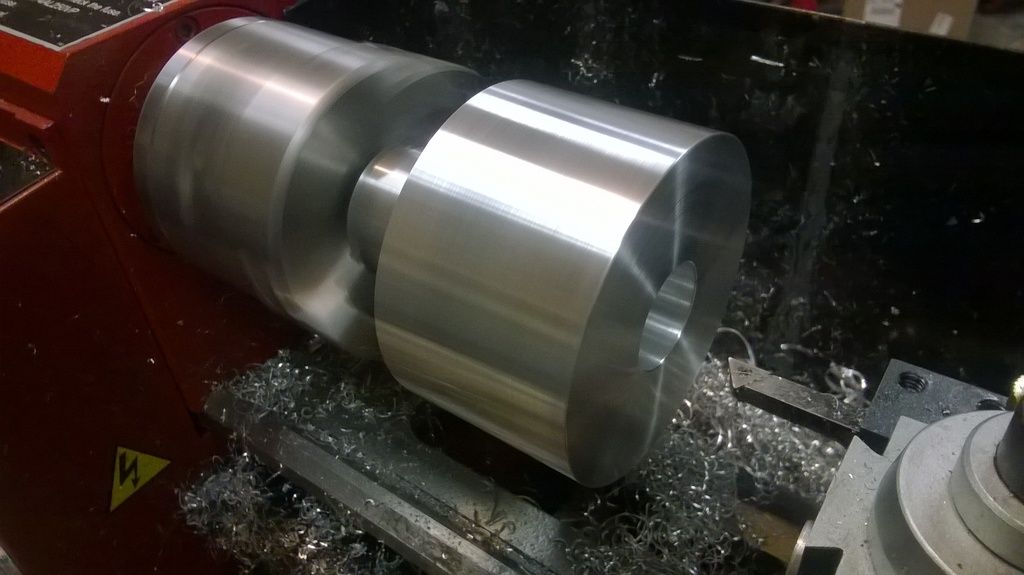
We bought a slug of aluminum on ebay for like $24 and while it was shipping I started familiarizing myself with some basic lathe operations.

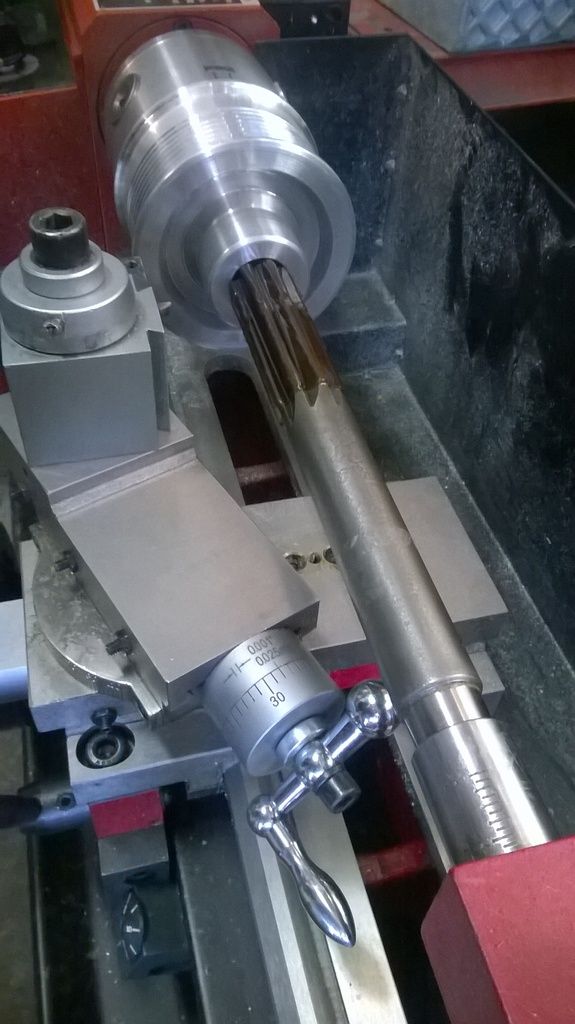
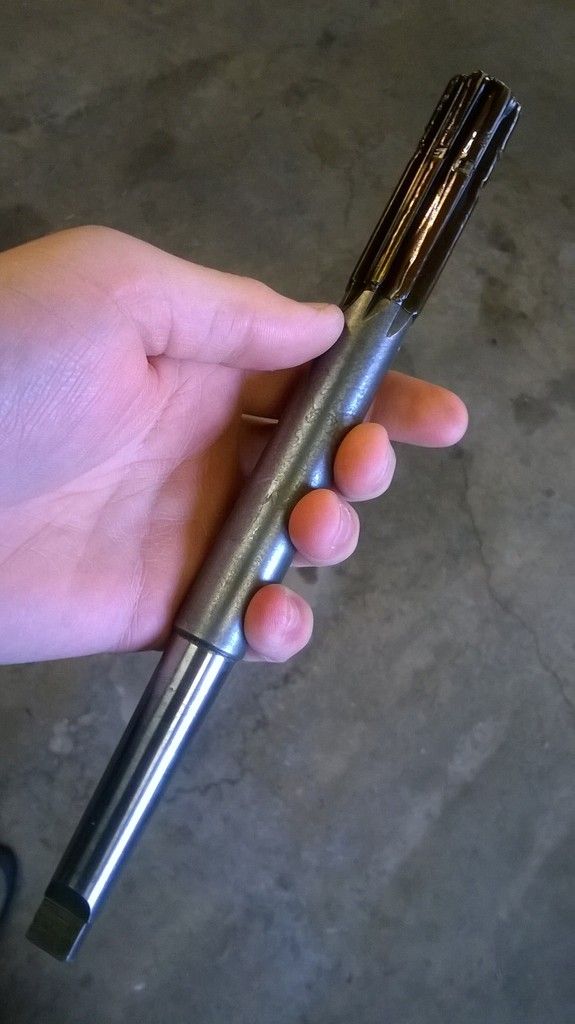
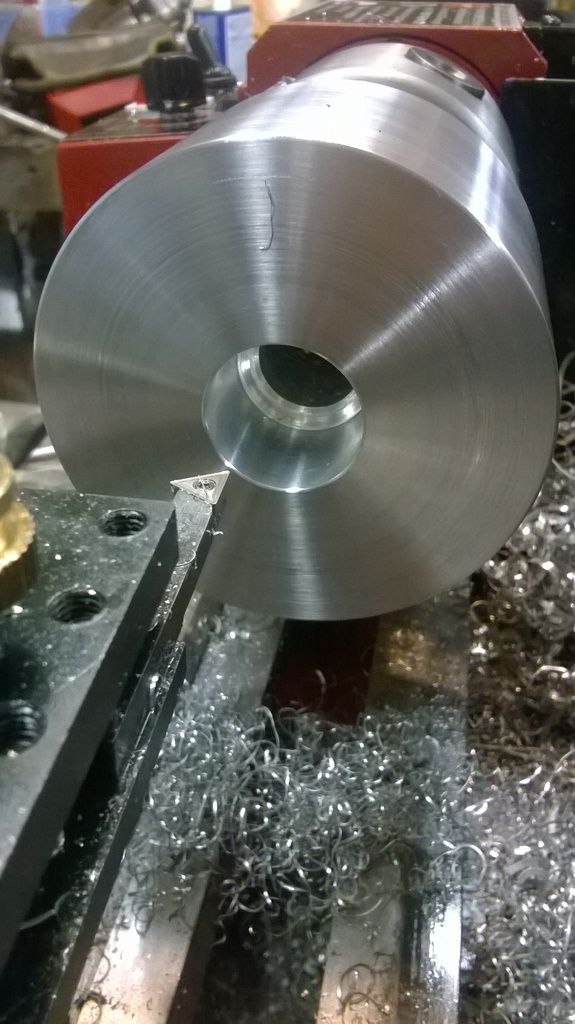
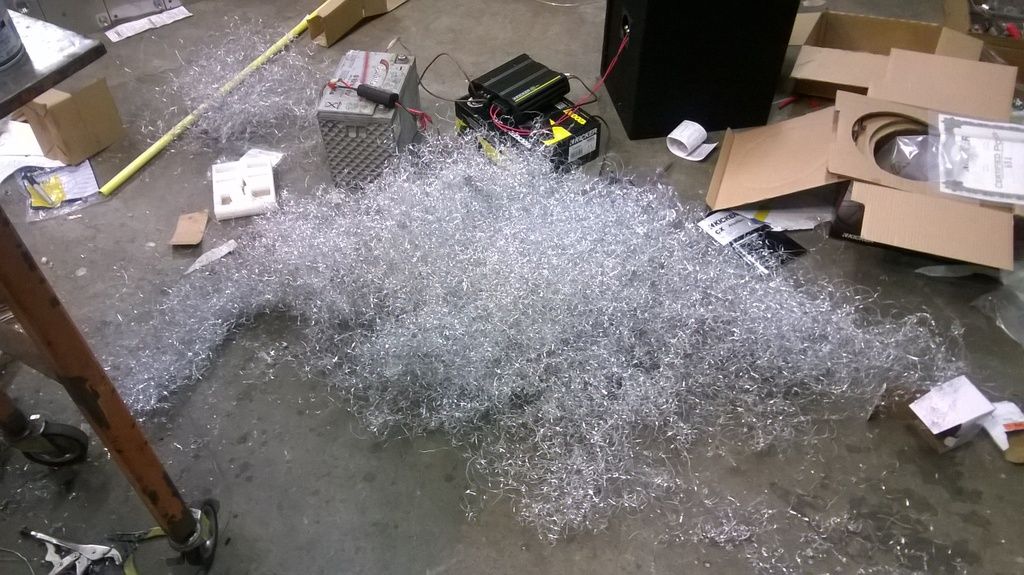
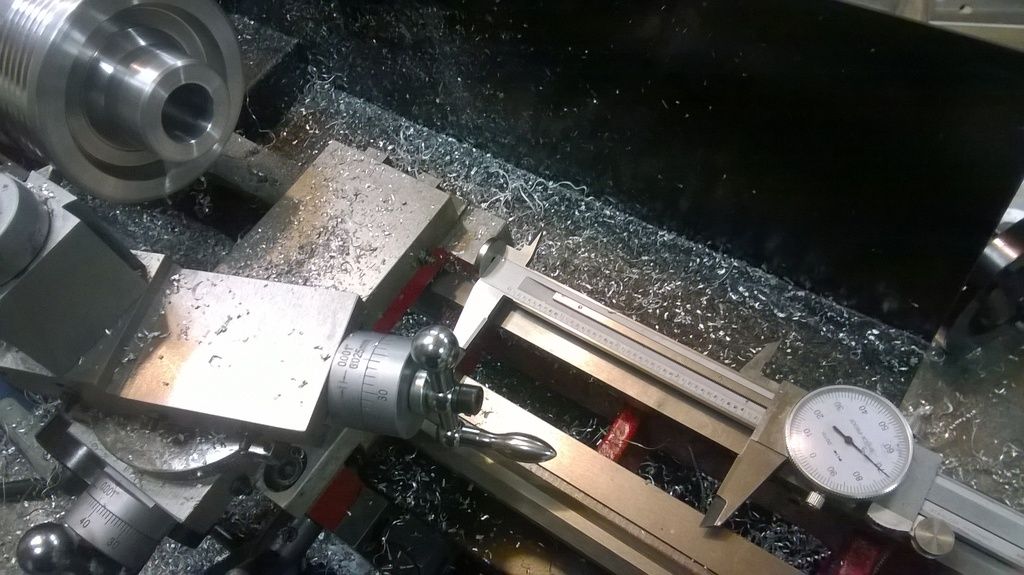
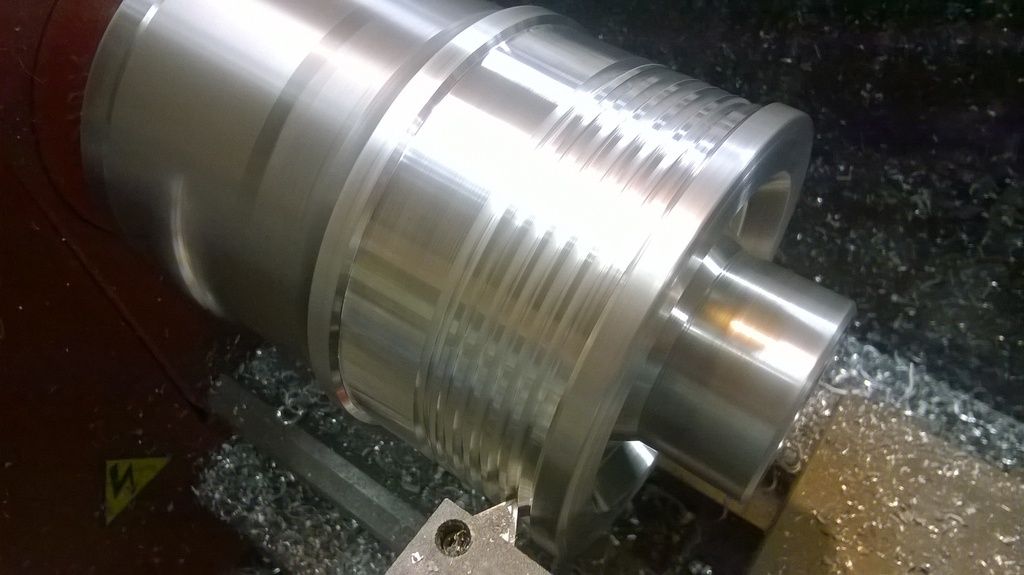
Here's some testing out turning, facing, parting, threading, drilling, boring.


WP_20151205_005_zpsropejnzb.jpg

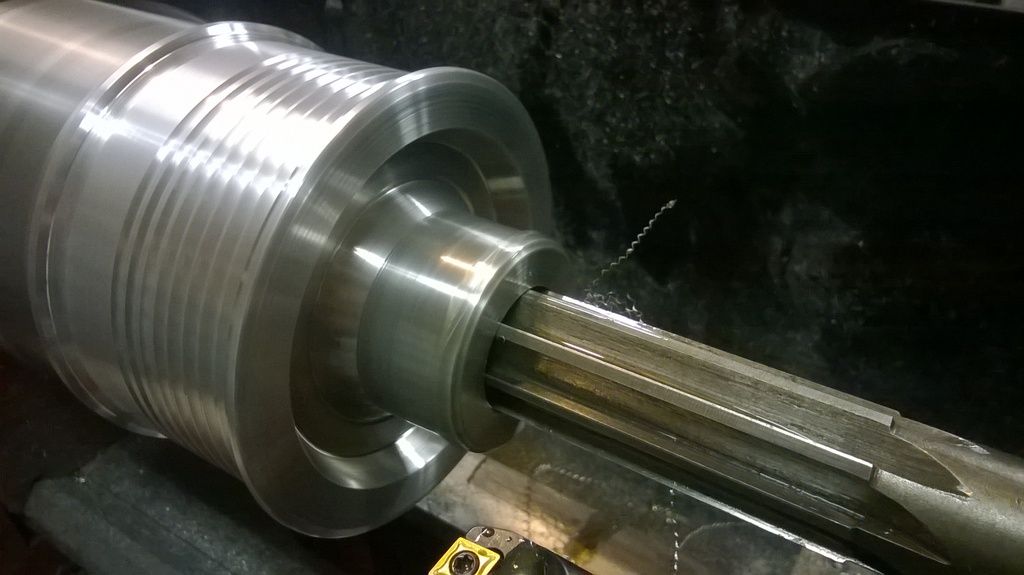
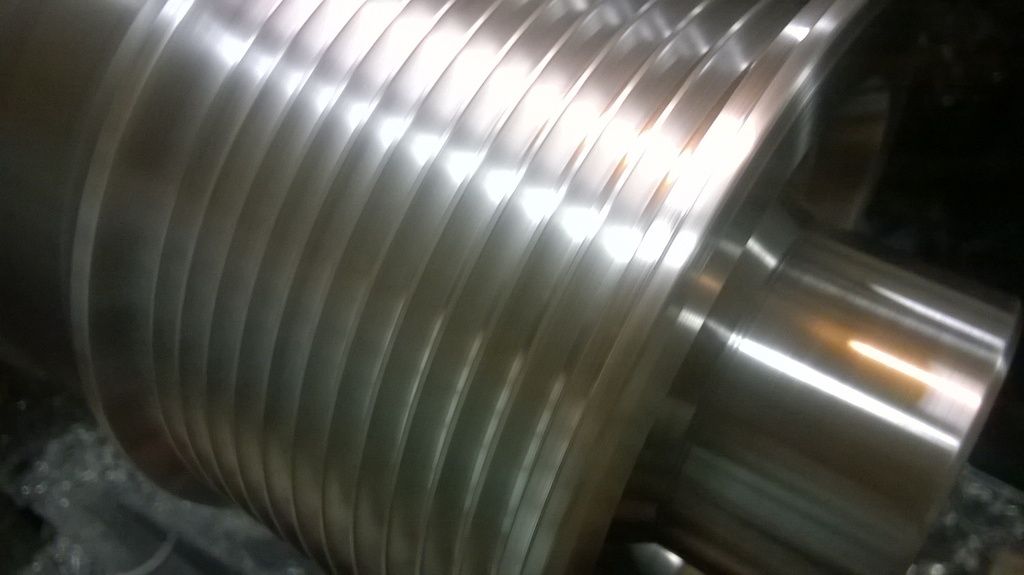
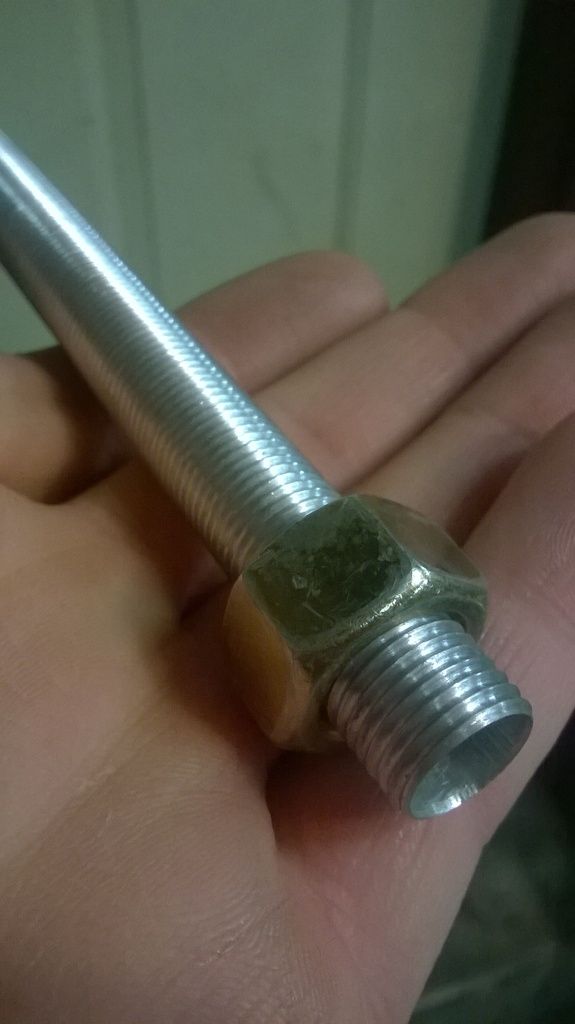
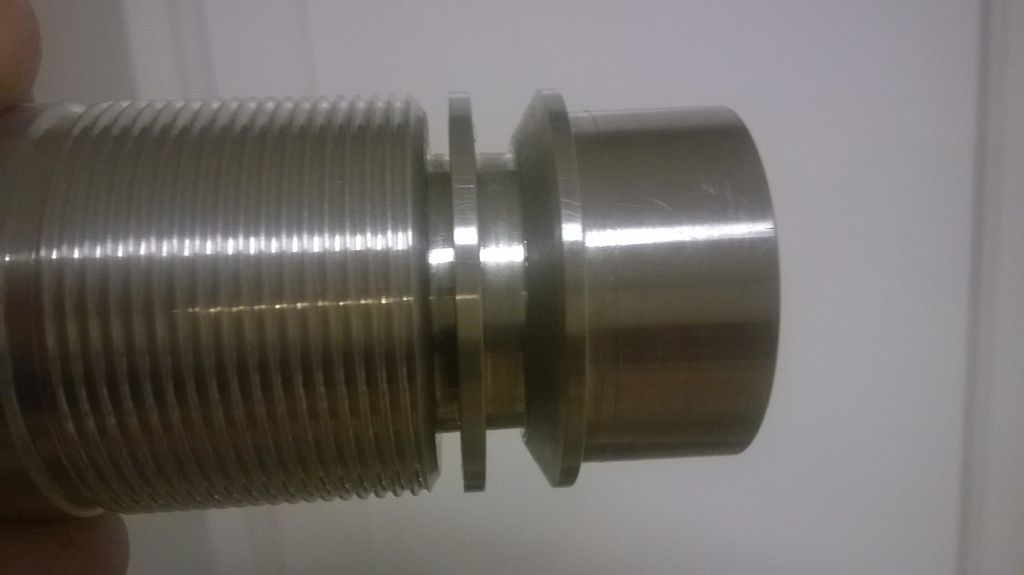
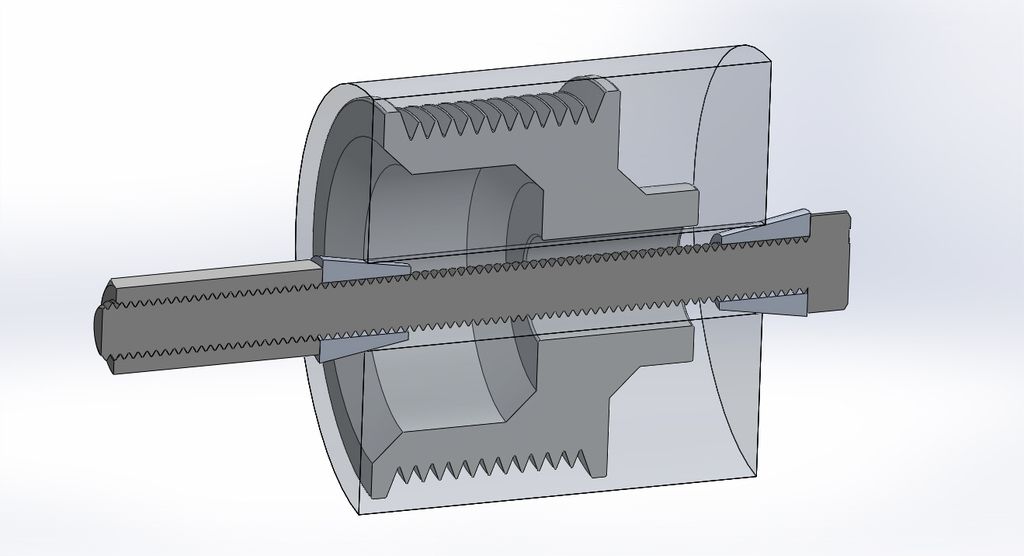
testing making 20tpi threads on a 1/2" aluminum tube (with a carbide tool that's not quite the correct geometry for this thread)

WP_20151205_014_zpszvkryk5y.jpg


WP_20151205_025_zps9yf2tnsq.jpg


WP_20151205_026_zpsoq1vdxbq.jpg

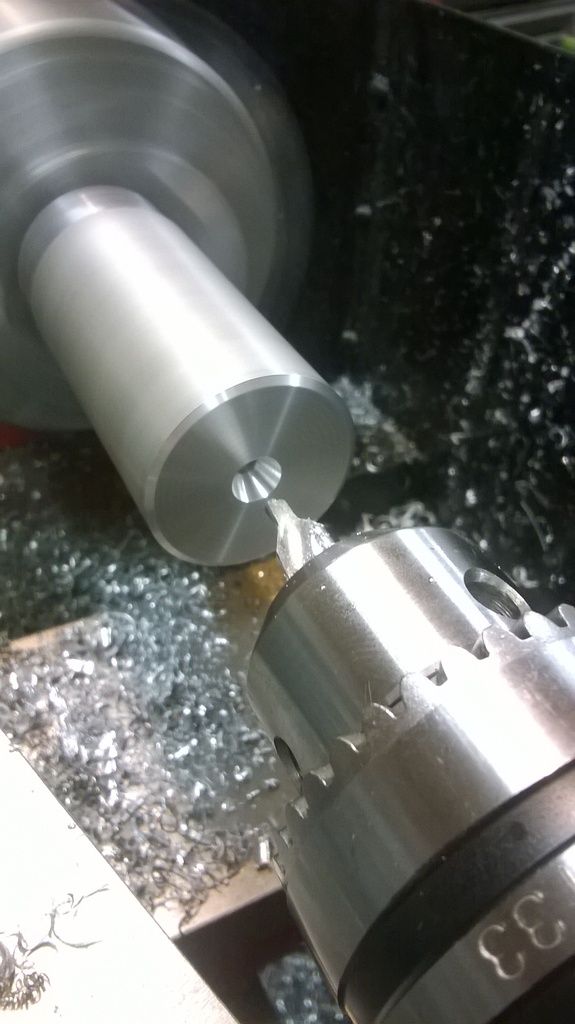
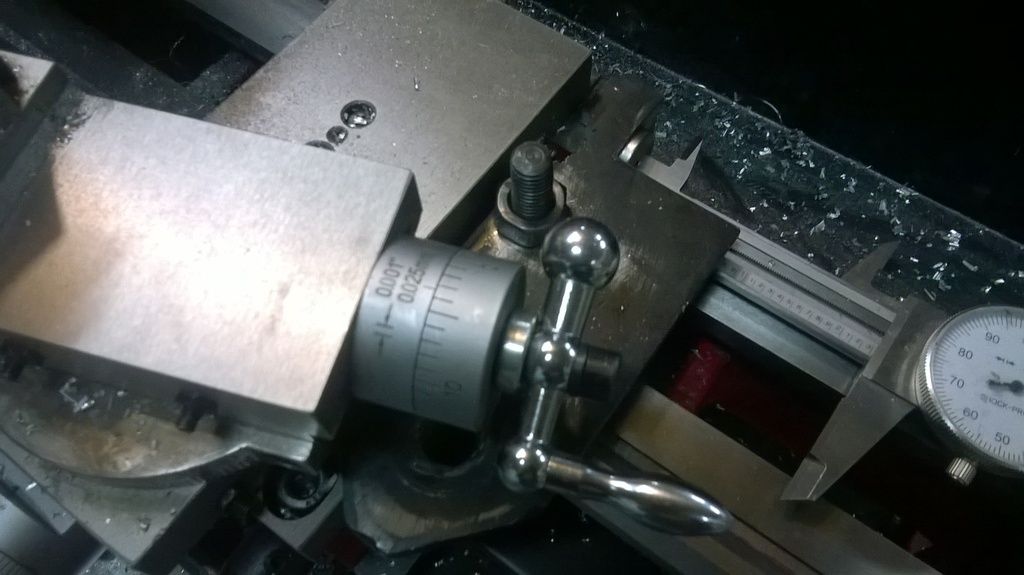
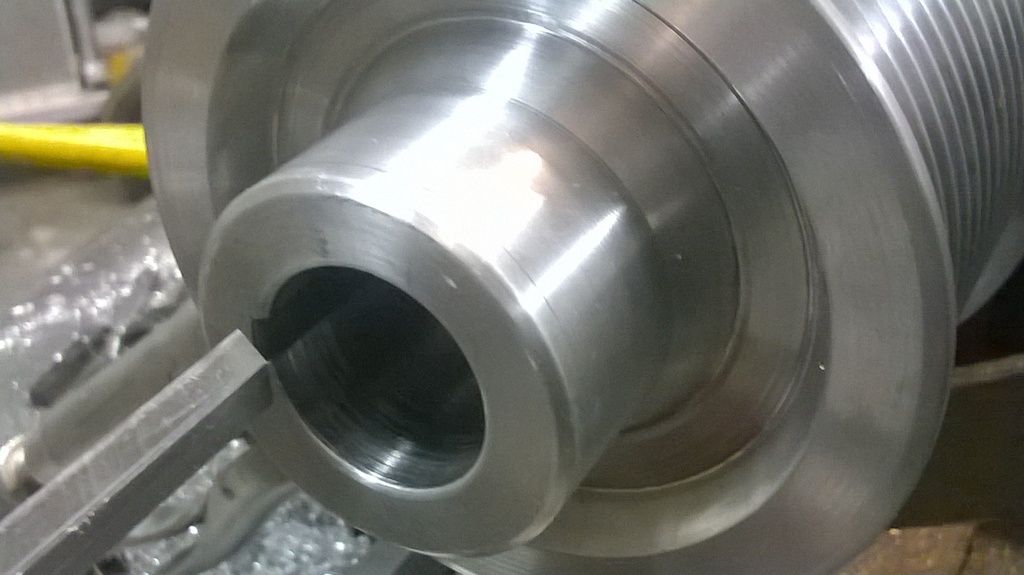
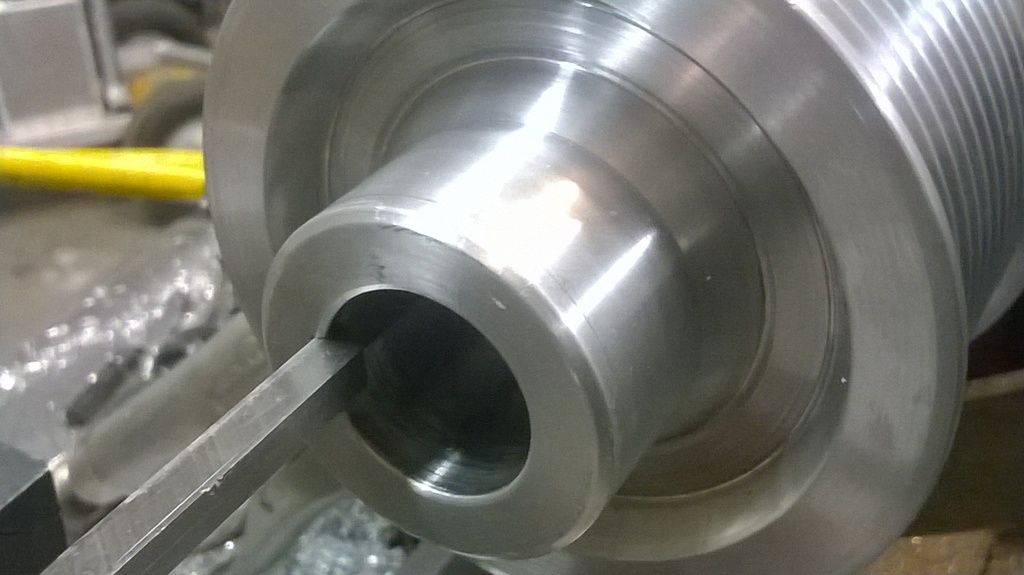
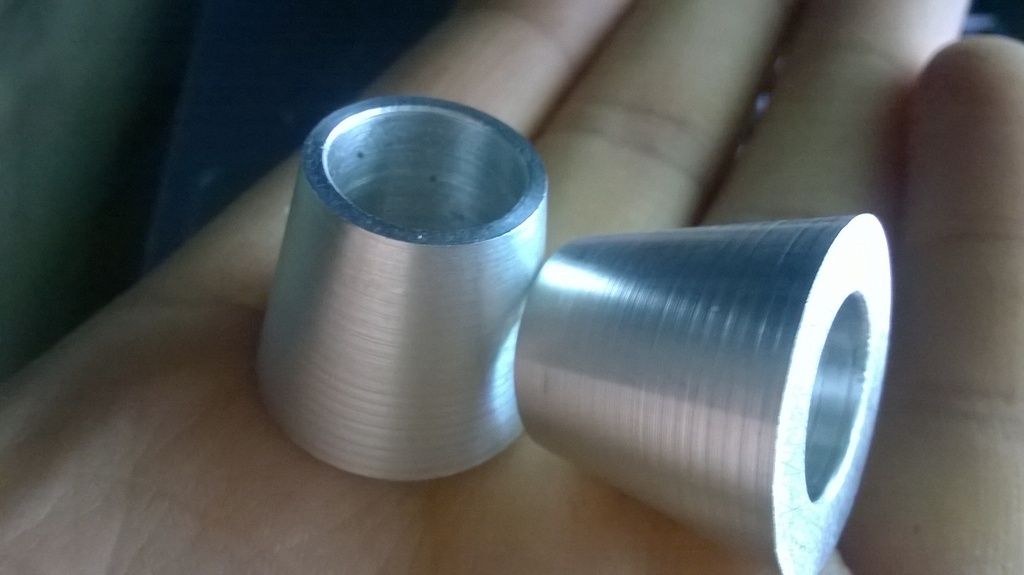
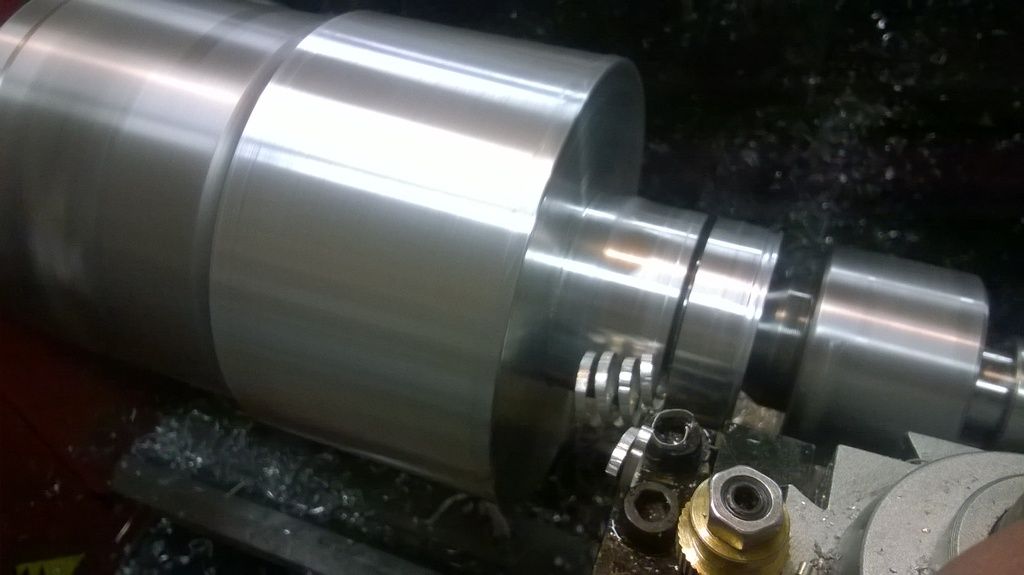
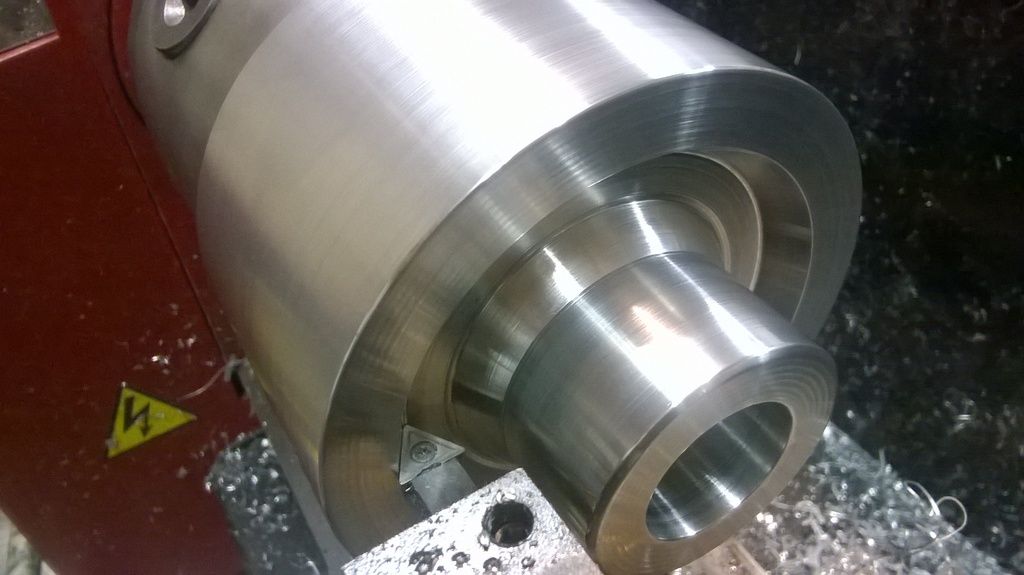
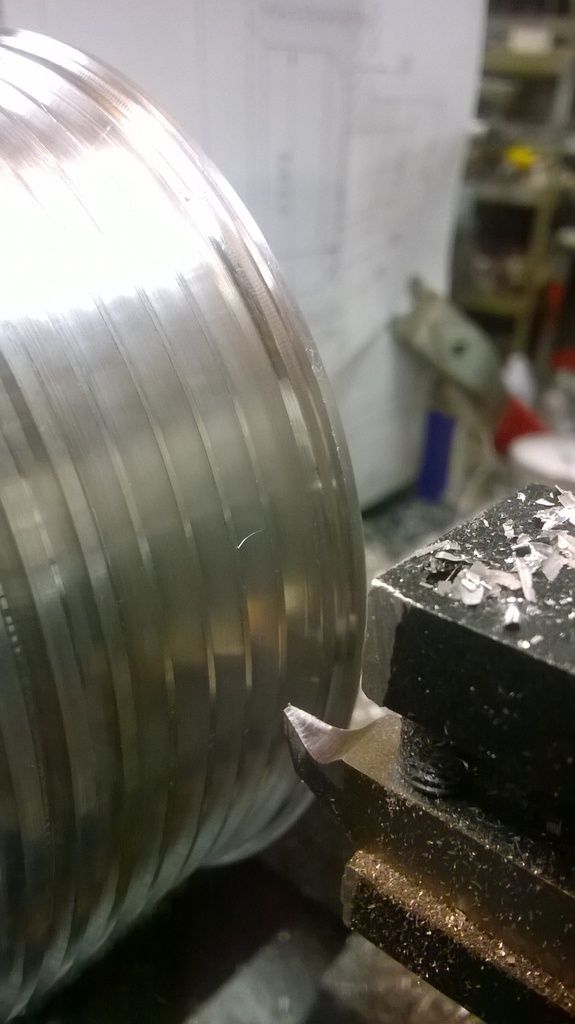
testing turning and parting in aluminum

WP_20151205_034_zpsdo0znosa.jpg


WP_20151207_001_zpsnfnwdy2b.jpg

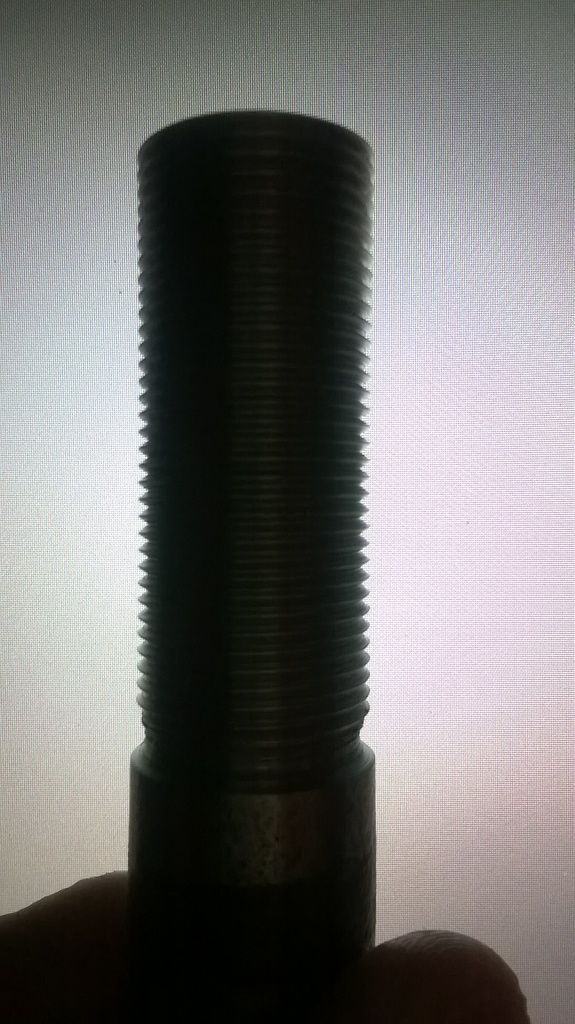
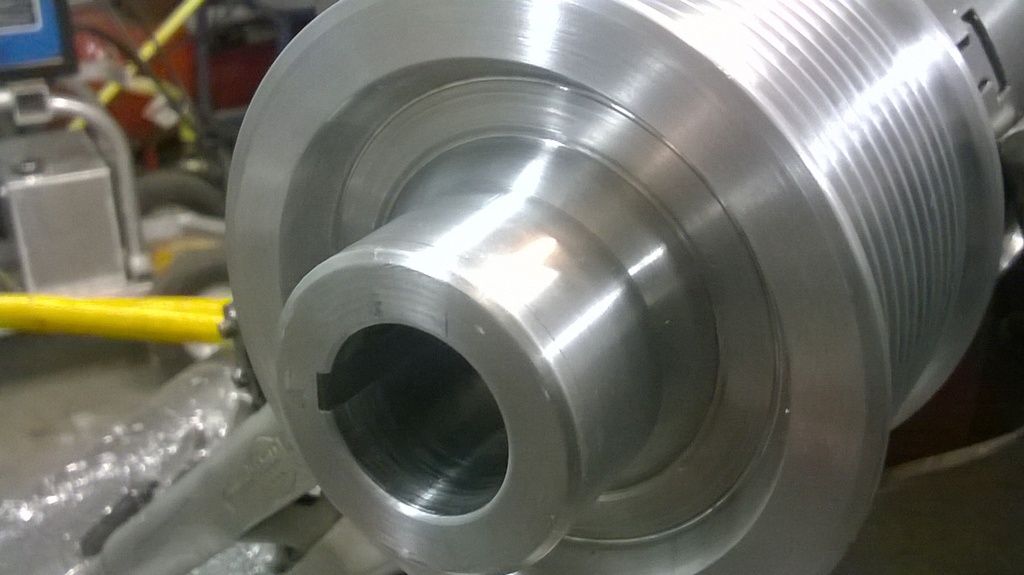
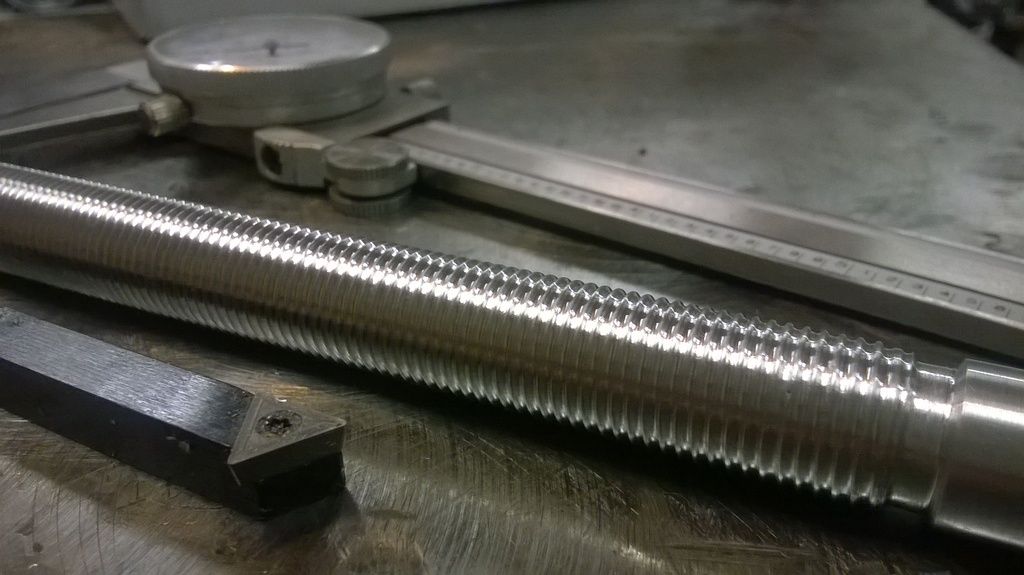
testing threading in steel with an appropriately ground HSS tool
 
Last edited:

MikeGyver

UtahWeld.com
Location
Arem
Supercharger Pulley

Ok, Getting started on my first project: a Procharger pulley for my buddies 383 Camaro.
Here's what I'm up against...
After measuring the 3.7" pulley and getting some dimensions I drew up the new pulley in Solidworks and we ordered the material.

Here's the general idea..

pulley_zpsym2kn49n.jpg


V__8A28_zpsbszwx13s.jpg

3.40 lbs of 6061 aluminum. I first drilled a 3/4" hole through the center of the slug then used cones to center and hold it on a 1/2" bolt. The final hole with be bored out then reamed to 7/8".

2_zpsoyx7zj4v.jpg


1_zpsjveyizw2.jpg


WP_20151208_006_zpsf7r3eqs1.jpg


WP_20151210_005_zps7cnsn2gi.jpg

Autofeed making a nice finish

WP_20151210_007_zps1jfqdcqg.jpg


WP_20151210_010_zpsqspeijmk.jpg

hogging away material

WP_20151210_013_zpsd2fvs6fn.jpg

Once this hub was turned I could flip the part around and hold it with the jaws and get rid of the thru bolt.

WP_20151210_016_zpsmblvrl55.jpg

Turned the part around and adjusting it to within a thousandth of an inch of run-out, since I can no longer use the live center to support the far end.
 
Last edited:

MikeGyver

UtahWeld.com
Location
Arem
WP_20151210_015_zpsasxxvdtr.jpg

3.7" pulley

WP_20151210_014_zpsfprkteif.jpg

hollowing it out

WP_20151210_018_zpslq4atfzm.jpg


WP_20151211_004_zpsdmtwxiqd.jpg

opened up to final dimension


WP_20151210_020_zpspxwbofkz.jpg

75.6% of the material will eventually be removed.


WP_20151211_001_zpscmr1dkuq.jpg

Parting off excess and facing to final dimension

WP_20151211_002_zpspumy9pef.jpg


WP_20151211_006_zpsrh8iacen.jpg

3.7" pulley
 
Last edited:

MikeGyver

UtahWeld.com
Location
Arem
Supercharger Pulley

Time to start cutting the 12 rib serpentine belt grooves. This is probably going to be the most difficult part of the project.


WP_20151218_002_zps0sakwsum.jpg


WP_20151211_010_zpsnataqj1a.jpg

Here is how I'm ensuring proper spacing between grooves. The dial calipers are fixed firmly to the carriage and bed ways using strong neodymium magnets, this gives me accurate and repeatable control of the carriage down to a thousandth of an inch.

WP_20151211_009_zps88cng0ts.jpg

Here I'm roughing in the grooves with a 60 degree carbide tool (made for steel, not aluminum) Plunging in this deep and simultaneously cutting on 2 faces is really pushing the limits of a small lathe like this.

WP_20151212_015_zpsvjm7umem.jpg

Now that the grooves are roughed in I am finishing them out with a high speed steel tool that I ground carefully to the required 40 degrees. This tool also has more appropriate relief angles for aluminum cutting than the carbide cutters used so far.


And this brings us up to where I am at now.
I ordered a 7/8" reamer and I'm waiting for it to show up. The I.D. has been bored out leaving about .015" to be removed from the diameter. I also need to finish cutting all the grooves to final dimensions. And finally, I will need to broach the 3/16" keyway; I will probably be using the lathe to do this.
 
Last edited:

I Lean

Mbryson's hairdresser
Vendor
Location
Utah
And finally, I will need to broach the 3/16" keyway; I will probably be using the lathe to do this.

I was fine with everything up until this statement...I'm watching to learn how to broach using a lathe. :cool: Nice work so far!
 

MikeGyver

UtahWeld.com
Location
Arem
Thanks guys
This is awesome stuff, Mike.

I've been watching a channel on Youtube called "Vintage Machinery" - https://www.youtube.com/channel/UCyjwQ6oz4cqqtEcWGboSU3g. The guy does tons of cool stuff, most of it on a lathe. Stuff I didn't know was possible.

I've been watching this guys videos. He does really nice work, it's like hanging out in the shop with a master of his craft. https://www.youtube.com/user/oxtoolco/videos

How many pounds will he be running with the new pulley?
Not sure... It's a big D1 procharger running 11psi. So maybe like 2 more psi, probably enough to blow up that poor motor :rofl:
 

MikeGyver

UtahWeld.com
Location
Arem
The used reamer from ebay showed up today. Now when I get going on this again I just need to finish the grooves, ream it, and cut a keyway.

WP_20151218_009_zpsqeulnnxg.jpg
 

YROC FAB.

BUGGY TIME
Vendor
Location
Richfield, UT.
Looks good for small/cheaper lathe. Cant wait to get my new shop squared away so i can finally commit to a large lathe. Im glad i have access to one at my day job.
 

MikeGyver

UtahWeld.com
Location
Arem
How is that giant reamer affixed to the tailstock? Morse tapered tailstock? Has the reamer been turned down to fit it?

WP_20151218_008_zpschgus3ru.jpg

#2 morse taper

I didn't see an auto feed on your lathe how are you cutting threads
In the very first pic u can see the lead screw (covered by black sheet metal), and the half nut lever and threading dial. The lathe comes with a bunch of change gears so u can make any combination to get from 11 tpi to 56 tpi or something.
 

MikeGyver

UtahWeld.com
Location
Arem
Did some more work today, almost finished up the project.

WP_20151221_003_zps22np32ze.jpg

The reamer seemed to work out nicely. The bore is very smooth and appears to be precisely sized at 7/8" diameter.


I also finished out the pulley grooves tonight. I was having some trouble getting the groove spacing exact since the carriage kept moving side to side due to the side force from the cutter in the grooves. So I quickly threw together this ghetto clamp that locks the carriage tight down to the bed ways. This allowed me to lock it down, cut a groove to depth, then unlock and move exactly .140" over using the dial indicator and lock it down solid again and cut the next groove. The clamp kept the carriage from moving even a fraction of a thousandth of an inch, and the groove spacing came out perfect.

WP_20151222_003_zpsl4kwvq6u.jpg


WP_20151222_005_zps4ucrvire.jpg

Finished grooves for a 12 rib serpentine belt

WP_20151222_014_zpsz5fb4rn3.jpg

Time to cut the 3/16" keyway. A sharpened 3/16" square of HSS tool steel is used to scrape off a couple thousands of material each time you run the carriage in and back out. It takes a while but it works well. The tool is carefully centered perfectly up and down in the tool post, and the lathe chuck is clamped down to the bed ways so it cannot rotate at all.

WP_20151222_015_zpsesky4opo.jpg


WP_20151222_013_zps4o1xtjww.jpg

Not quite there, still a little more to cut out next time then this project will be successfully completed!
 
Last edited:

thefirstzukman

Finding Utah
Supporting Member
"I am not a machinist And the only prior (minimal) lathe experience I have have had is using a mini lathe for really basic and non critical stuff at an old job."

Pretty sweet work for someone with minimum lathe experience..... I have more than minimum experience working with lathes and I am impressed that you are doing this on a Mini Lathe.
 
Top