Project: Pretty Hate Machine (4 seater buggy build)

Herzog

somewhat damaged
Admin
Location
Wyoming
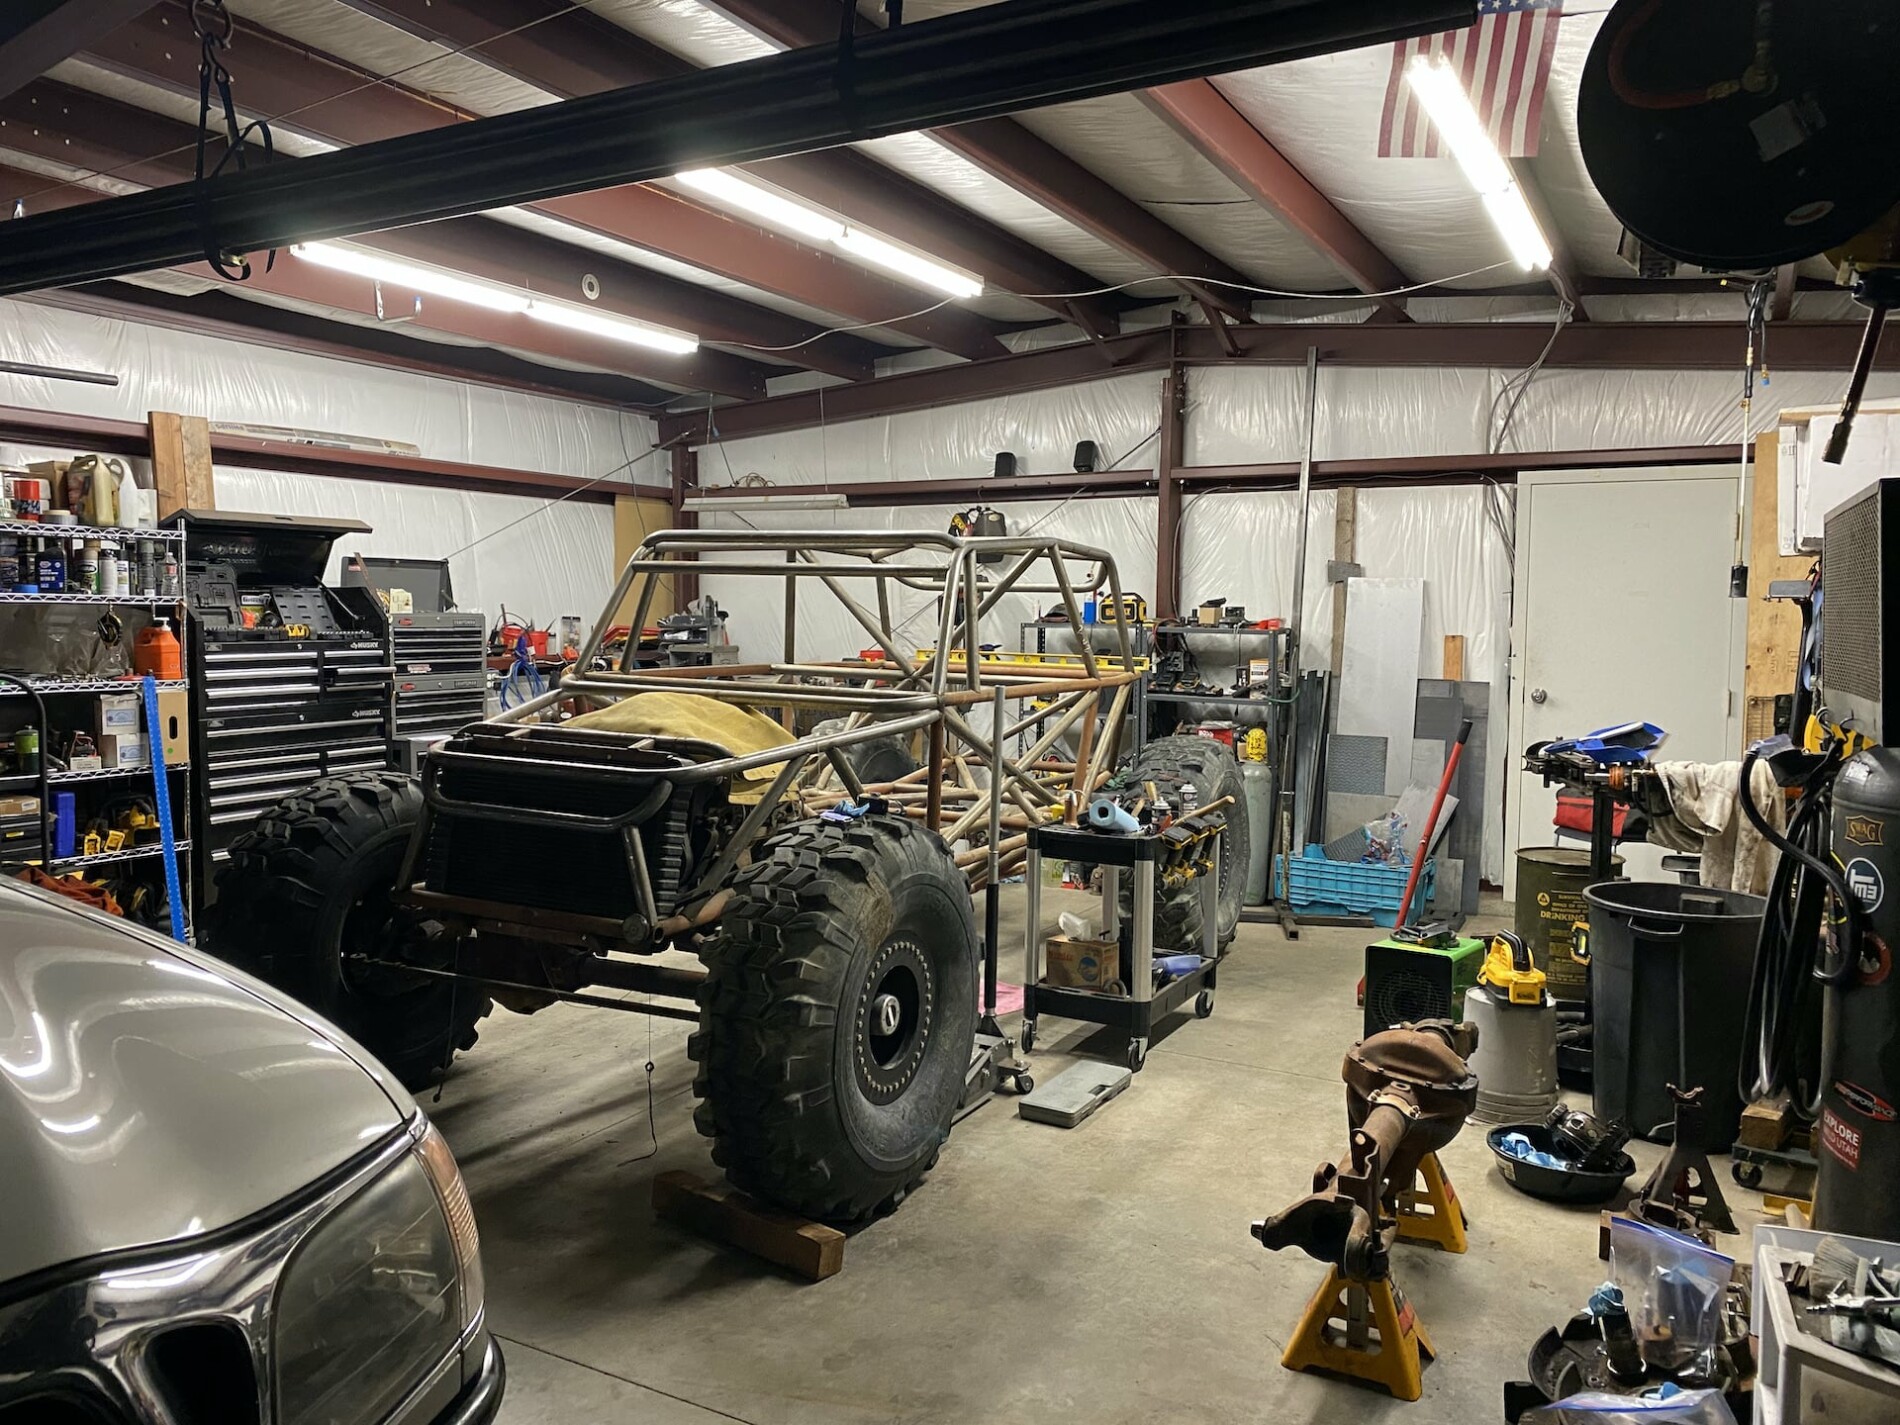
I'm just starting this thread so I will stop putting off posting and motivate me to get more work done on it.

The story behind this rig is that a very long time friend of mine wanted to build a 4 seater. The problem is, we live a couple hours apart and he's way more busy of an individual than I am as he's constantly traveling to different parts of the state to weld and fab.

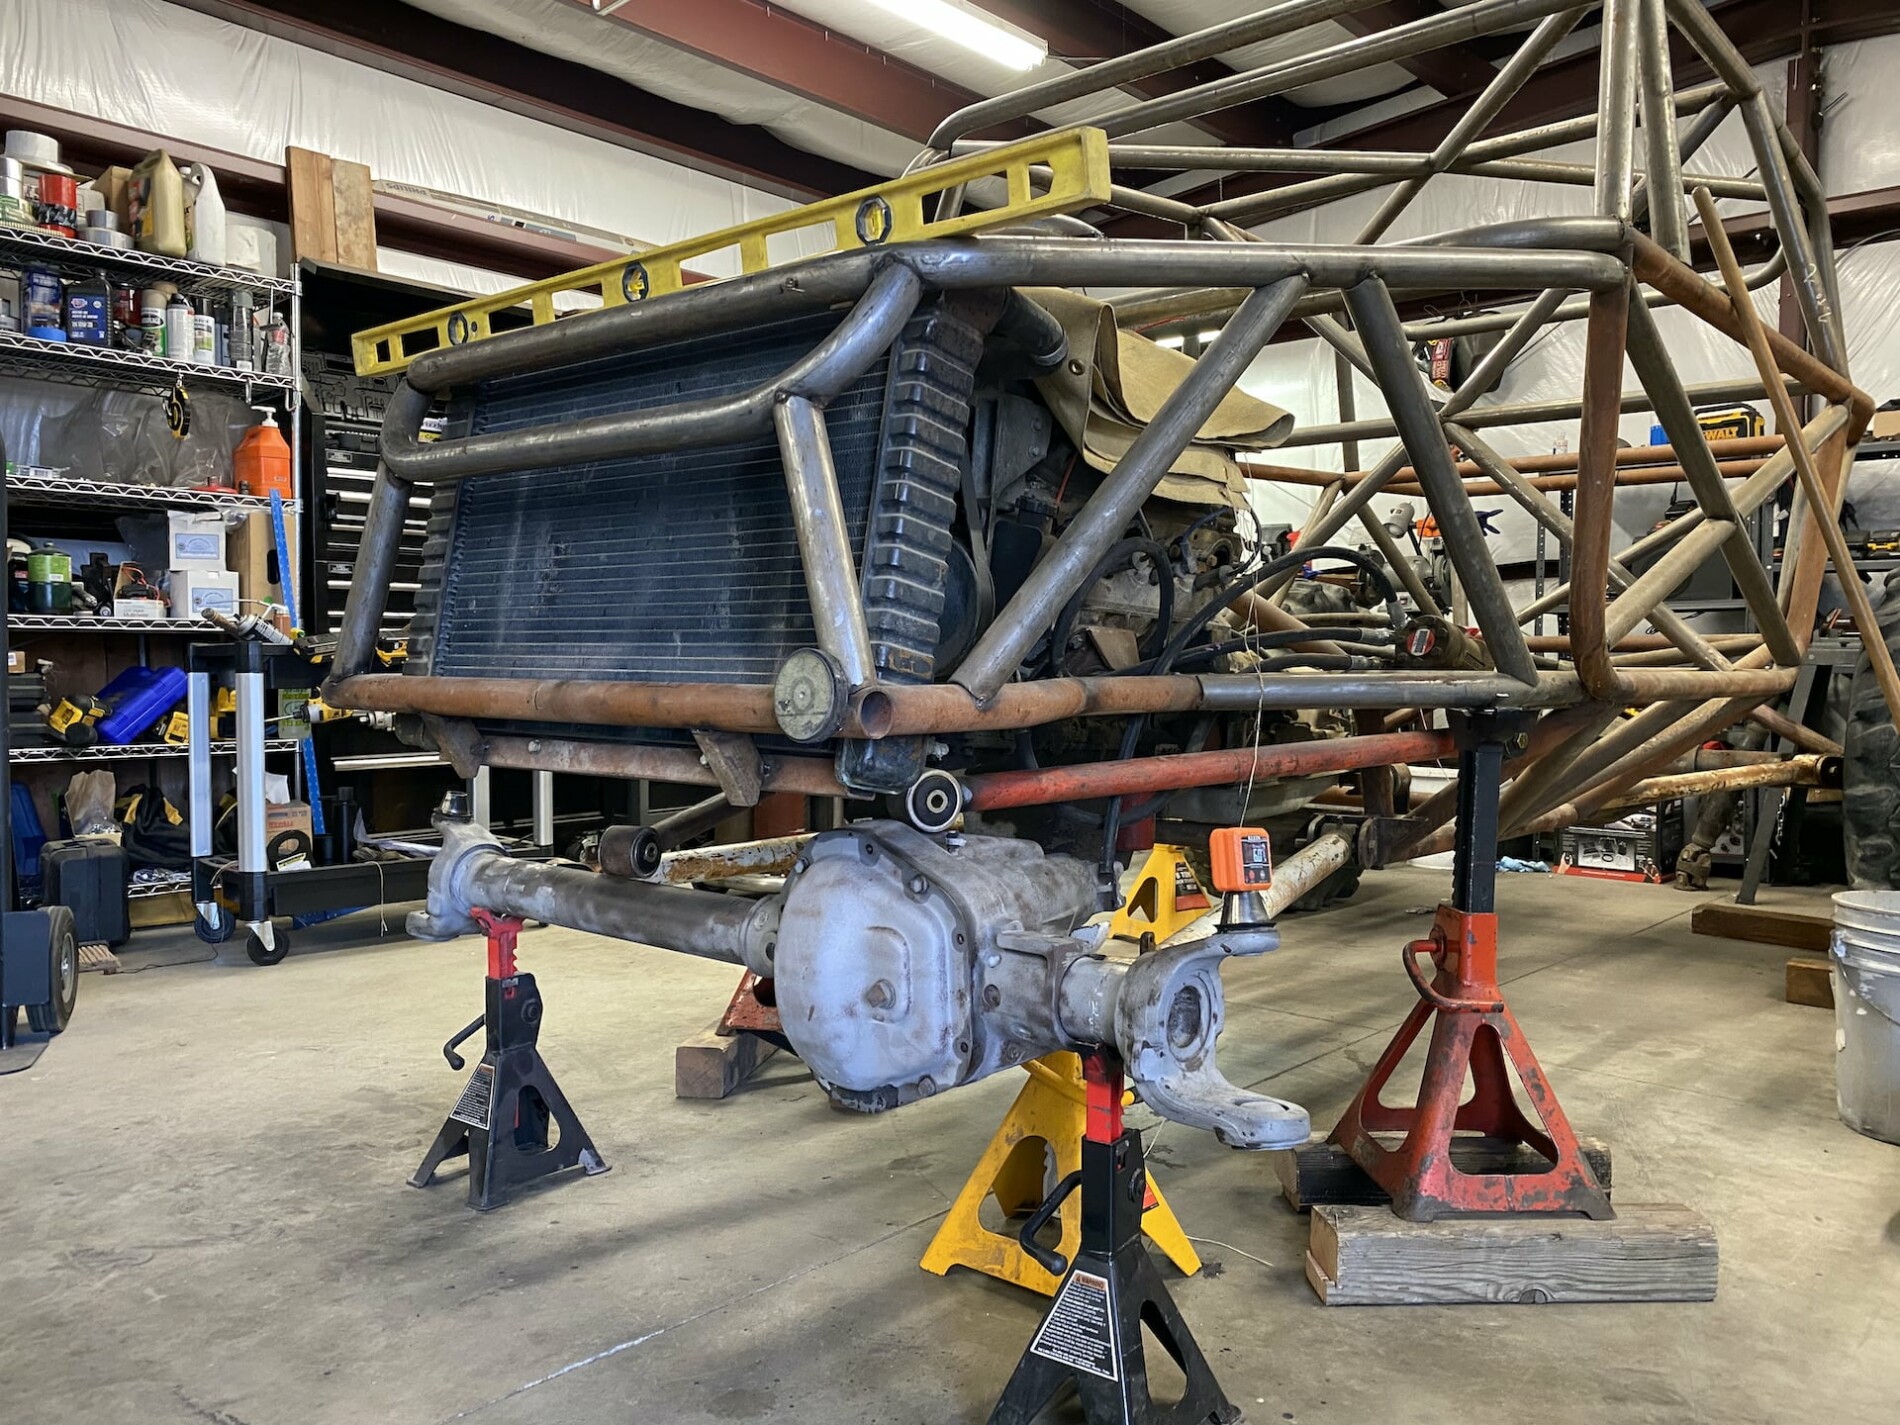
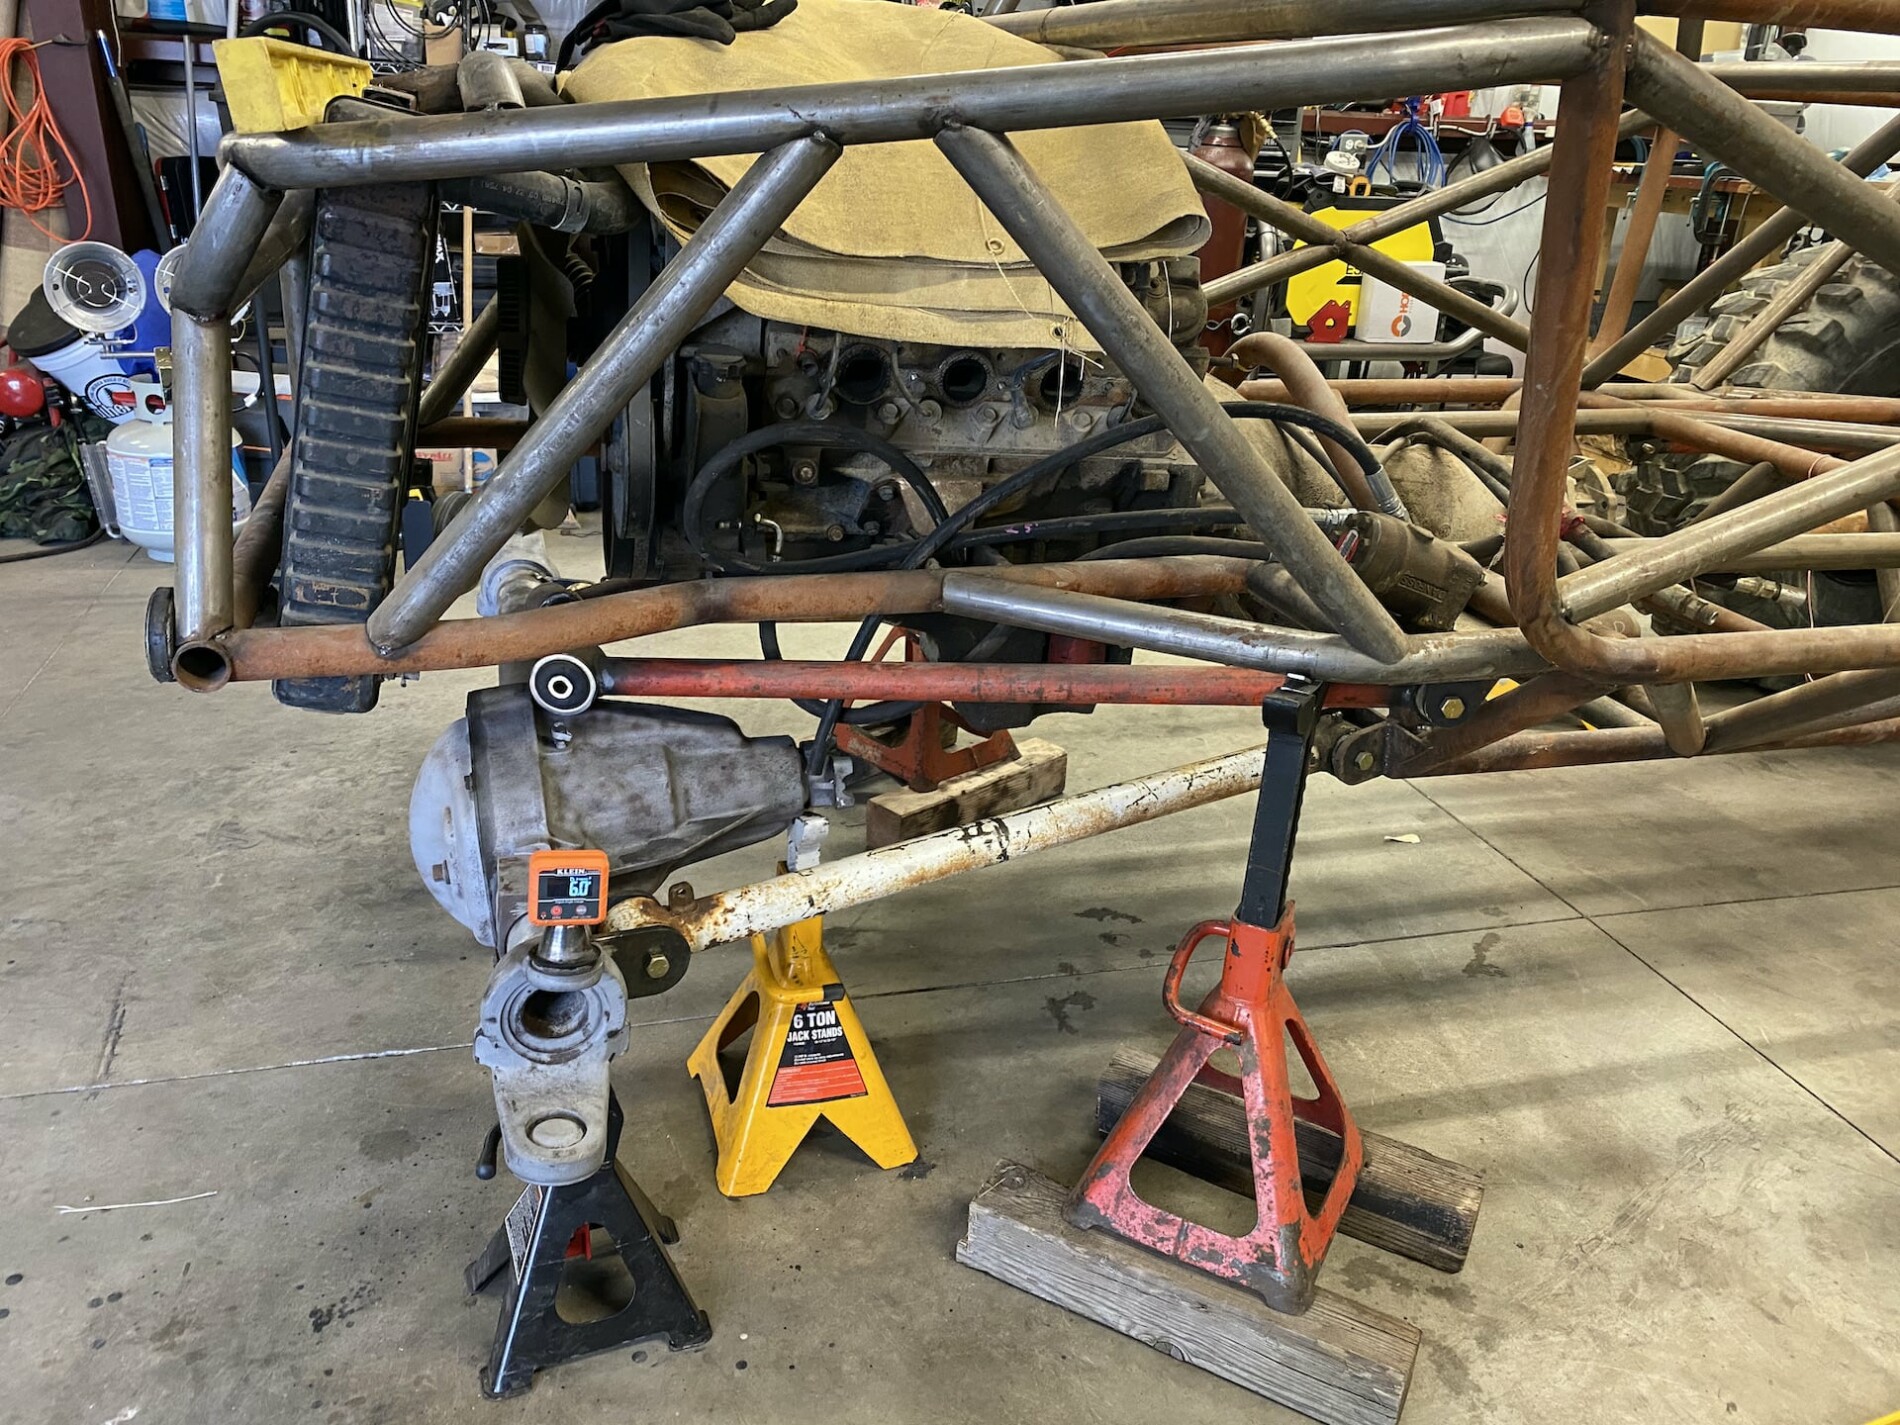
We started on this thing several years ago, got busy and it ended up outside for a while and collected some rust. Then we tackled it again probably 3 to 4 years ago and made some progress. It ended up on a makeshift trailer / jig so he could pull it back out of his shop when needed as he would have large projects in his shop from time to time. This last spring I told him to just bring it up to my shop and drop it off with some cash to get things going and that's kind of where we start.

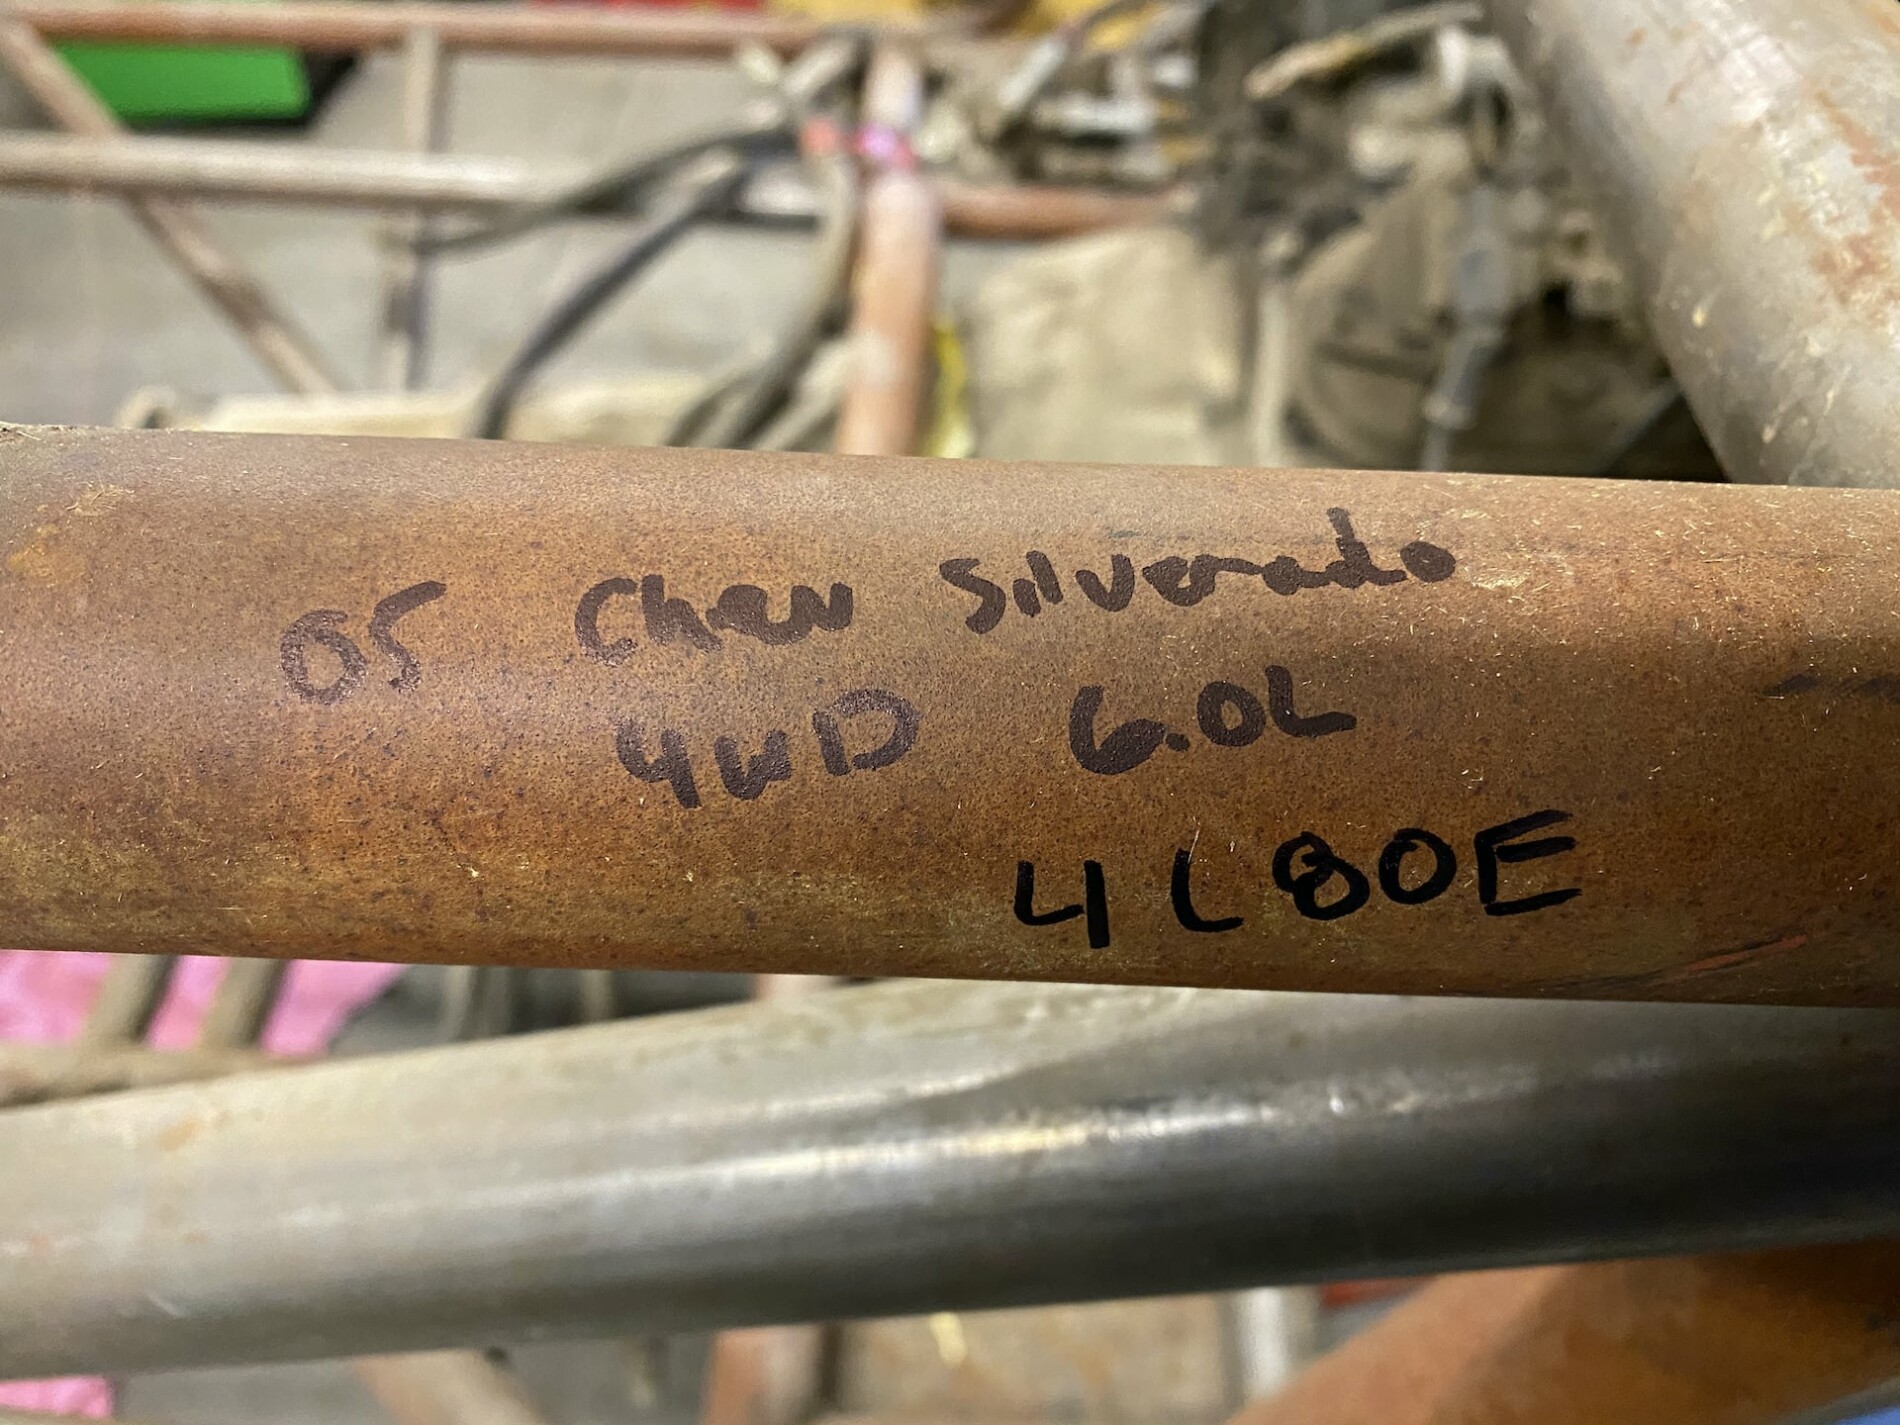
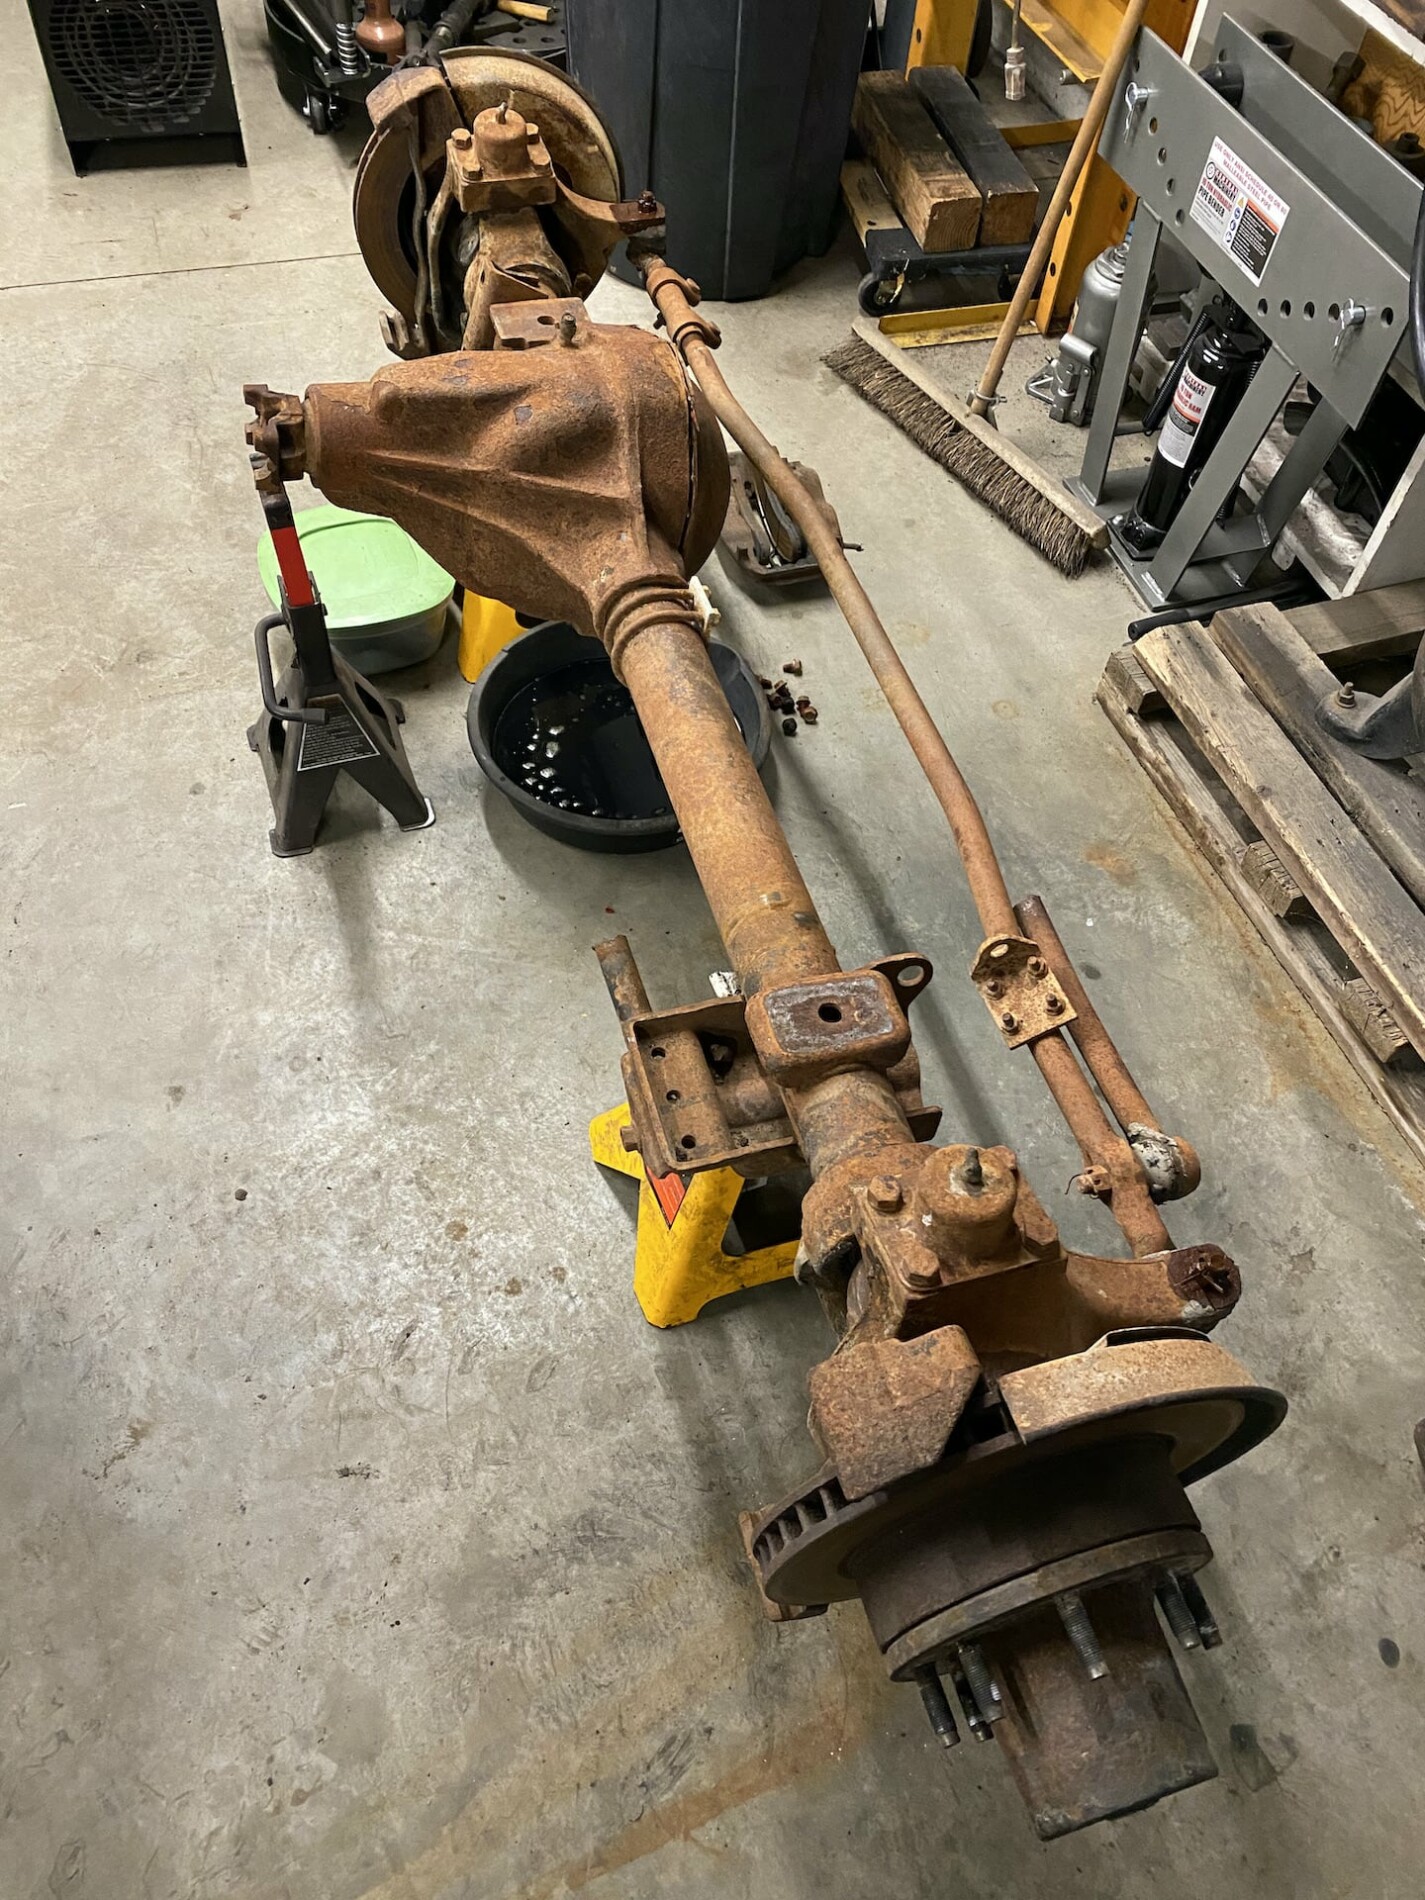
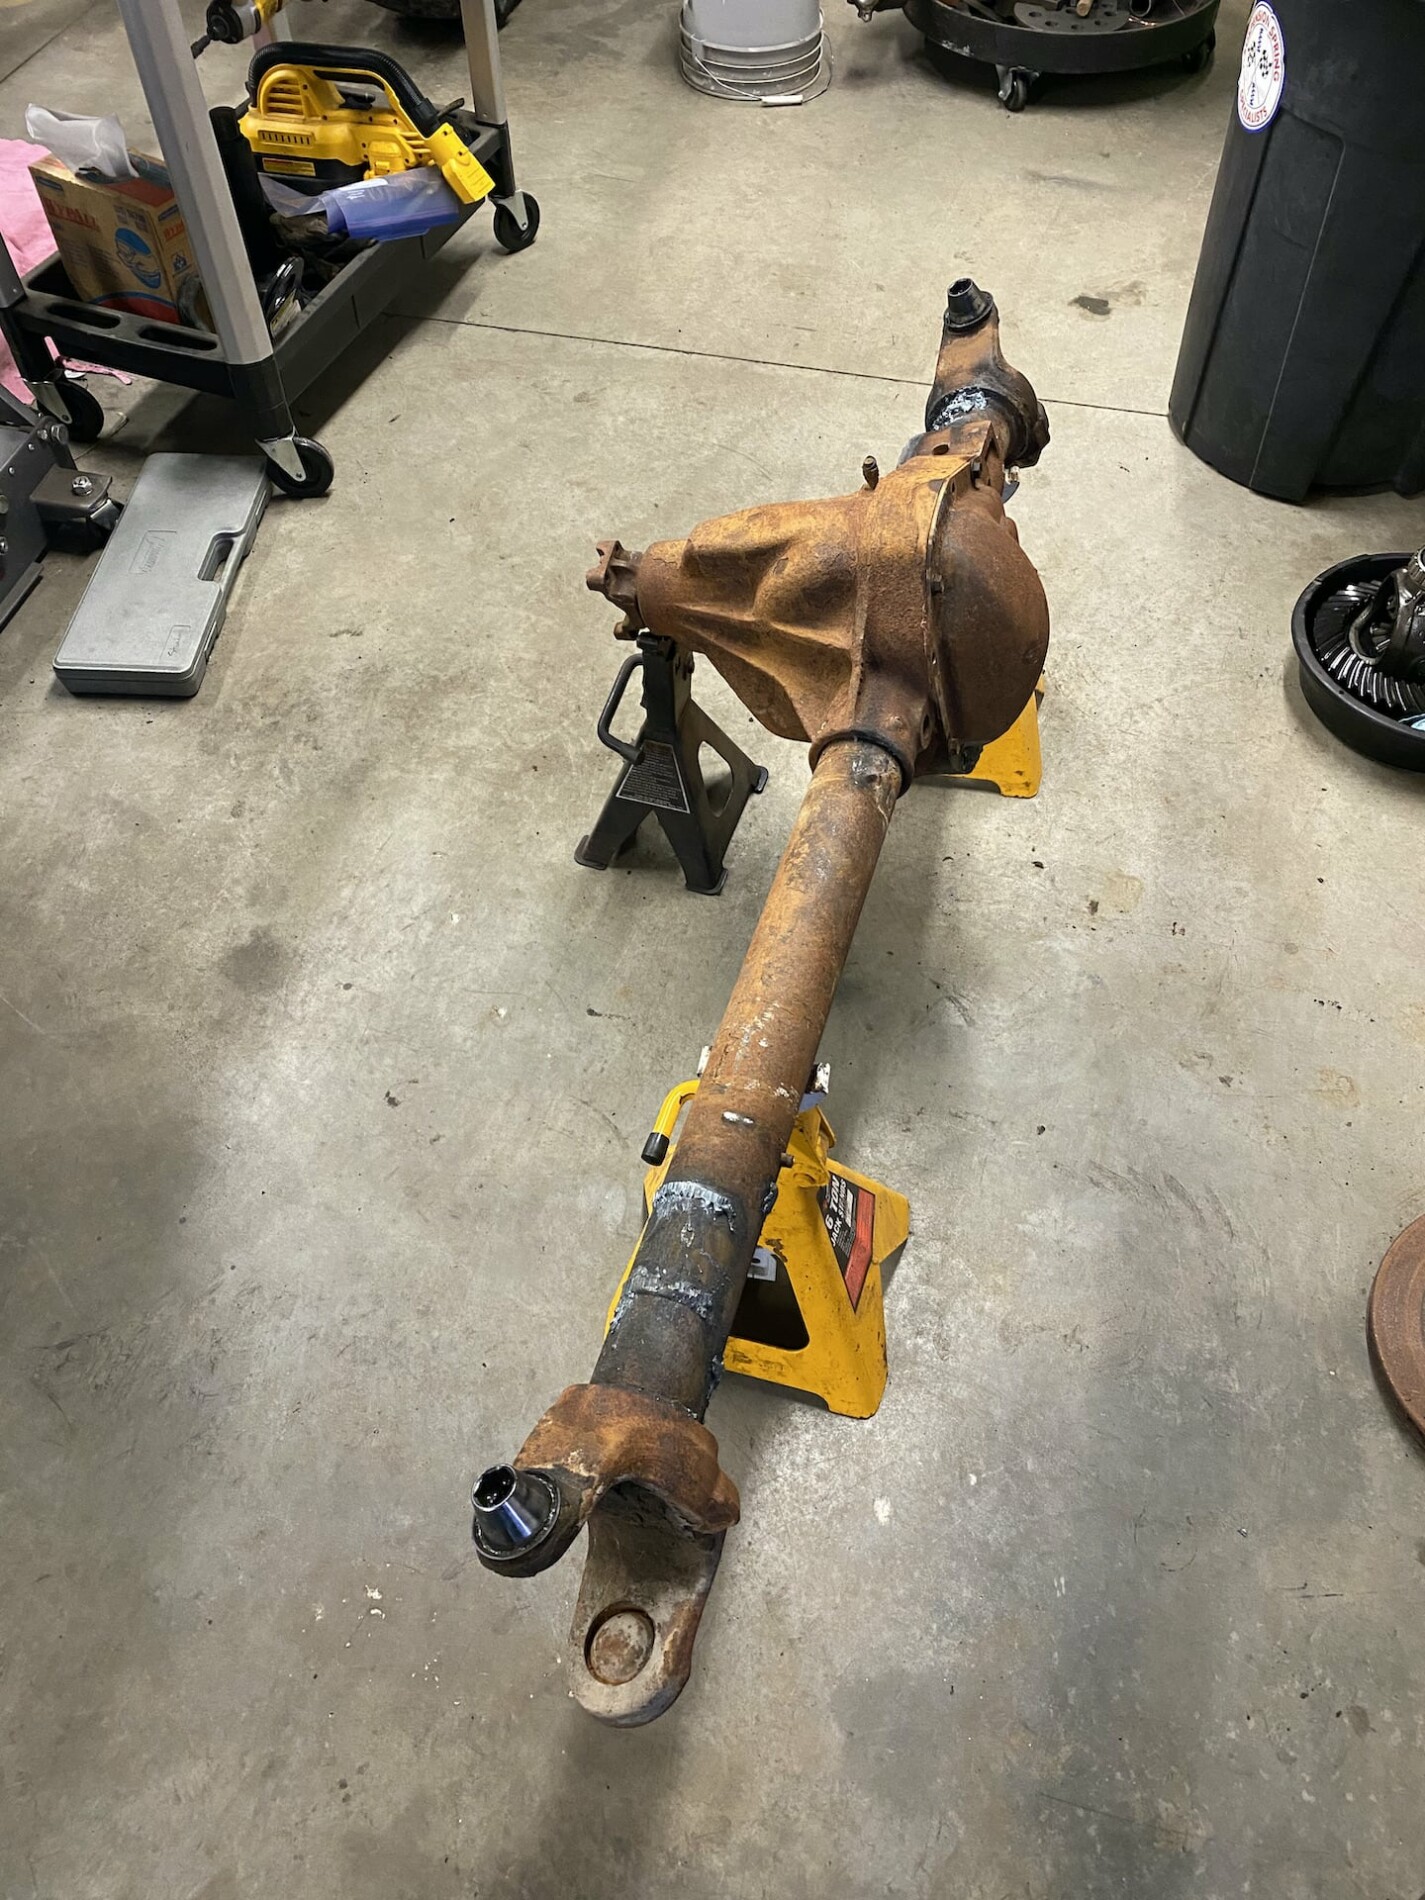
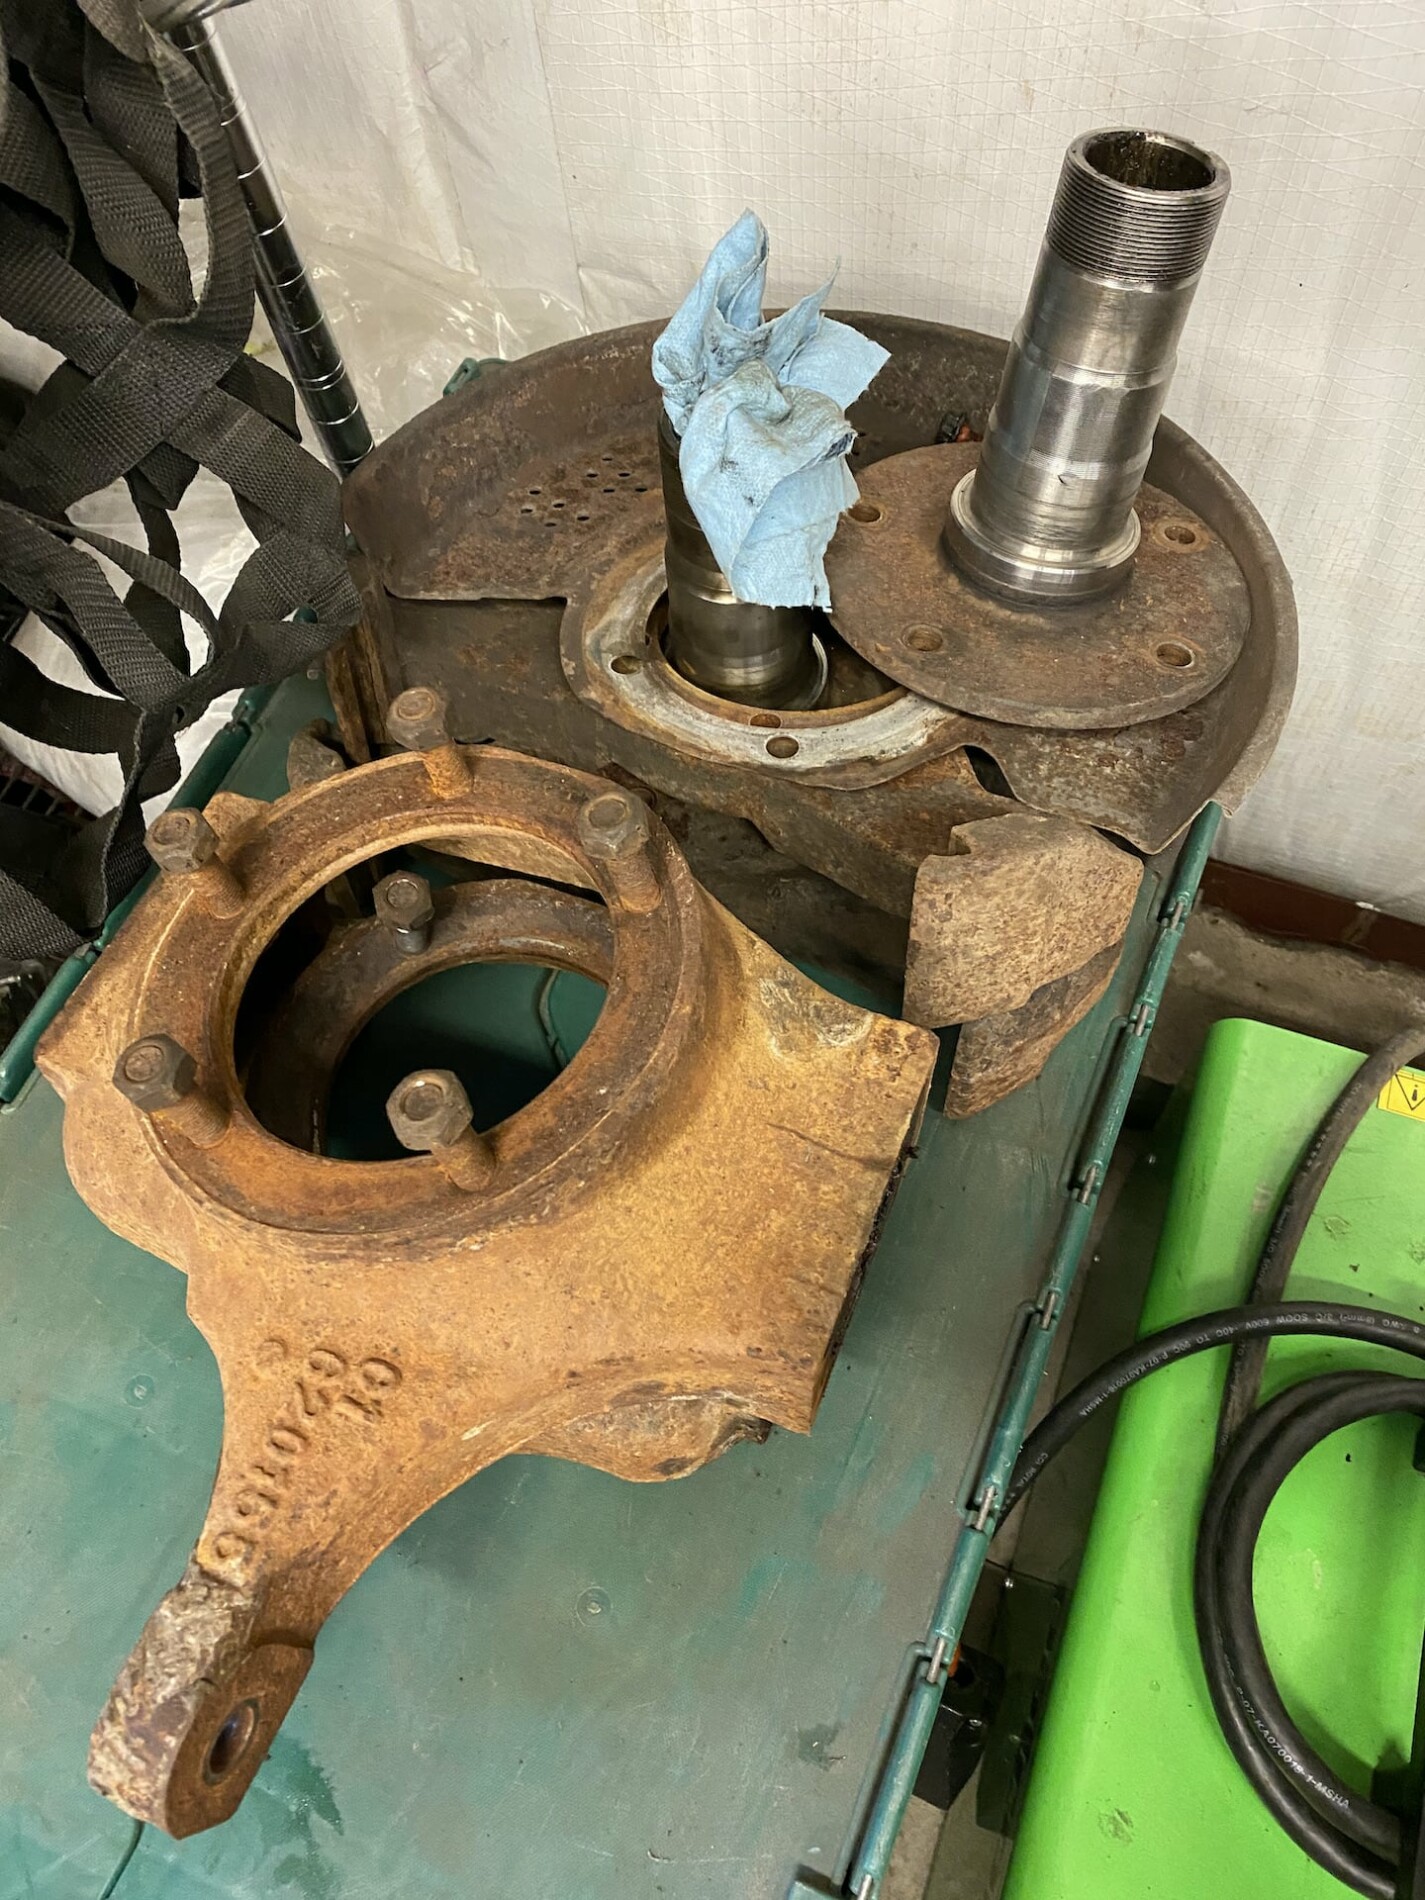
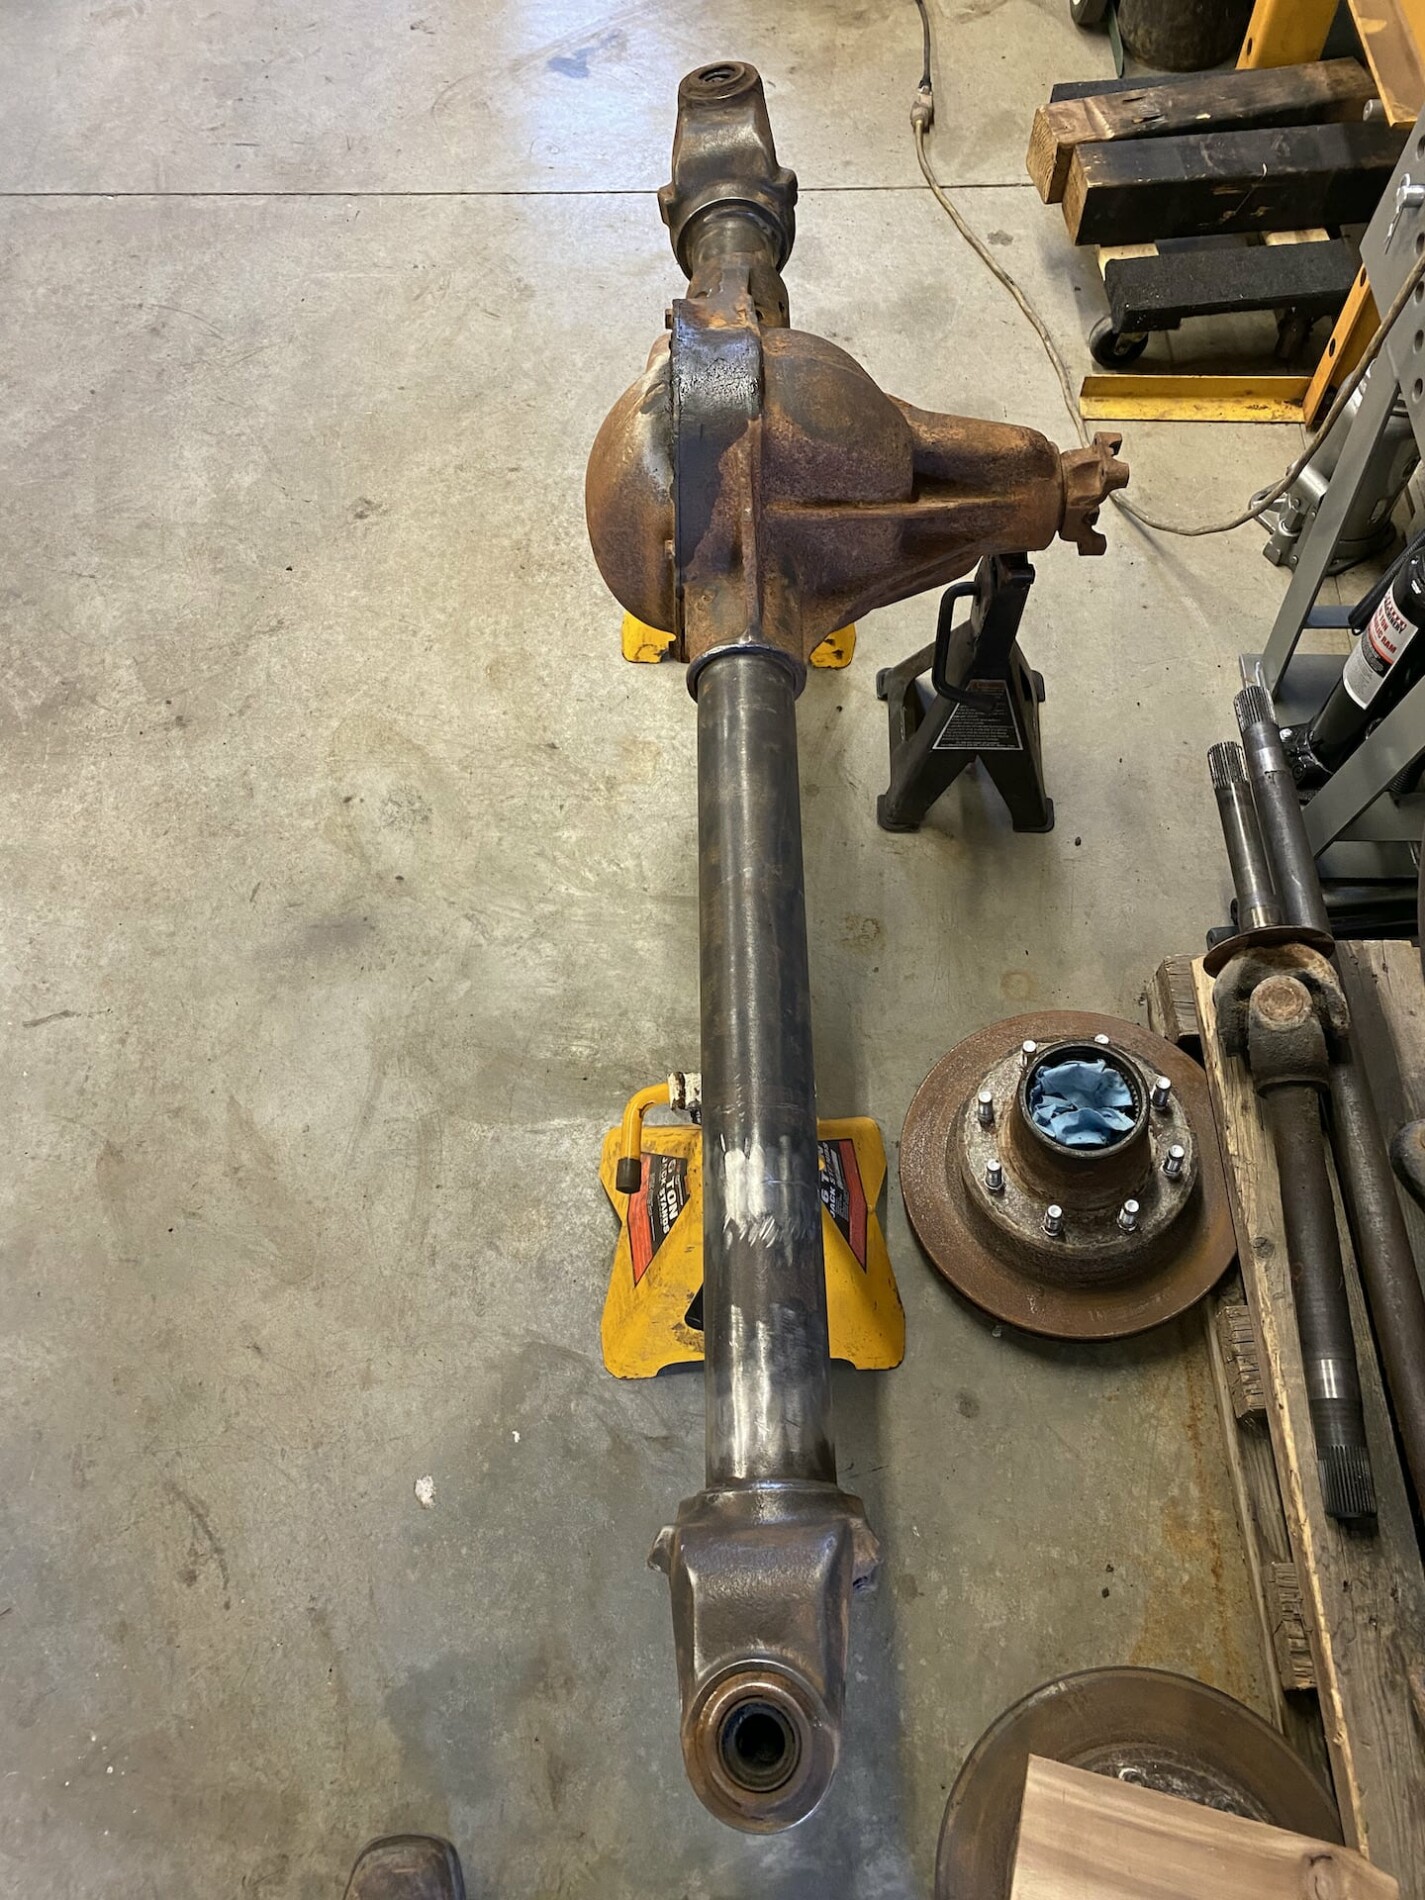
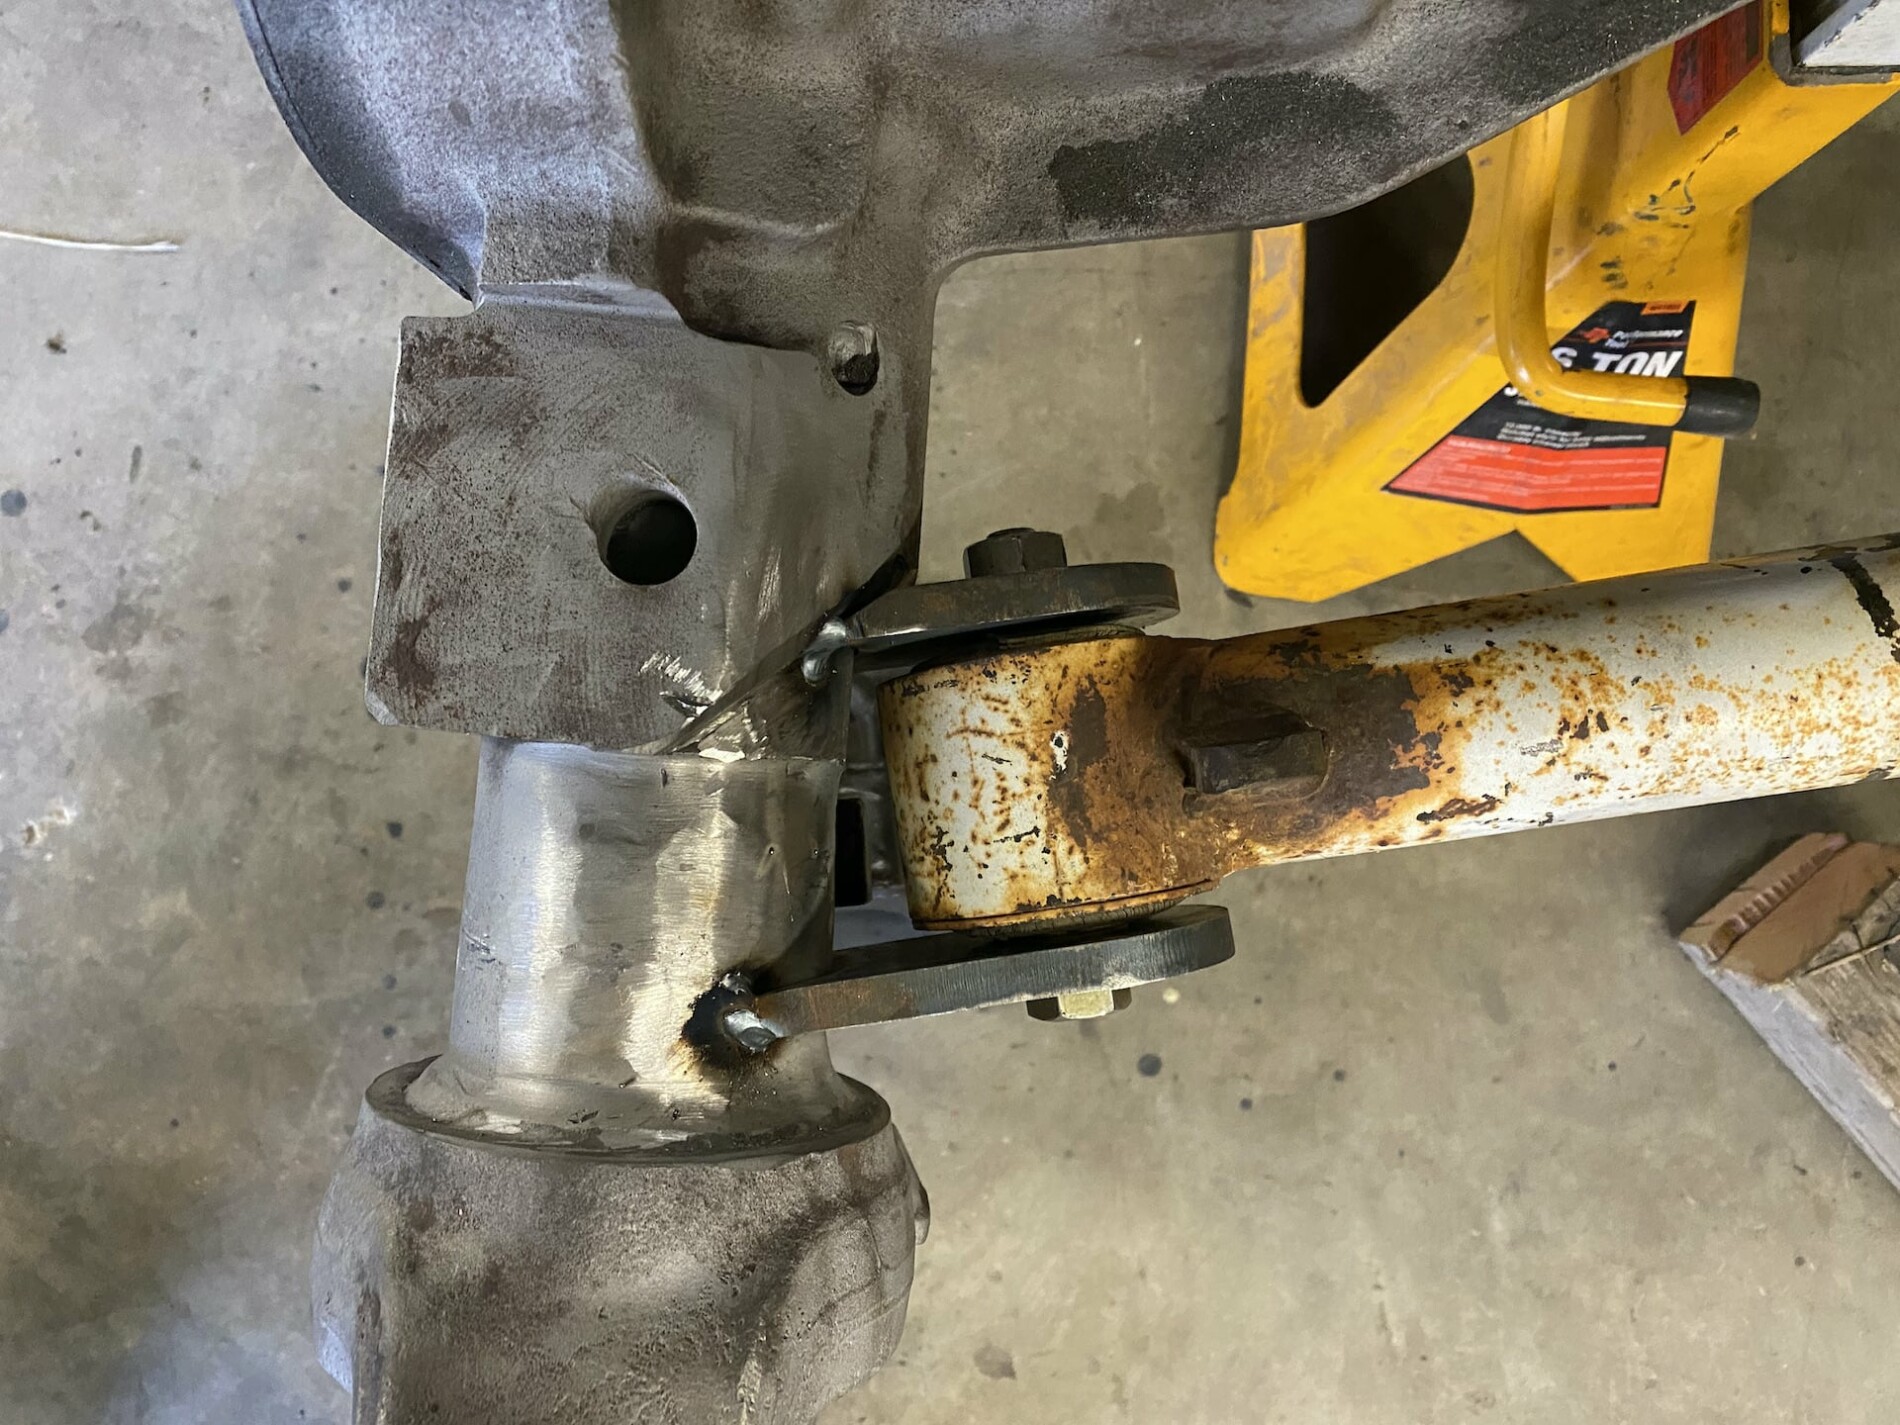
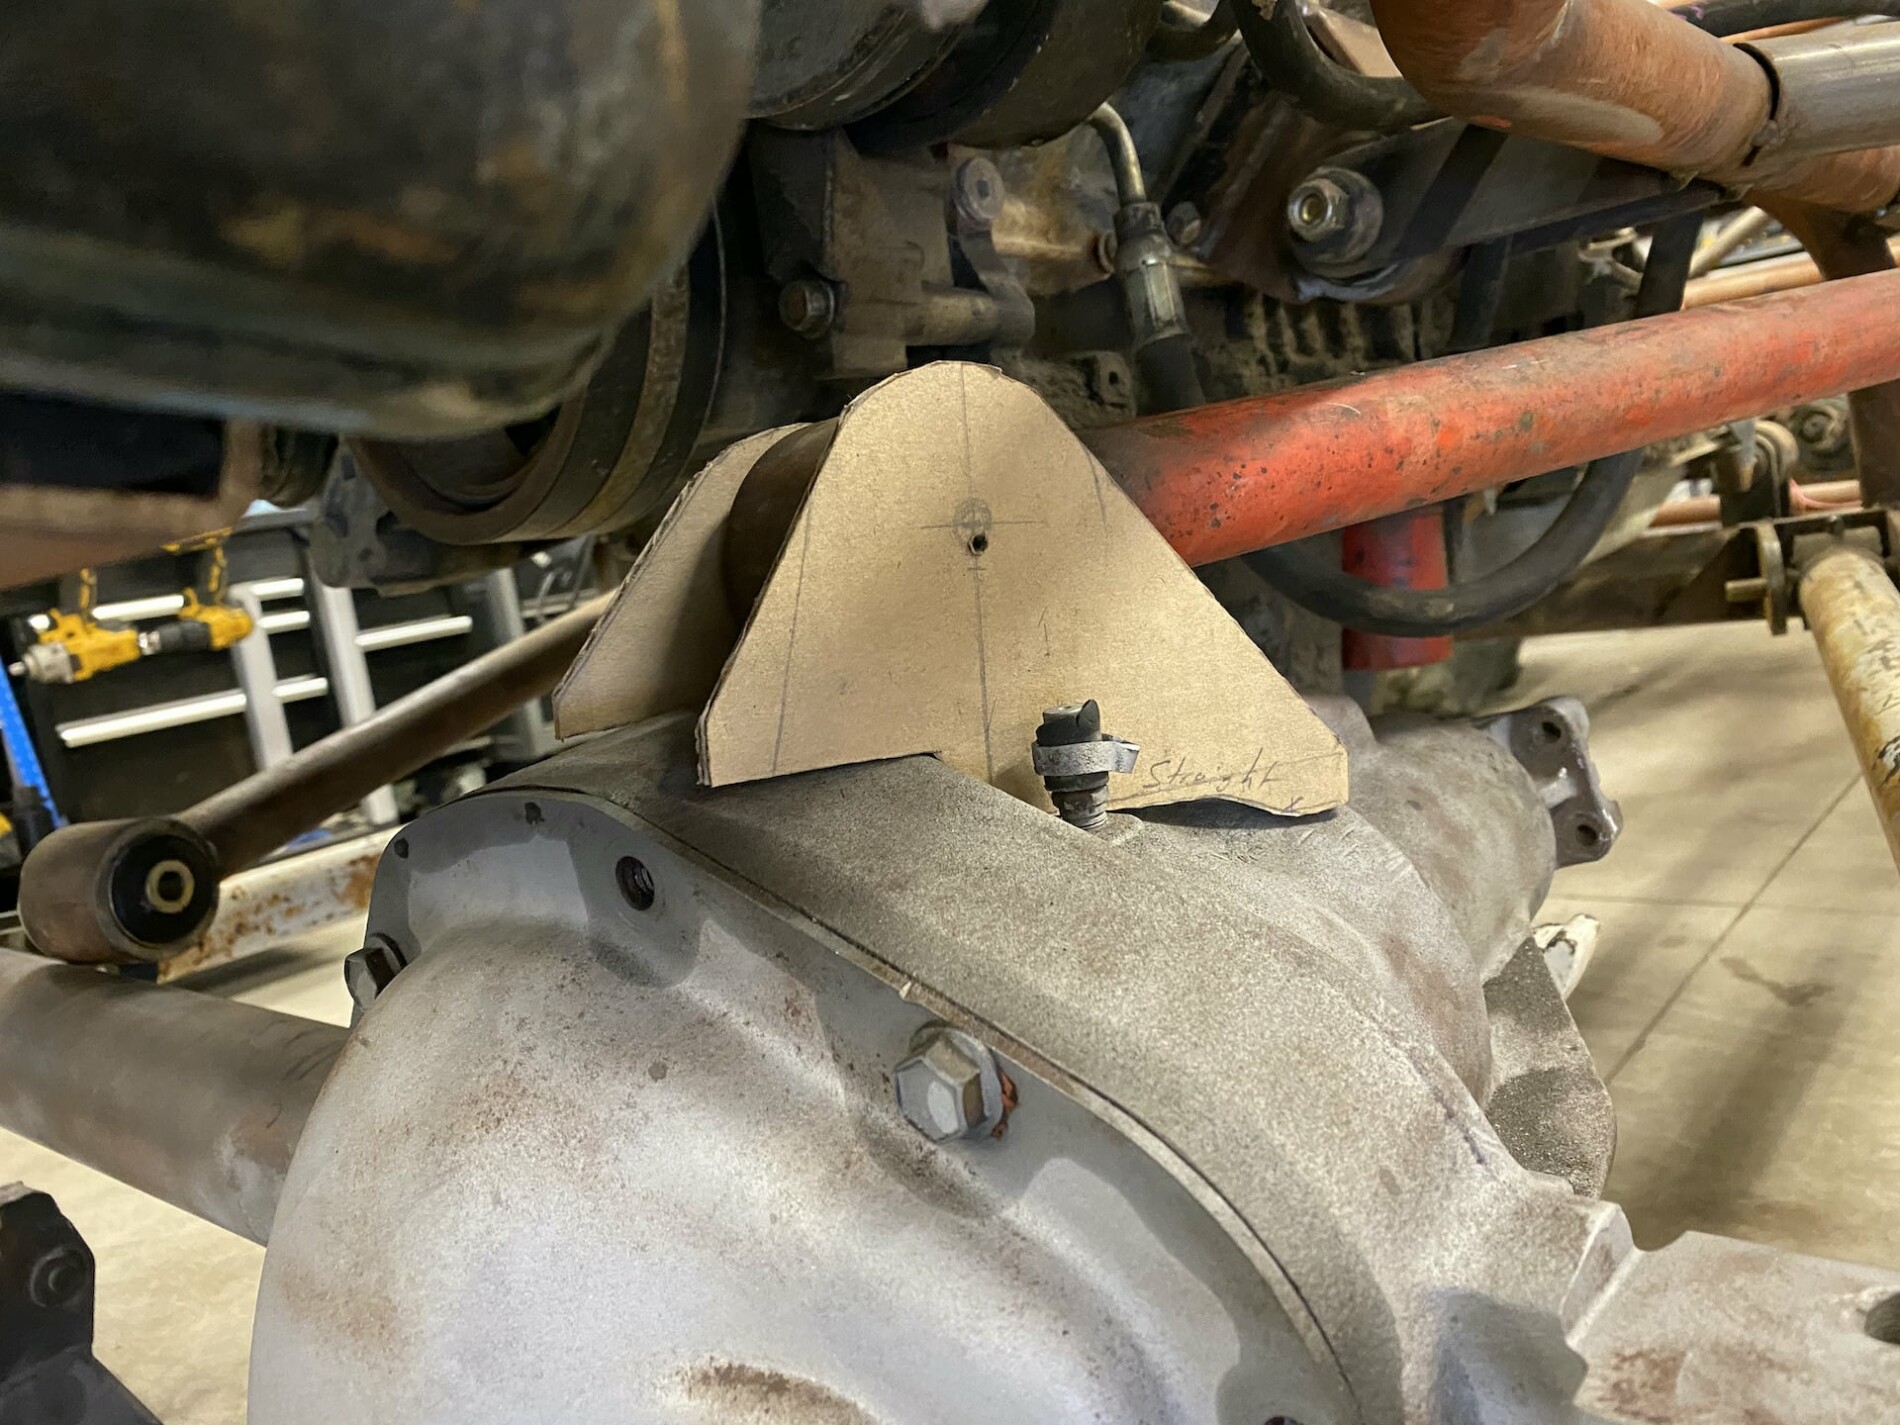
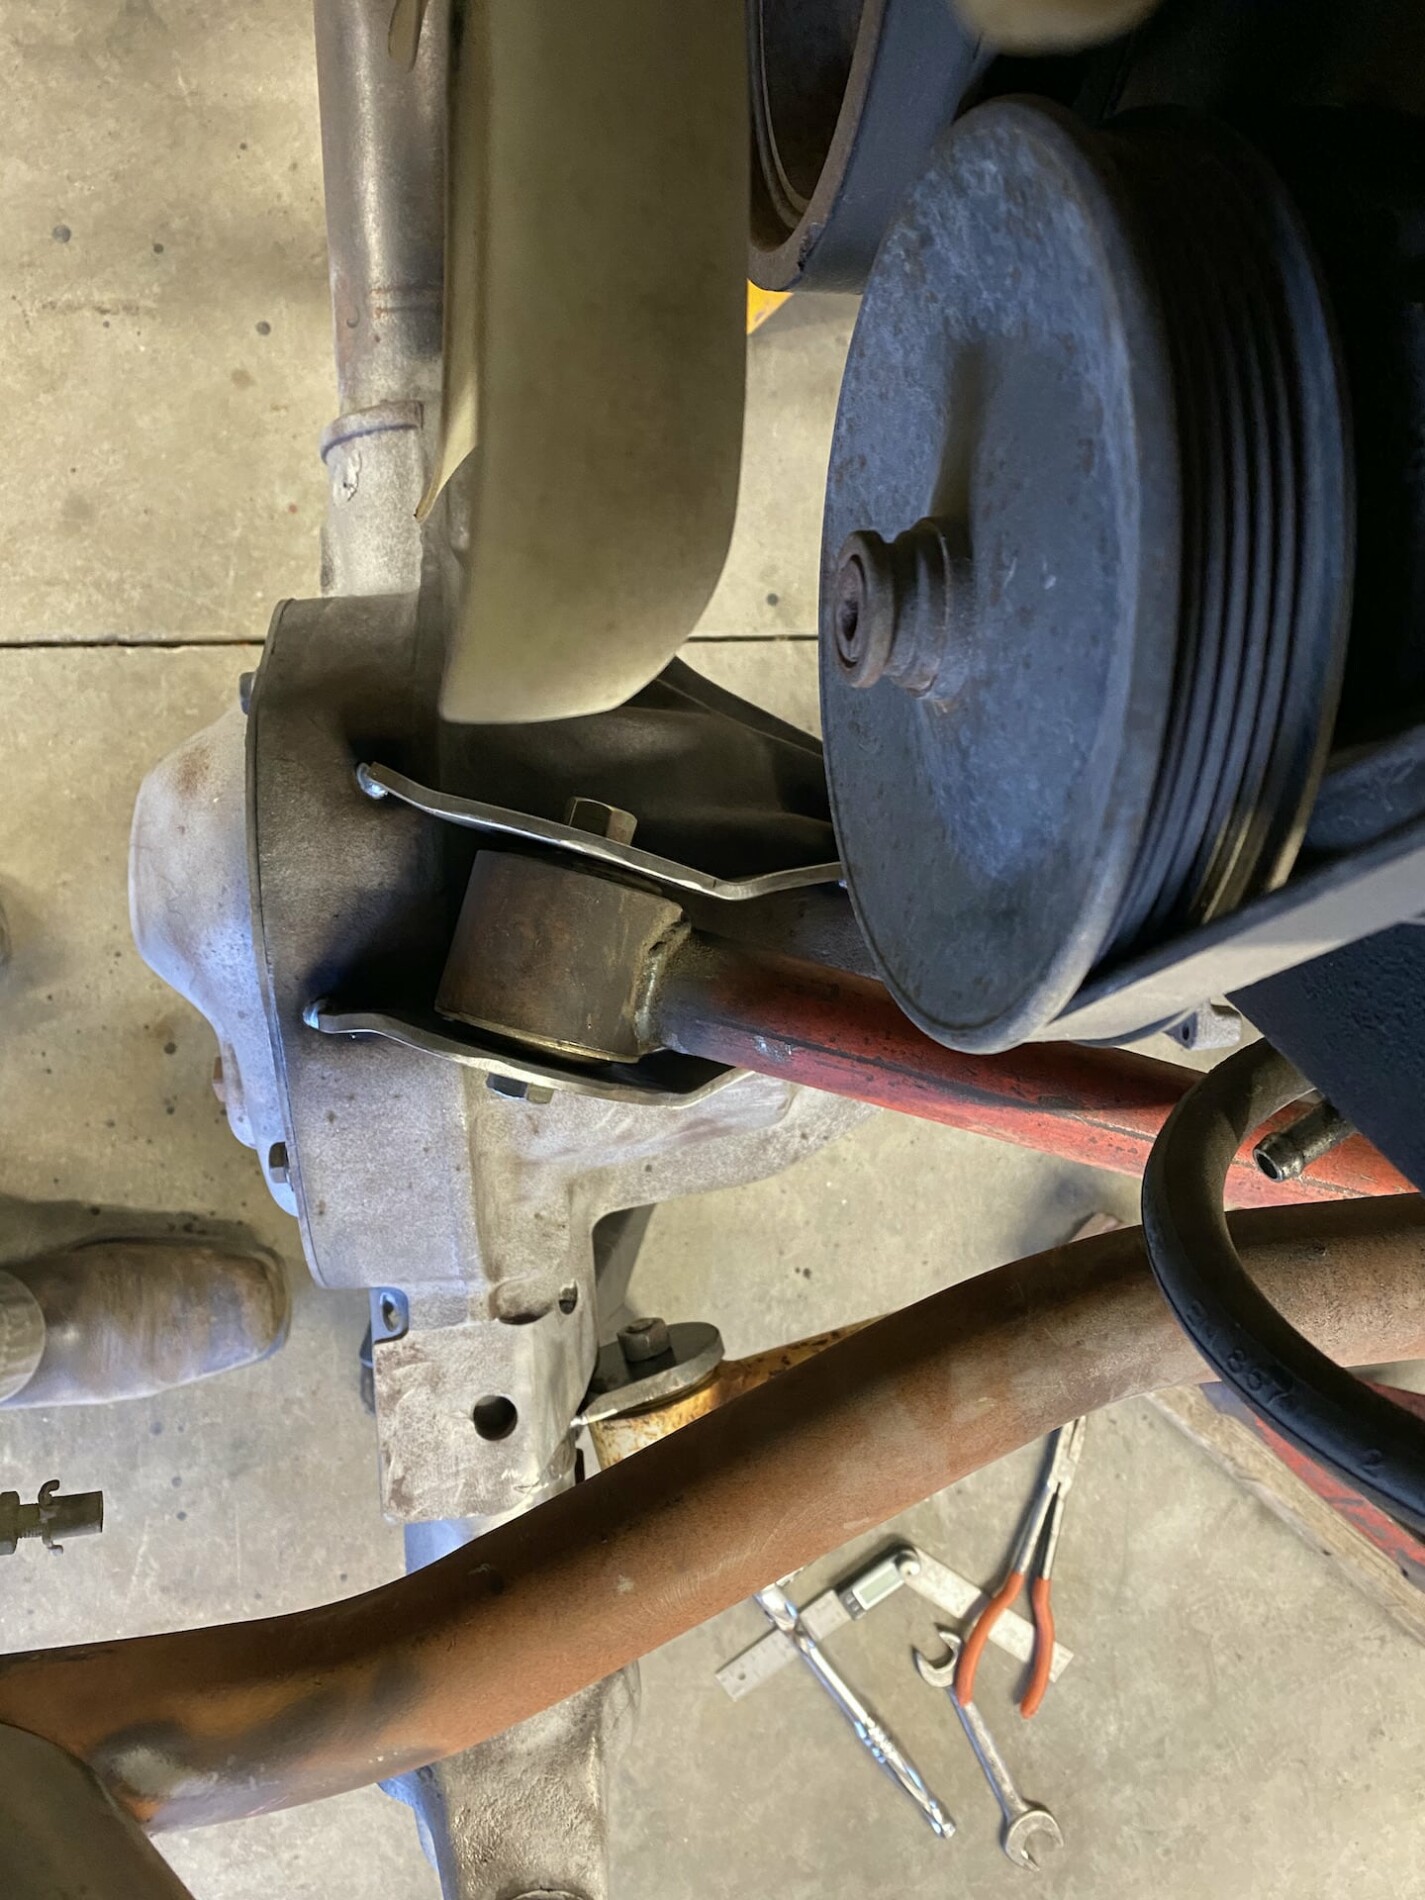
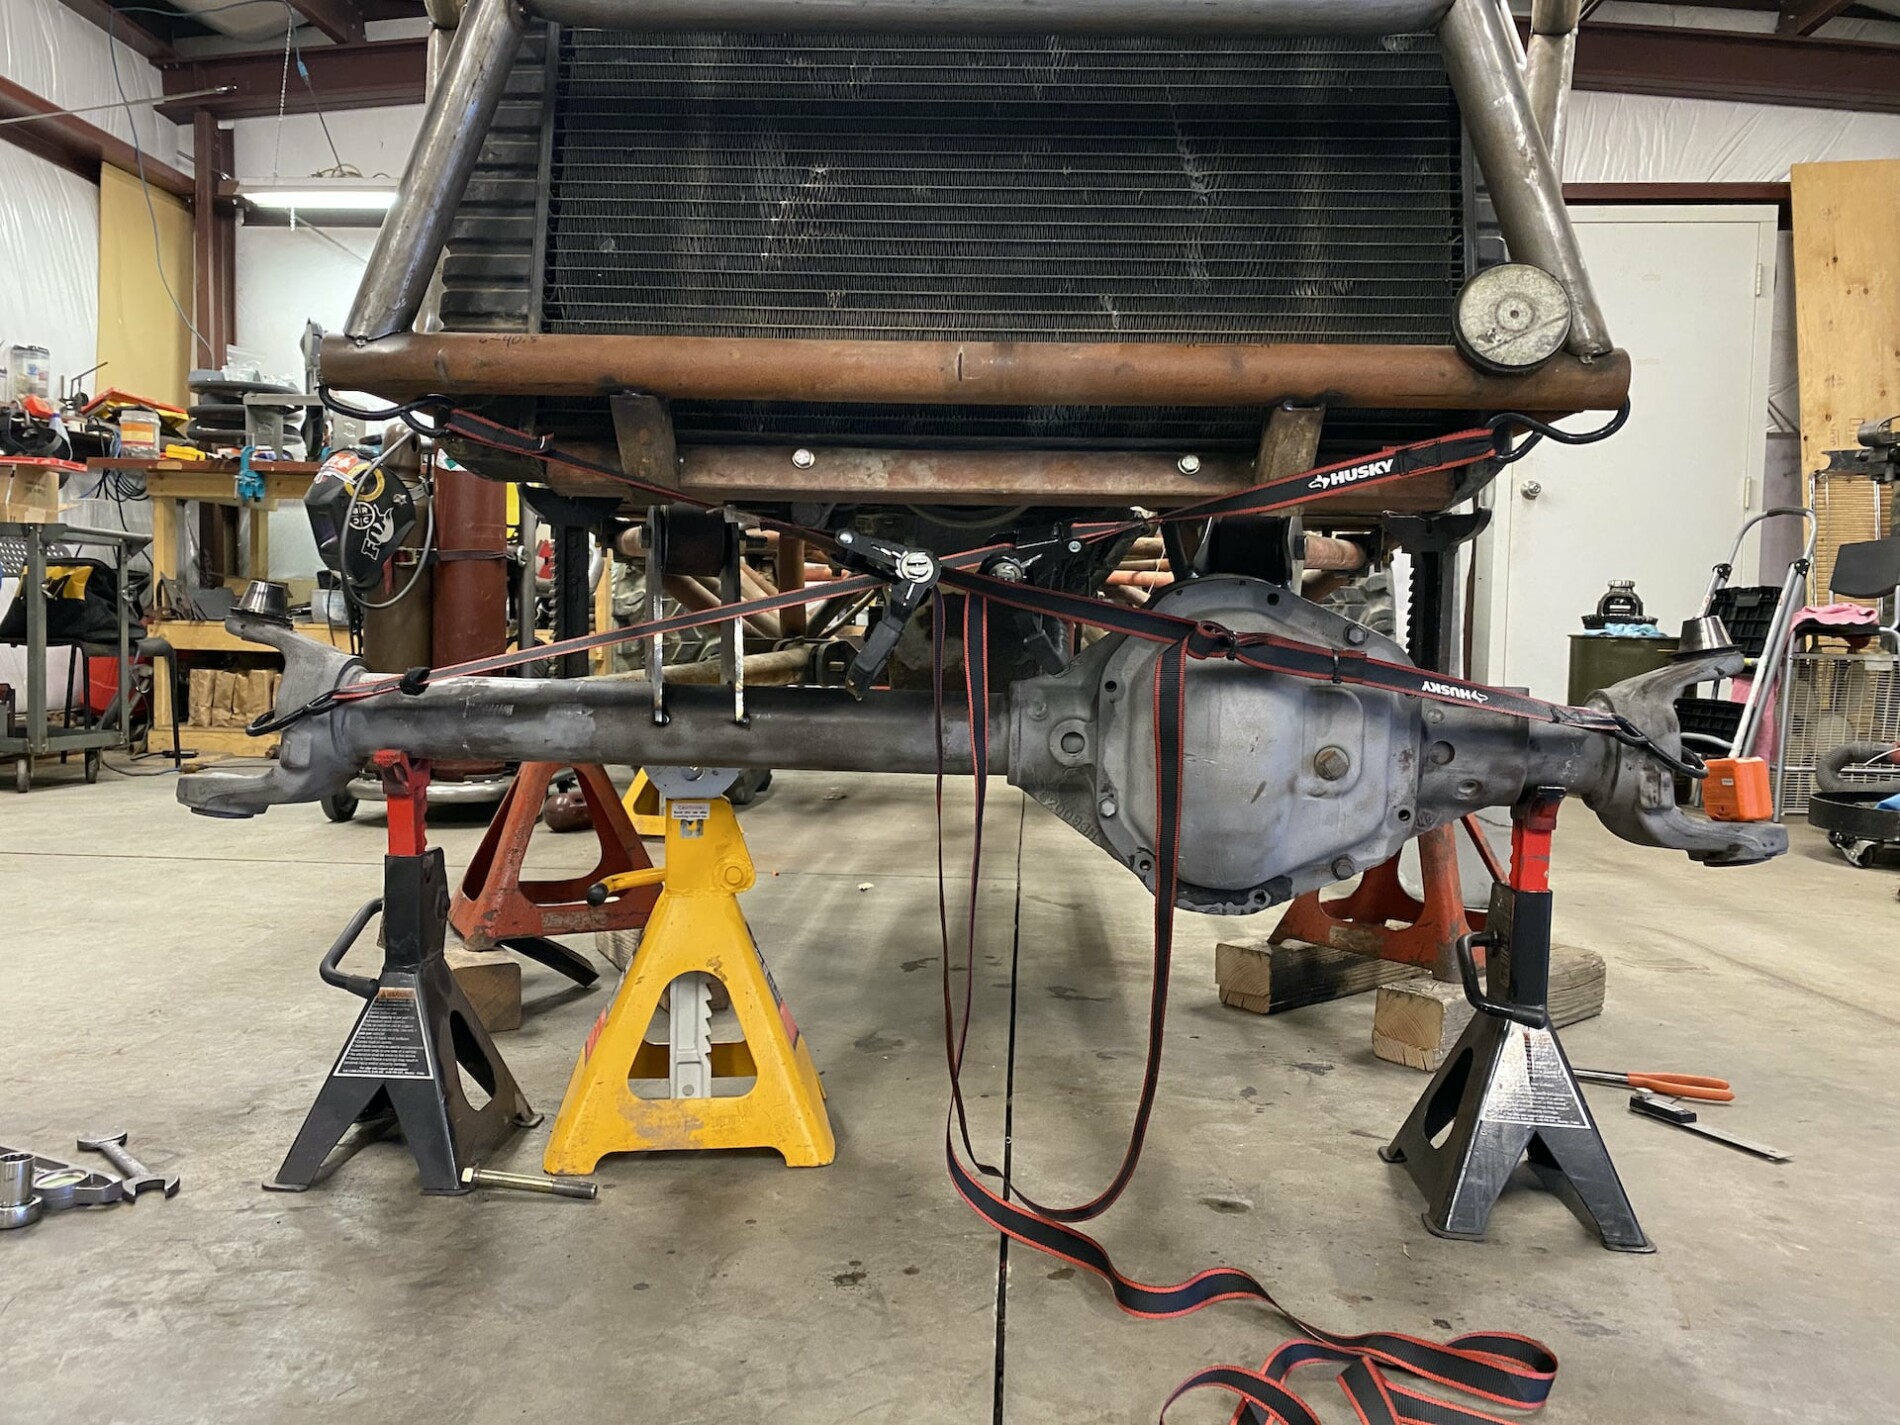
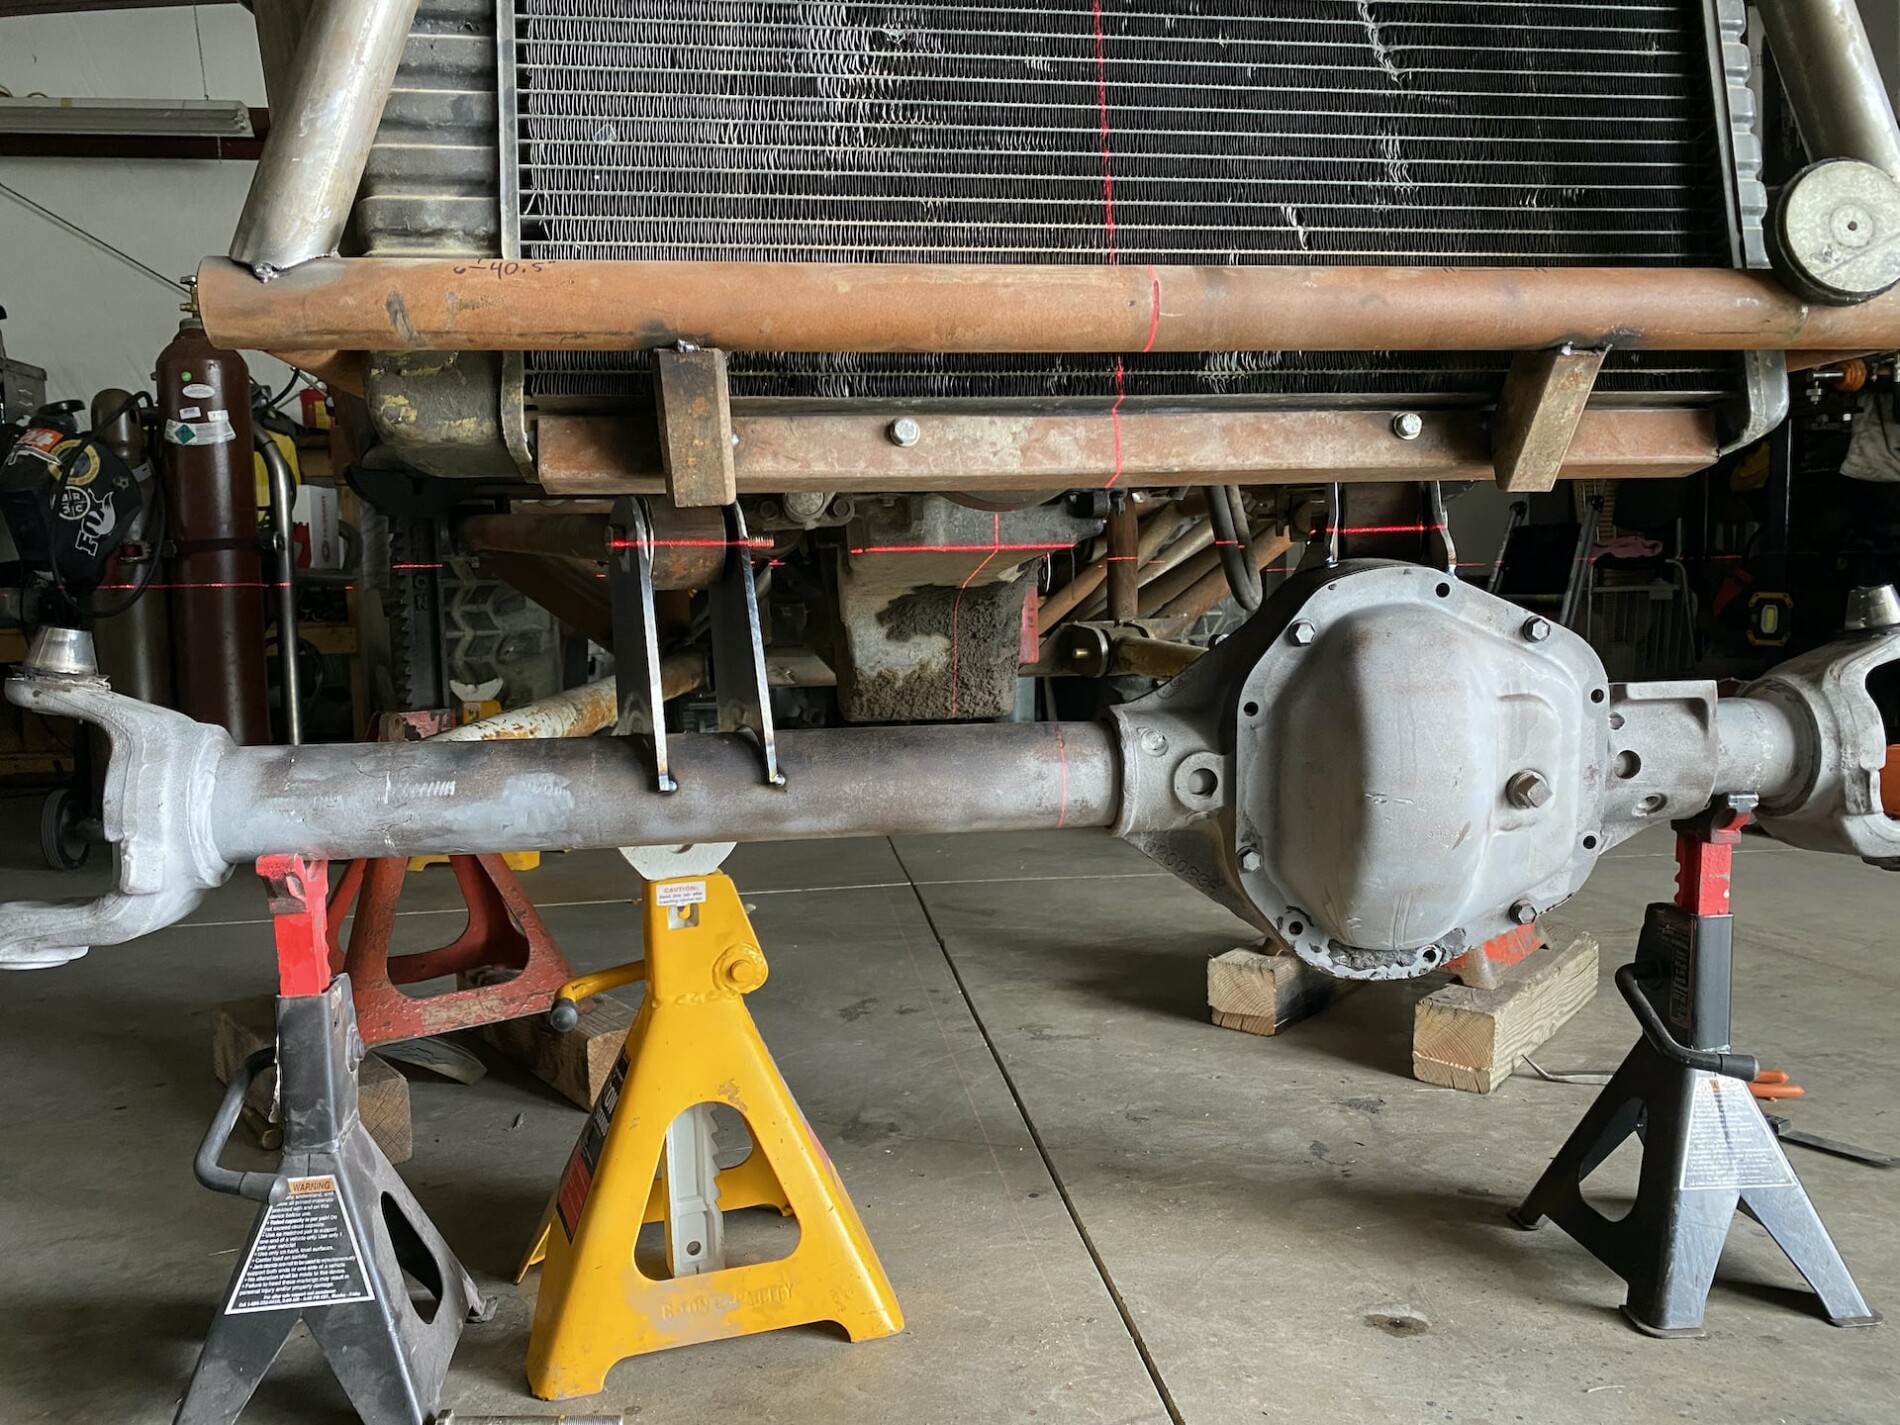
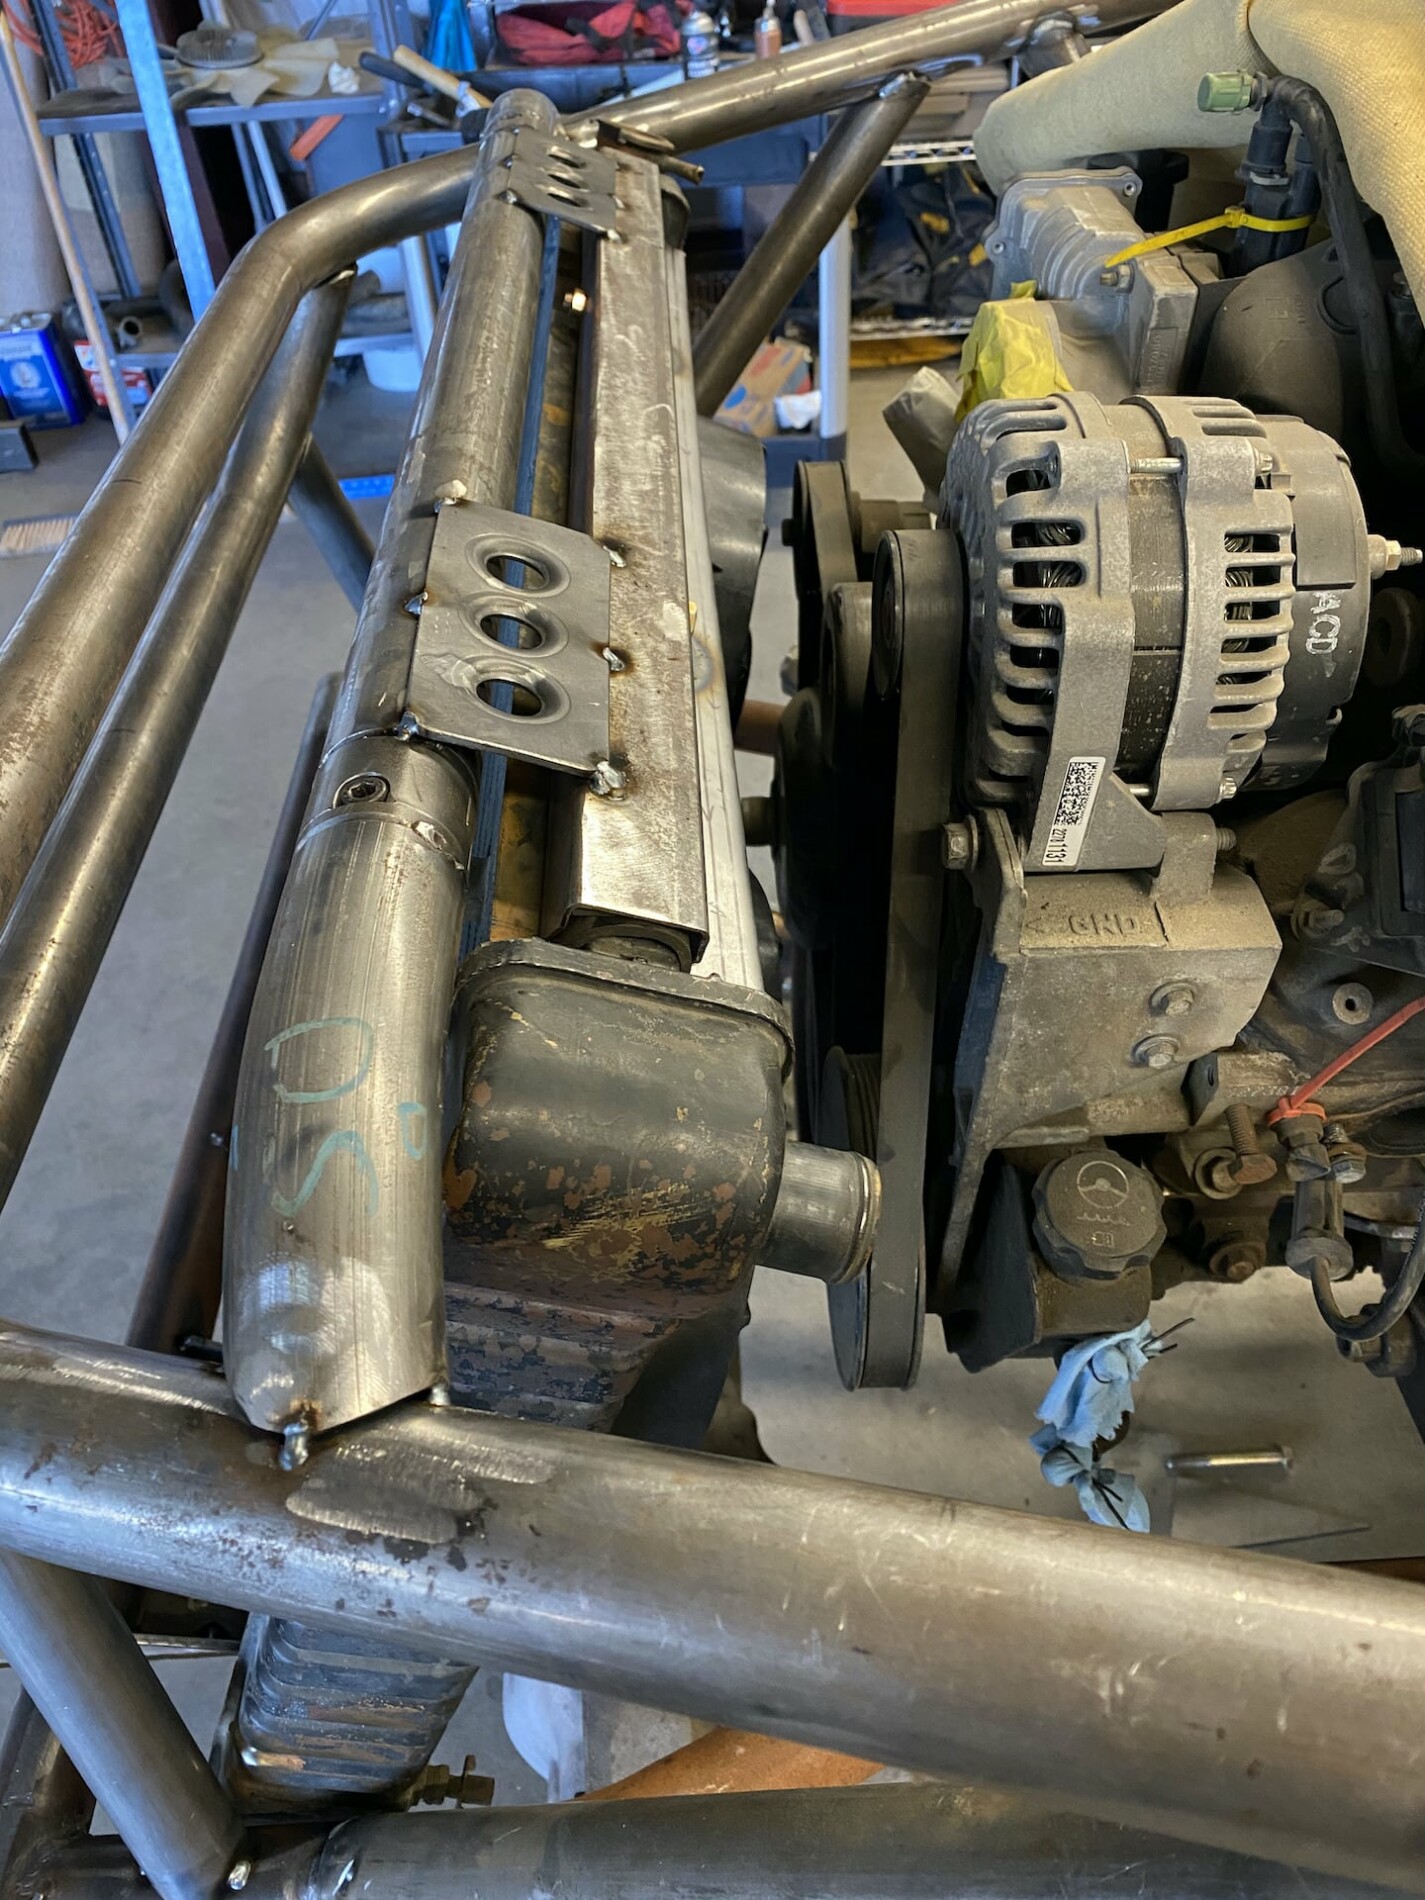
Some of the parts (axles, hydro steering, wheels/tires) came off an older project that was pretty awesome and saw some decent trail time a while back but they were never re-geared and they were just lincoln locked. This time around they are going to get some love. Actually, the chev 60 got replaced with a ford 60 as you'll see later.

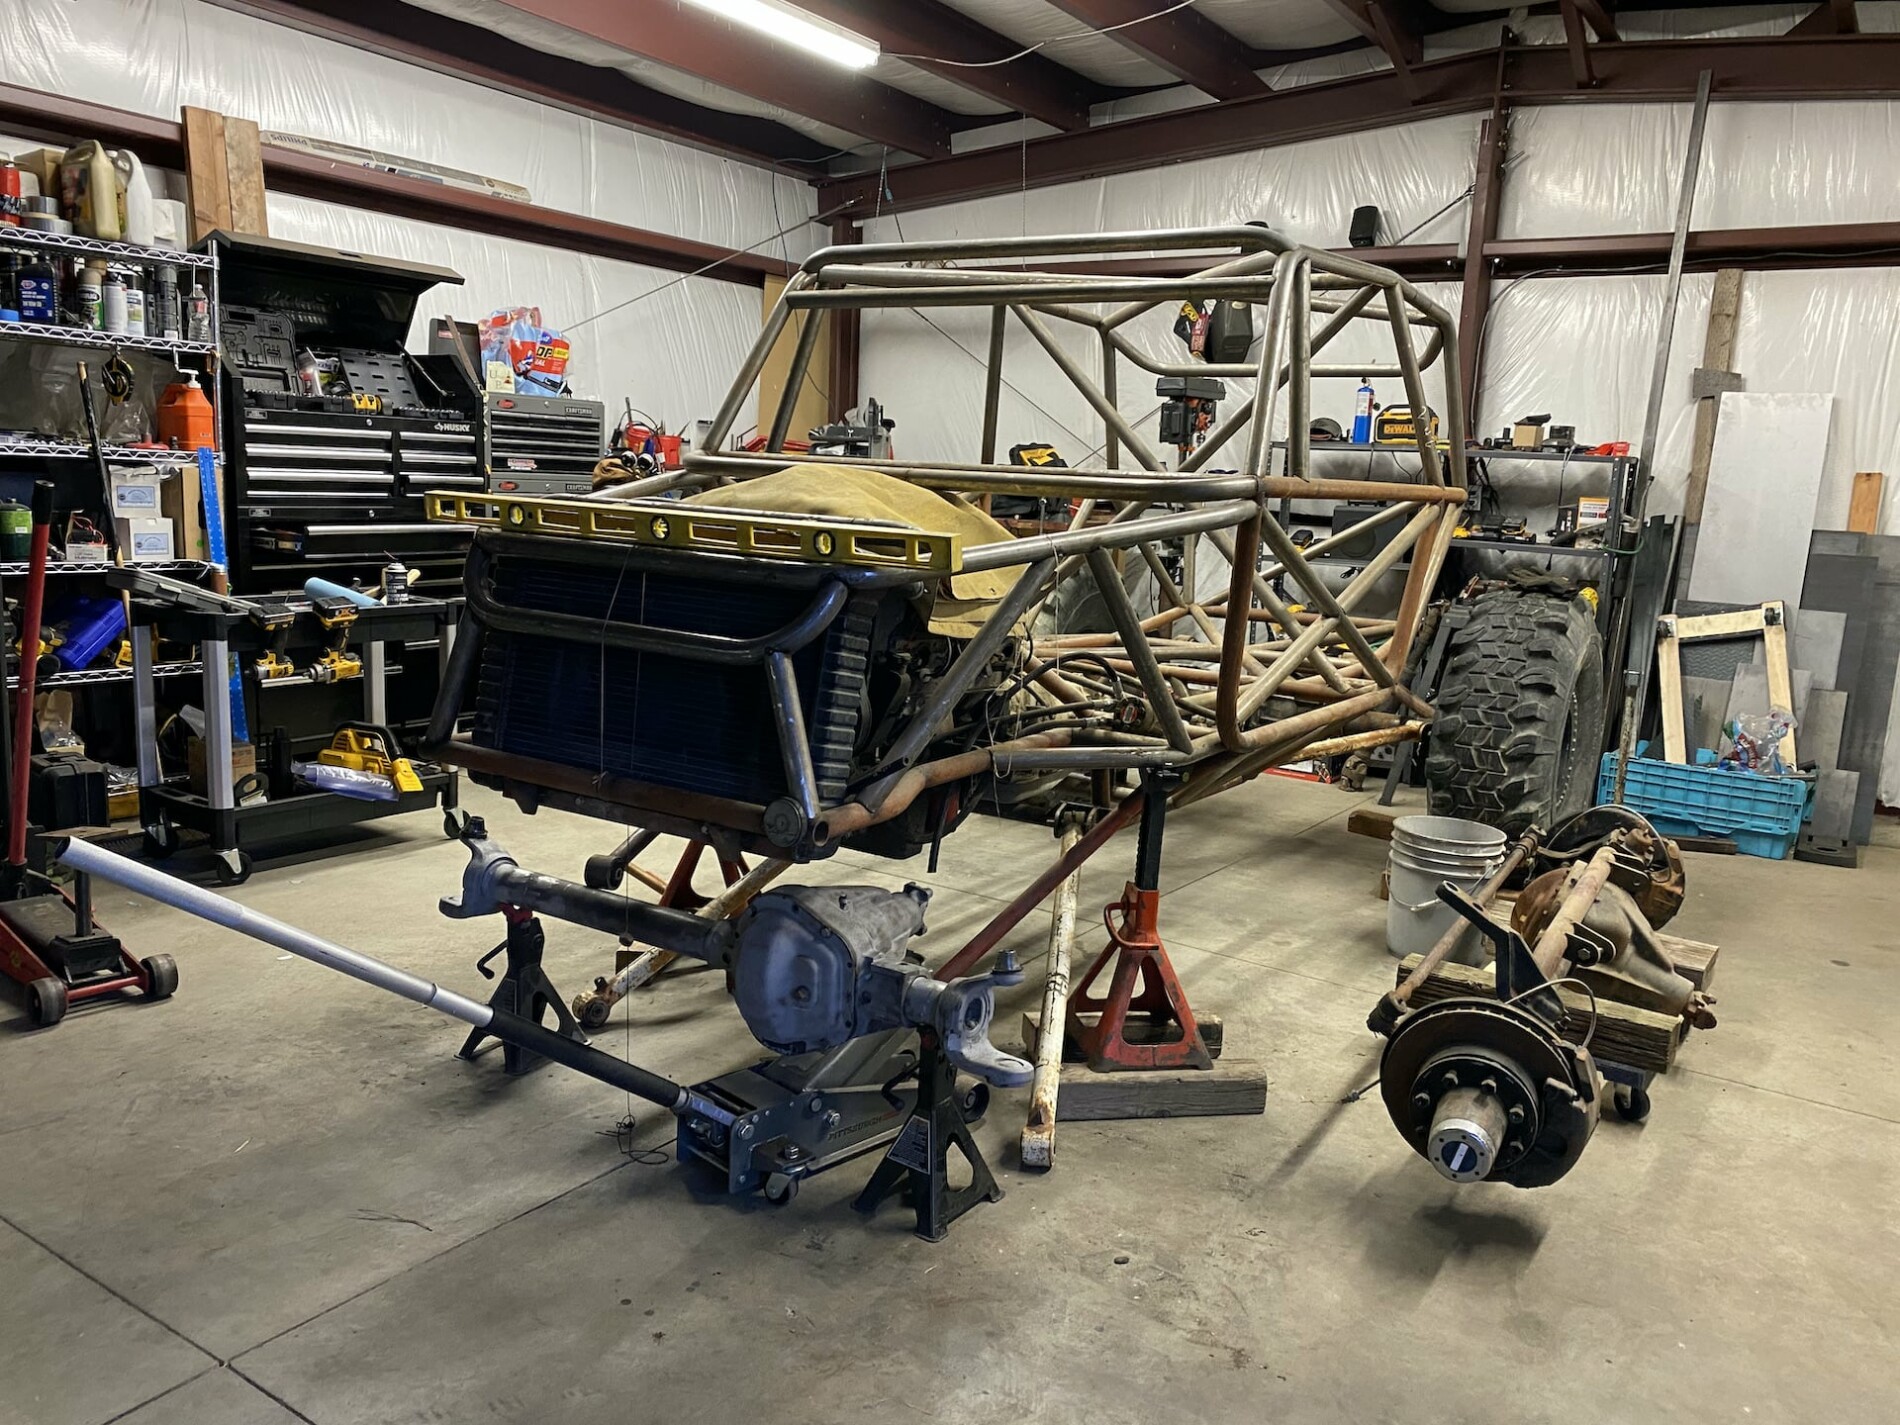
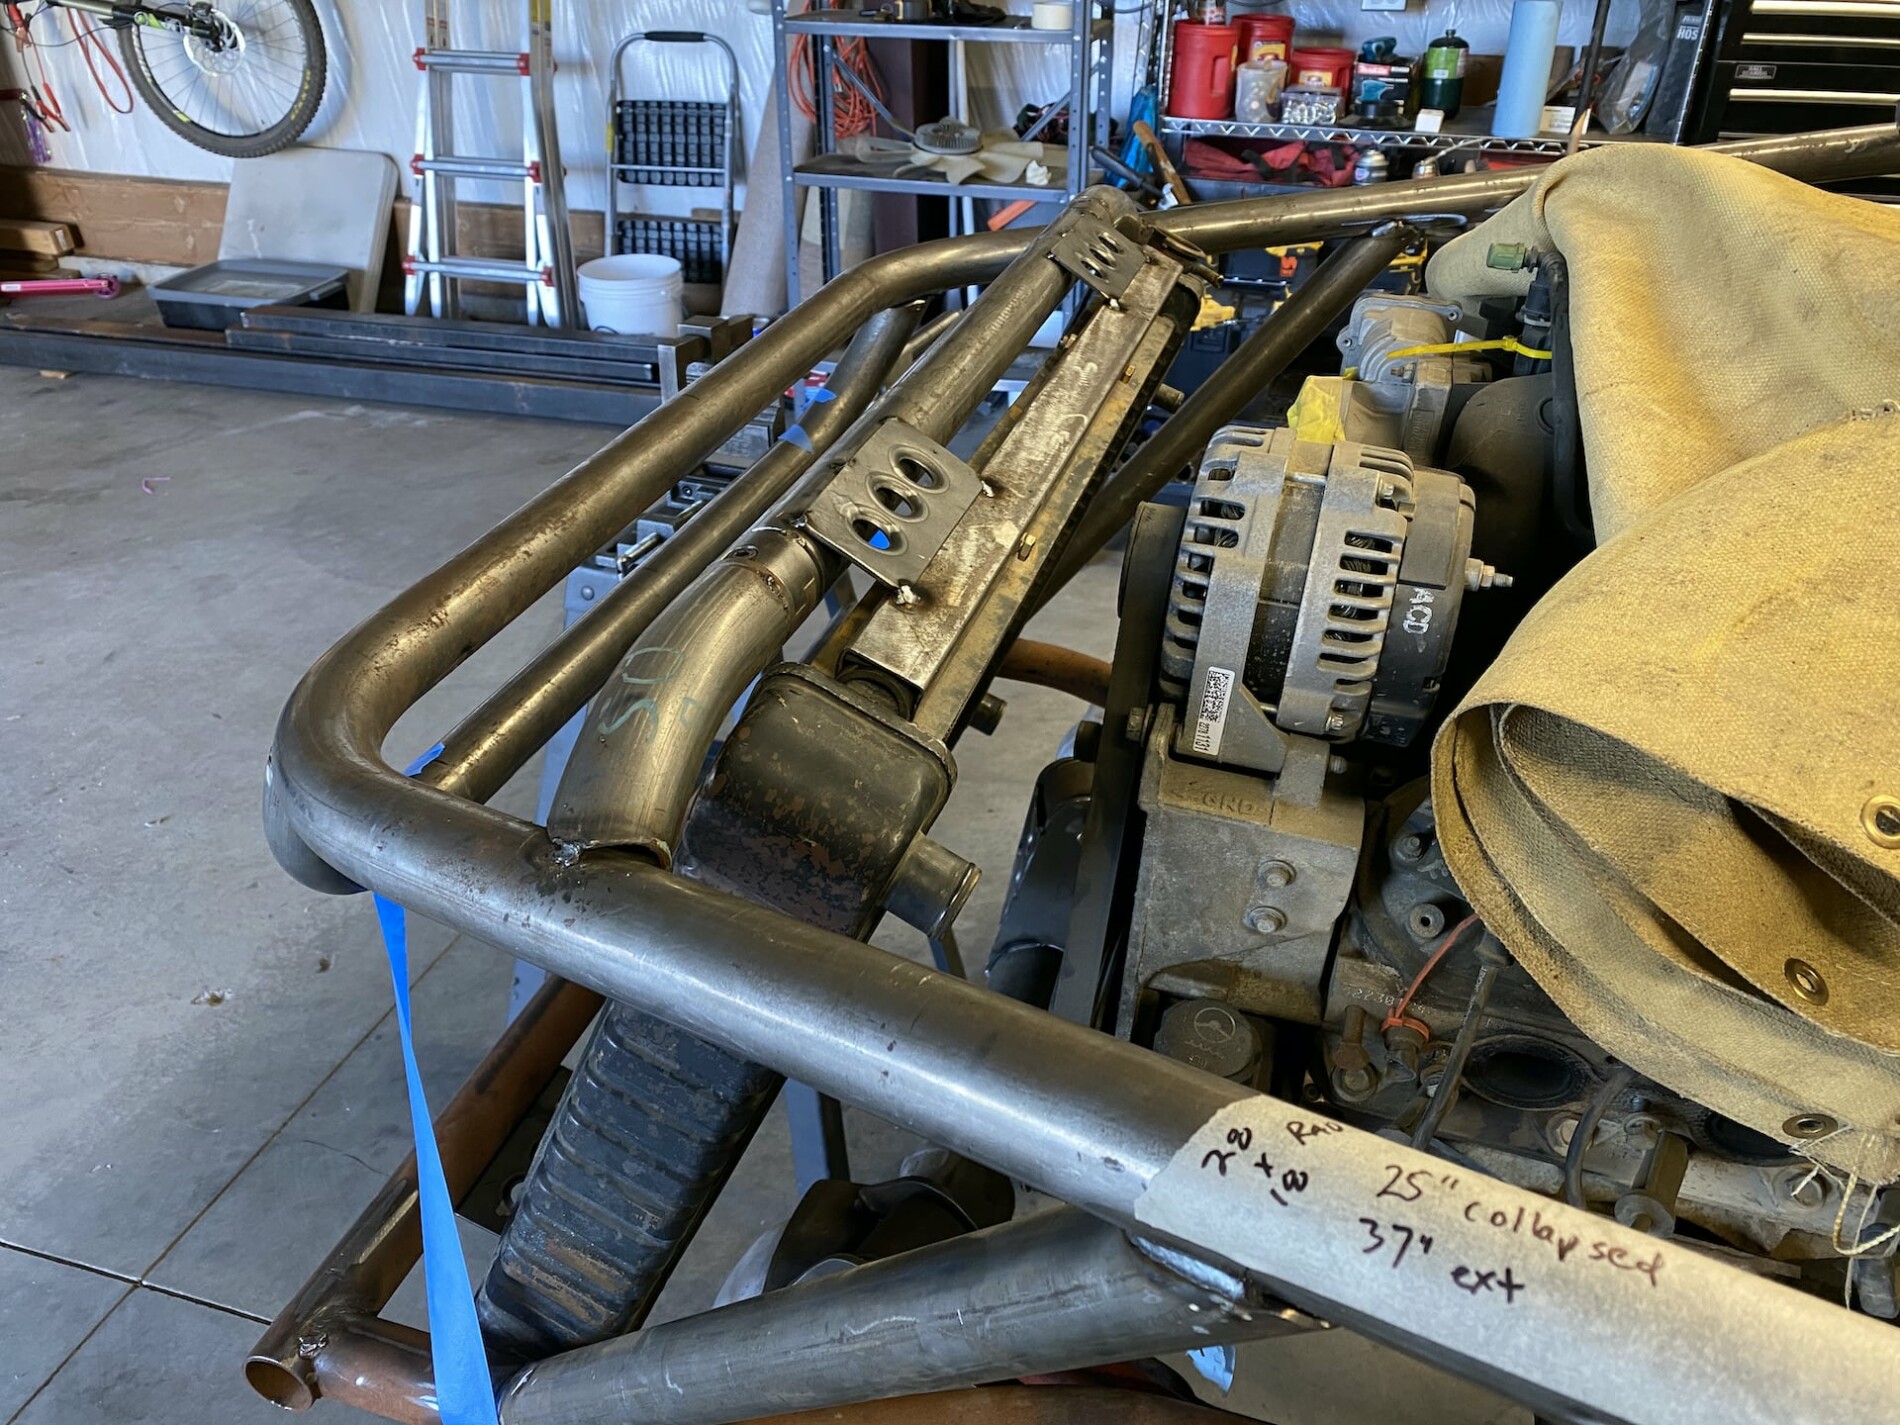
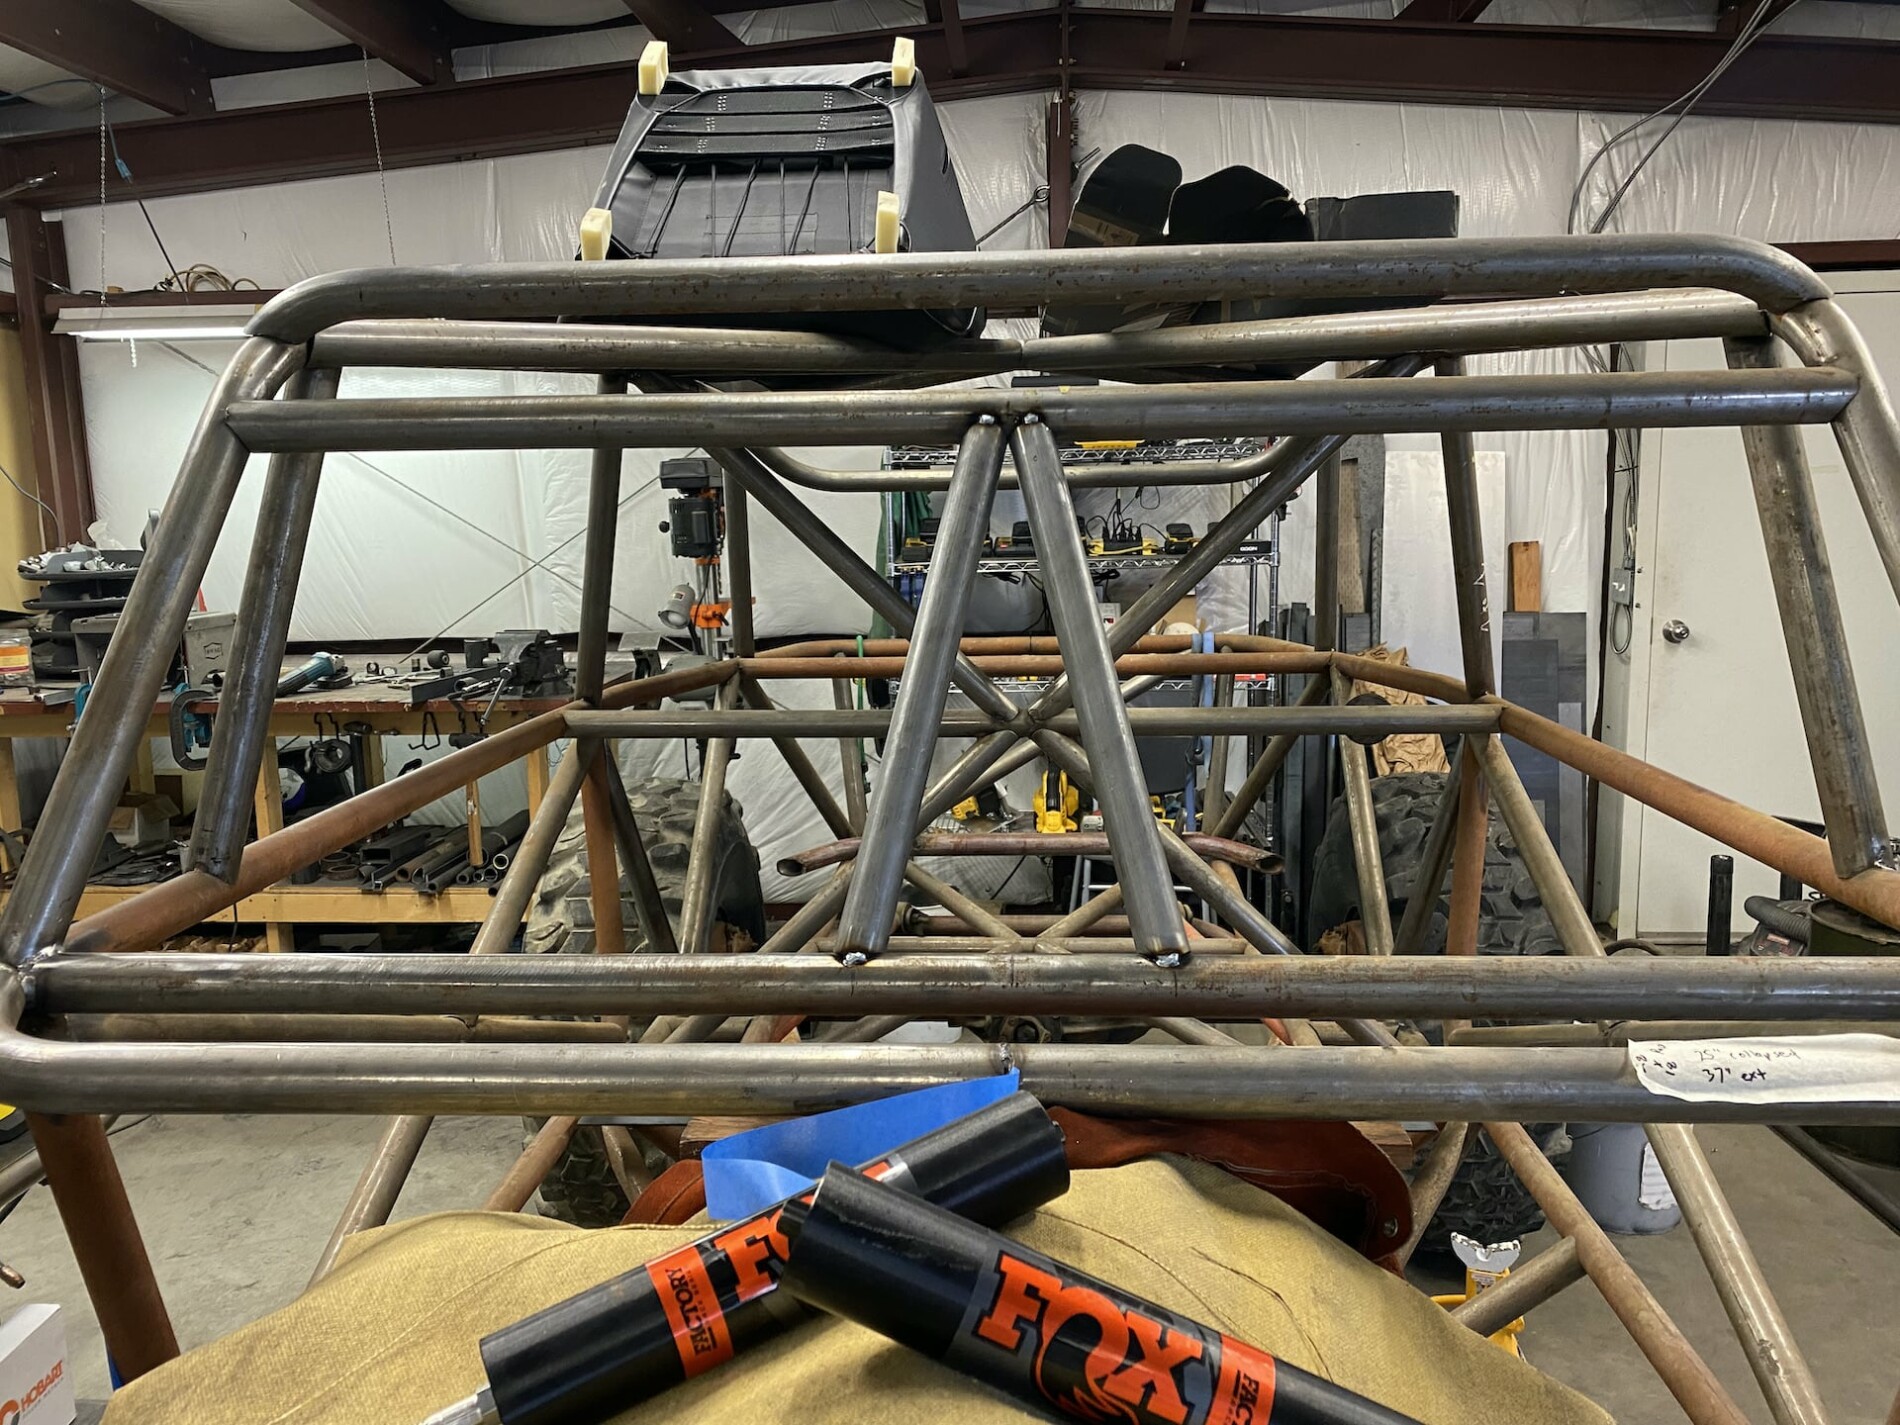
Few years ago adding in some new tube:
IMG_6853.JPG

I thought this was funny... getting moved out of the shop for a while.
IMG_7436.JPG
 

Herzog

somewhat damaged
Admin
Location
Wyoming
Now sitting in my shop. Planning out what needs to happen.

mtB0.jpg


Drivetrain specs: Ordered up a 4sp Atlas from Sexton Offroad here in Kamas. Hoping to see it next month (ordered in May)

u8p1.jpg


Ford D60 to replace the chev.
uPaf.jpg


ua9A.jpg


Gonna need new spindles. Prev owner beat them with a hammer... :confused:
uft3.jpg


unQ9.jpg


uzbq.jpg


Doing about 6deg at "maybe" ride height?
uGXZ.jpg


uK7M.jpg


uWyz.jpg


More to come later
 

Herzog

somewhat damaged
Admin
Location
Wyoming
Take the knuckles and spindles off the chev 60? as I understand, chev knuckles are way better than ford in the strength department...I guess I should say, take the knuckles out...
I asked him if he wanted to swap them but he's going to use the chev 60 on an old truck he has. We may upgrade the outer knuckles to aftermarket though, not sure yet.
 

UNSTUCK

But stuck more often.
I missing having a service truck. Got out of that line of work a while ago. I used to lift my jeep all the time with the hoist. Bought a treadmill once from a guy. Low balled him and he said "fine, but I'm not helping you load it". I rolled it outside and then he saw my truck with its hoist. :cool:
 

Herzog

somewhat damaged
Admin
Location
Wyoming
Tossing some more on here. Re-added the lower ca mounts but had to trim some casting on the diff side
upf8.jpg


Making new upper mounts, decided to ditch the tube truss
uEJH.jpg


uuHb.jpg

I kicked the material in to be able to get more weld surface here and there's no interference with the upper CA
ubxw.jpg


Pass upper ca mounts

ury1.jpg


uJGf.jpg


I've been wanting to pick up a laser for this stuff so I finally bit the bullet and got a decent one. Problem is, it helped me find an issue with the chassis that I had to correct. More on that later!

ulI3.jpg
 

Herzog

somewhat damaged
Admin
Location
Wyoming
So, back to the laser that found an issue. The "newer" tubework on the front that we added a few years ago was off-center pretty bad. Might have been the whiskey that day...

Luckily, most things are tacked, some bars were tacked extra good to support the motor but luckily it wasn't too bad to disconnect the bars. I tried truing it with a ratchet strap but after some measurements I realized that the passenger side was just a quarter inch too long. Re-notched it and it fit much better.

Hard to see, but the laser lines line up perfectly with everything all the way to the back except for the hood and front grill bar.

uqd9.jpg


slightly easier to see
uFXU.jpg


Ugh. :oops:
ueEg.jpg


This is fine.
uxfD.jpg


This this is more fine.
uDGu.jpg


In the end, I'm glad this happened because it modivated me to change some things on the front that I wasn't happy with. More on that later!
uRMX.jpg


Seats came in right around that time too.
uT8e.jpg


To be continued...
 

Jinx

when in doubt, upgrade!
Location
So Jordan, Utah
Are you guys breaking them with or without high-steer arms on them?
without high-steer on that side.

It broke between the kingpin and the spindle.

the Fords have a 5 bolt spindle and the Chevy has a 6 bolt spindle, and I think there is extra material/heavier knuckle because of the extra.

This was on a comp buggy running 37" stickies... (Clay's 05 buggy)
 

Herzog

somewhat damaged
Admin
Location
Wyoming
What kind of laser are you using?
Not sure on the model, just some slightly older model dewalt laser that came with a fancy carry case. I'm excited to use it to rebuild my deck at some point this year, no idea why I waited so long to get one.
 

Herzog

somewhat damaged
Admin
Location
Wyoming
I joined the dimple die mafia.
O3oK.jpg


Now to the radiator (this is just the mockup rad, he has a brand new one waiting)
I didn't like how it was mounted, I didn't like how it hung low up front, etc. He wanted to go with mechanical fan for good reasons, but I convinced him to go with some high quality SPAL fans and just make sure it's wired to the controller to be on when needed and that we will add some temperature alarms just in case. Sold!

OZ1M.jpg


This is close to where it is now, I actually moved the upper bar back about 1" to help with the fan clearance a little later.
Ofjz.jpg
 

Herzog

somewhat damaged
Admin
Location
Wyoming
I already posted this in the "what did you do today" thread but I'll repost here for continuity.

The fan shroud I wasn't quite as described and I figured I'd have to mod it a little to get it to work, but it was just too off and rather than trying to find another shroud to modify, I decided to make a new one out of some spare sheetmetal I had laying around.
OjK8.jpg


Like a glove, with a 1/4" of space between the shroud to allow for max pull airflow
OBIS.jpg


OXgb.jpg


OoR5.jpg


Clearance, Clarence?
ONow.jpg
 

Herzog

somewhat damaged
Admin
Location
Wyoming
These are hard to come by now days! I had the part numbers bookmarked on a few different sites and I would check every morning to see if they'd pop up. Sure, I could have just ordered some and did the 4 week wait, but this worked out well. Got these after 4 days of checking in.

14" for the front
OCLL.jpg


OIj1.jpg


I did the same for the rear 16" coilovers and got a set a week and a half later. Hopefully the rest of what we need won't be back ordered too much.

Also added some window bars. Nothing new, I just like this look.

O6Kc.jpg
 
Top