22RE to 3RZ swap

Rock Taco

Well-Known Member
Location
Sandy
Took advantage of a break in the weather, the old motor is out. Thanks for the help, AJ. Going to get started on the valve job tomorrow, because it's supposed to rain again and I can do that in the relative warmth of my garage.

Here's a pic of an empty filthy engine bay, because Troy likes pics.

20140211_113124_zpsd4ba67e3.jpg


How close can I run a fuel line to the exhaust?

Ok now I can start following this. With out pictures I don't know whats going on. :rofl:
 

Kevin B.

Not often wrong. Never quite right.
Moderator
Location
Vehicular limbo
With the winch and lights I'm putting on, I'm not liking the idea of using the stock 3rz alternator. My aftermarket 140a alternator from the old motor bolts right up to the 3rz block, everything lines up perfectly. The plugs are different, but they're both three wire so splicing the 22re alt plug into the 3rz harness shouldn't be too much trouble.

The one part that has me a little stumped is the pulley - the pulley on the alternator now is undersized and for a v-belt, so I need to find a smaller rib-belt pulley. The internet is not falling over in it's eagerness to help me out, so I think I'll take both alts into an alternator shop and see what they can do for me.
 

Kevin B.

Not often wrong. Never quite right.
Moderator
Location
Vehicular limbo
Gotta put the motor back together, I'm waiting on valve shims from the dealer. On today's list is to pull the bellhousing and fit the new one and get some other little things ready to hang the motor in the bay. The next step after that is figuring out the motor mounts and the new clutch/fuel line routing.
 

Kevin B.

Not often wrong. Never quite right.
Moderator
Location
Vehicular limbo
Slave cylinders are identical. The one from my truck is only two years old, I'll use it and hold onto the other for a spare. The throwout bearing feels a little gritty so it'll get replaced, but I might get away with reusing my clutch fork.

20140217_110731_zps70056bfa.jpg
 

Kevin B.

Not often wrong. Never quite right.
Moderator
Location
Vehicular limbo
I jacked up the valve shim replacement (math is hard), so I had to order up a couple more shims. That hurt, those things aren't cheap.

While I'm waiting, I'm messing around with other little stuff. Toyota didn't design the PS idler to be serviceable - the bearing is staked into the pulley instead of held in with a snap ring, and they want to sell you an entire new idler bracket with pulley for waaaaaaaaaaaay too much. Screw that, this is what the good lord gave us hammers for.

Mangled the stakes:
20140302_132609_zpsd7d6c8fd.jpg


Went to work with a socket:
20140302_132905_zps247eddc0.jpg


Three minutes later, one idler pulley bearing, NSK6301DUX. I bet the new one costs me less than $10. Take that, Toyota.

Where does a fellow go to get a valve cover cleaned up in this town? The baffle isn't removable, so I'm thinking some sort of chemical bath or something?
 
Last edited:

blznnp

Well-Known Member
Location
Herriman
Come on kevin, you should have this thing done by now, you have had a month already......of course it took me about 4 years to get the axle swap and v8 running in my blazer, but I am a slacker.
 

blznnp

Well-Known Member
Location
Herriman
its the best way to learn, jump on in. thats my plan for next winter, rebuild my engine to get a little more power out of it and learn how to rebuild it.
 

Kevin B.

Not often wrong. Never quite right.
Moderator
Location
Vehicular limbo
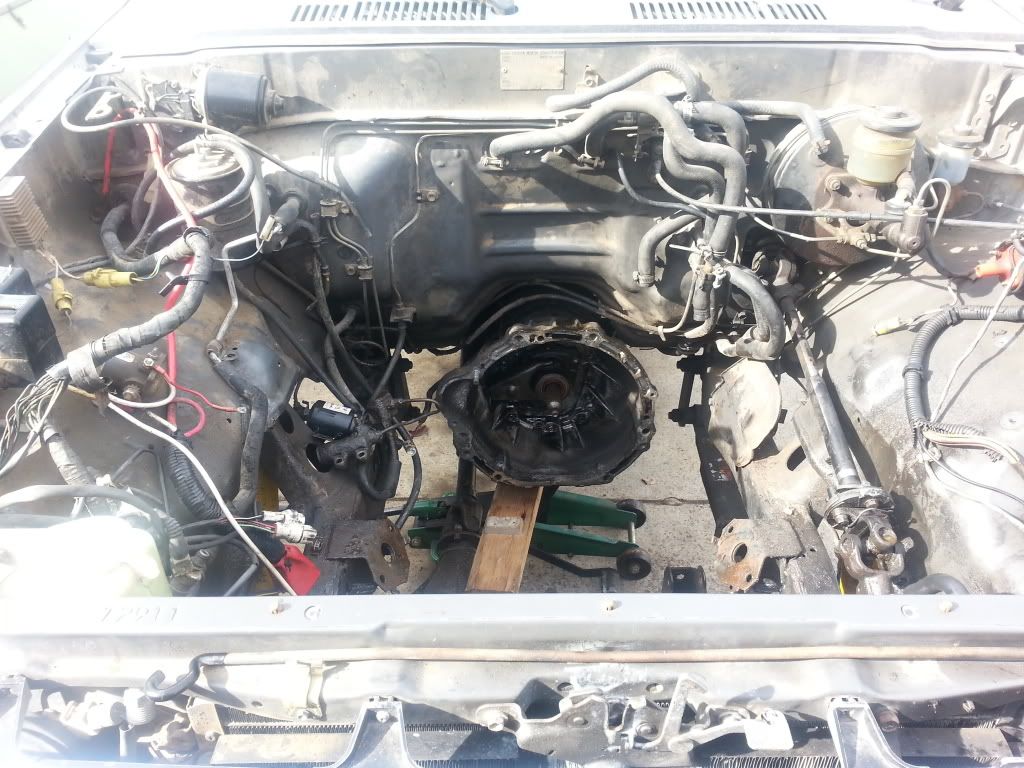
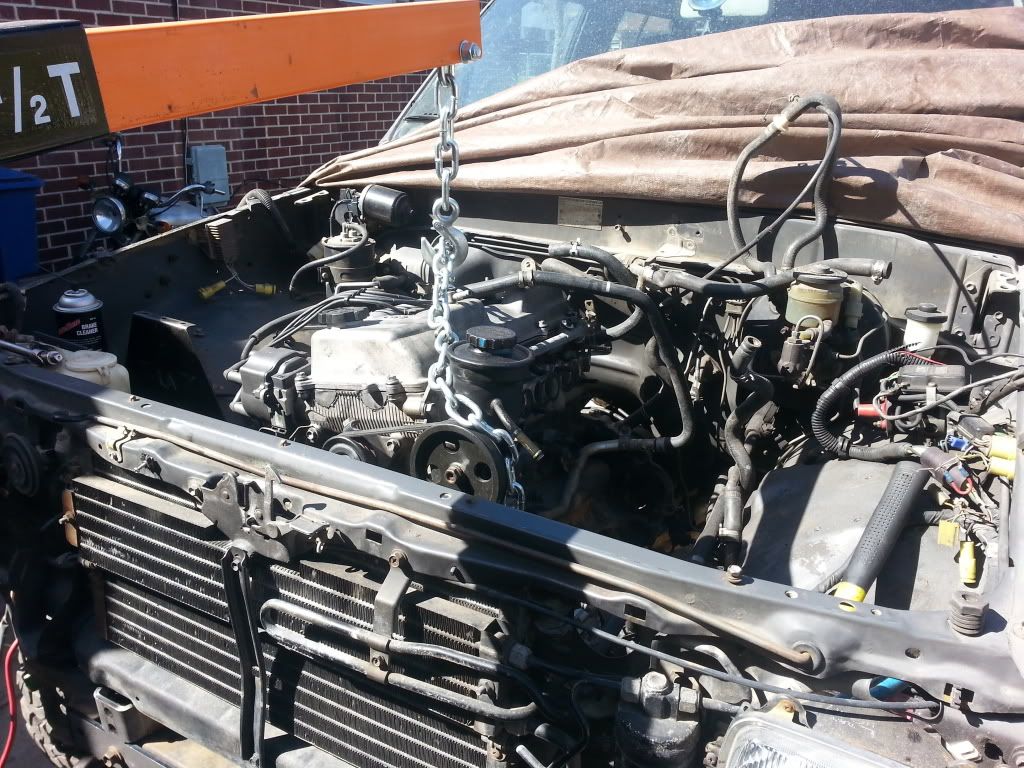
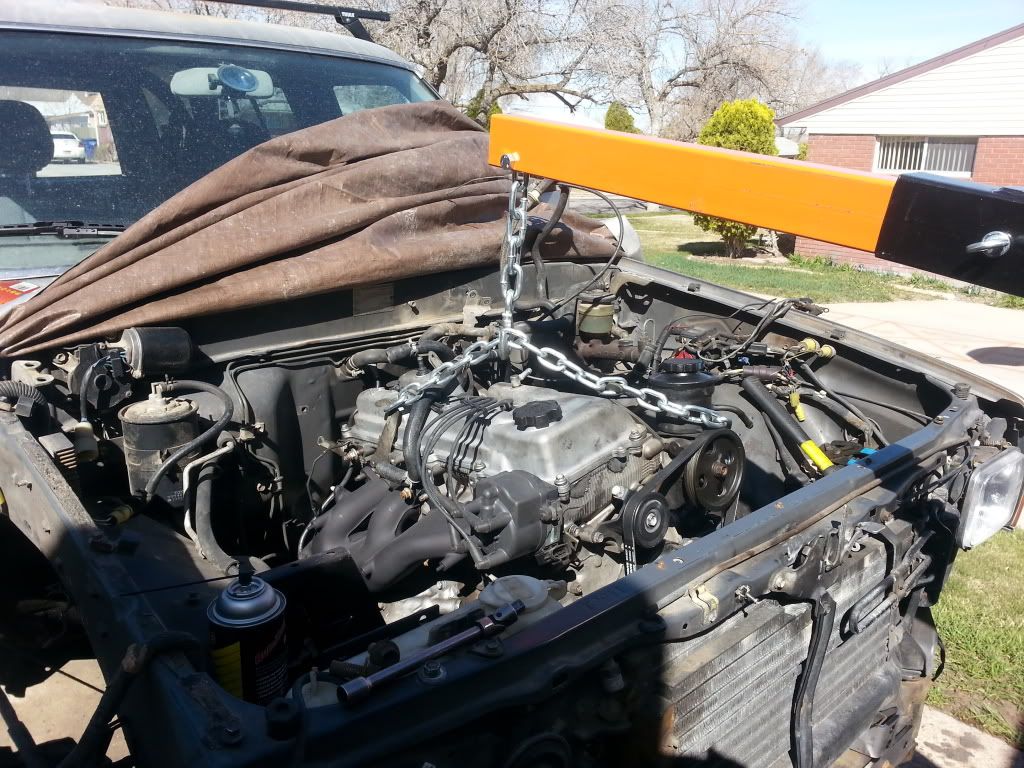
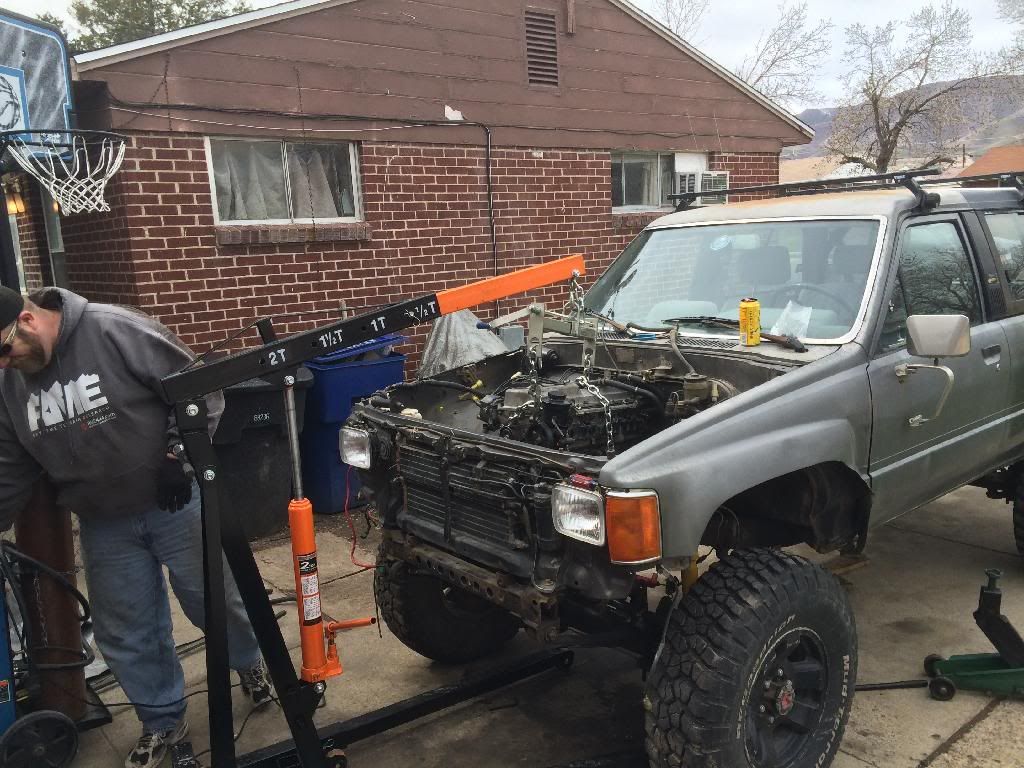
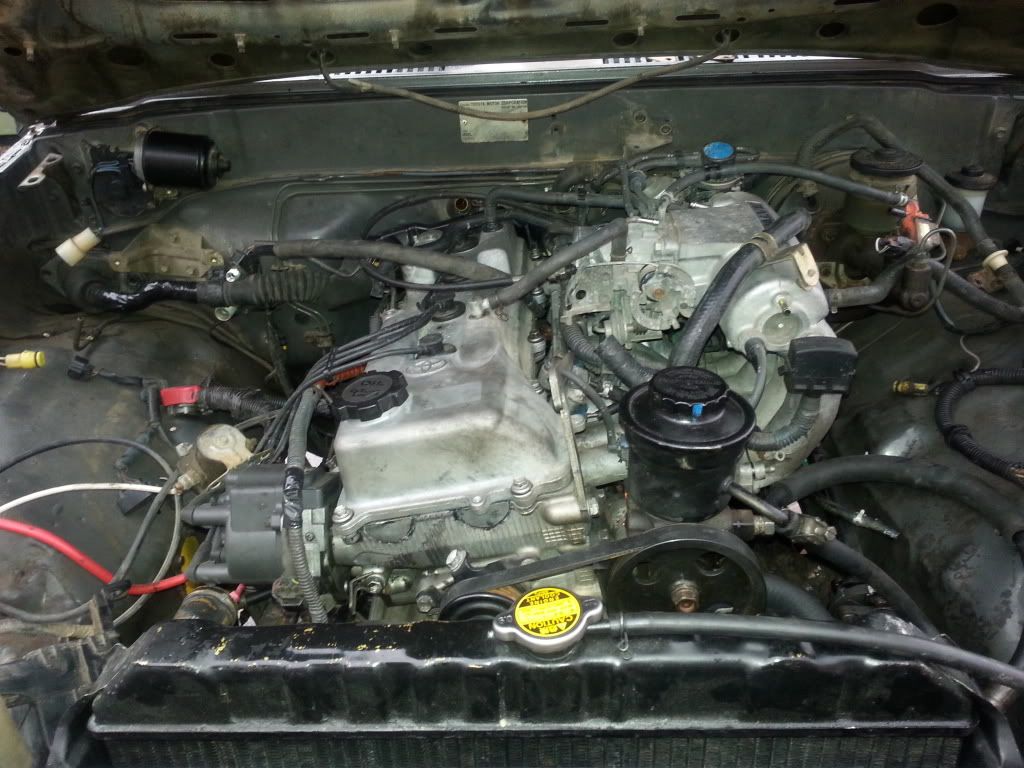
Progress! Not getting this done with the speed I'd like, but I'm plugging away. The valve shims are finally done - I ordered the wrong sizes for the exhaust side the first time around, then they shipped me the wrong size the second time, but it's all squared away now. Got the valve cover cleaned up and fresh gaskets on it, sent the injectors in for cleaning and got those installed, took my high output alt from the 22re into Hengstrom and got it cleaned up and swapped to a five rib pulley, and today Armor Coatings cleaned up the manifold and I got a couple coats of high temp paint on it, so the motor is almost put together and ready to be installed.

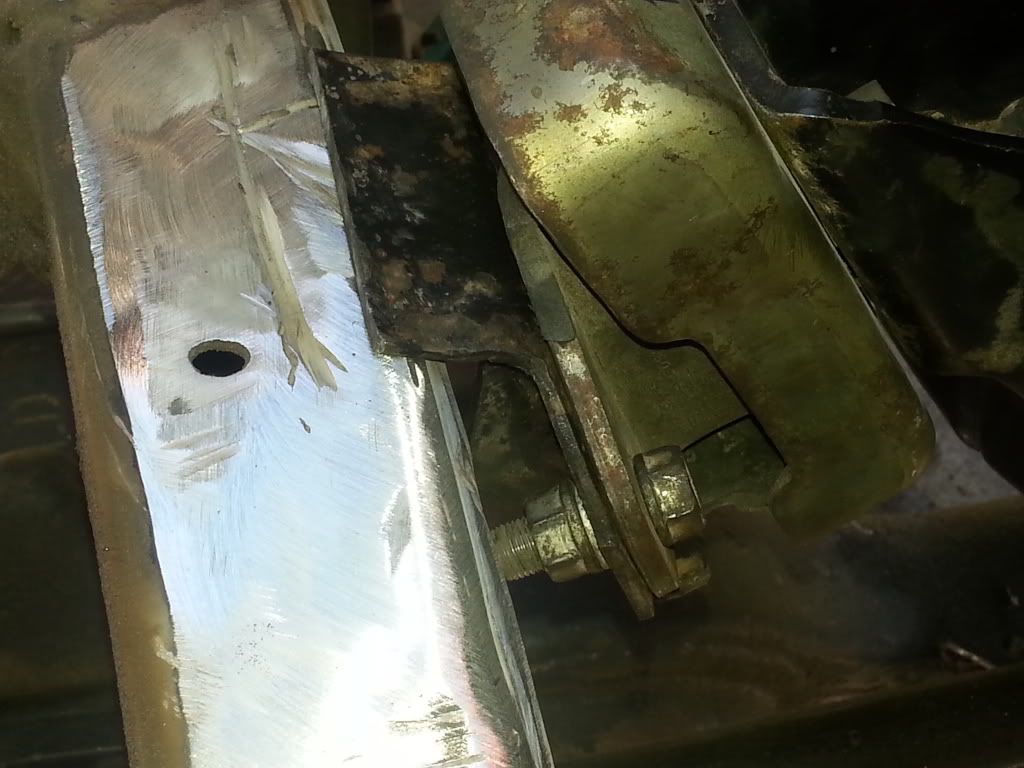
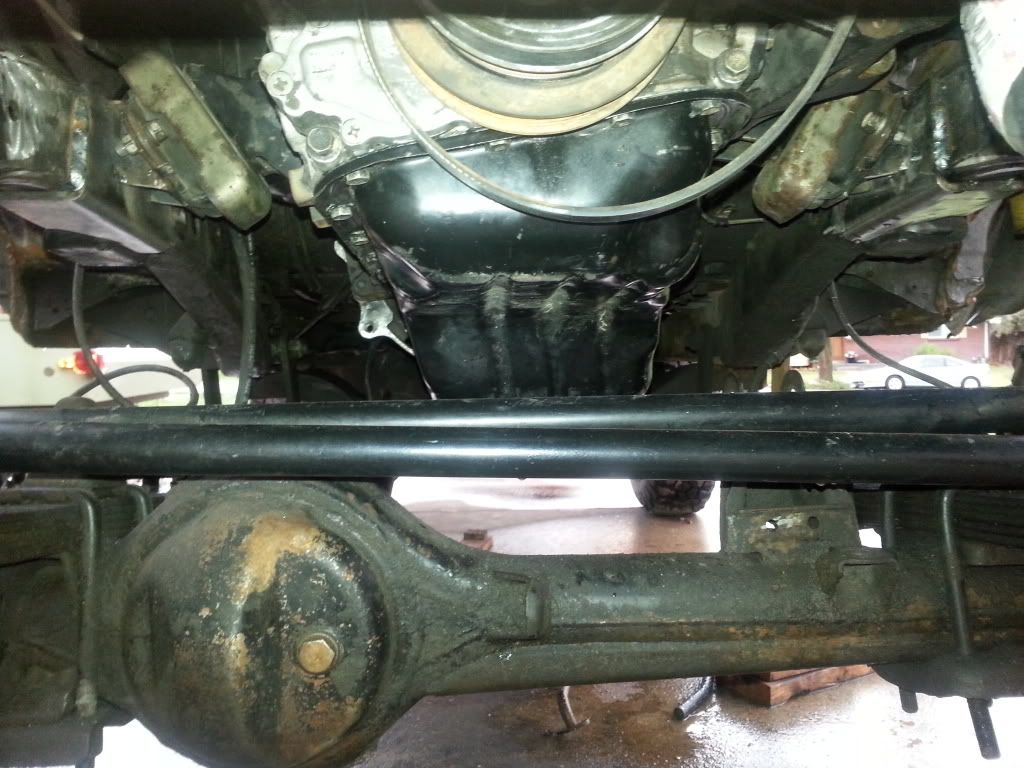
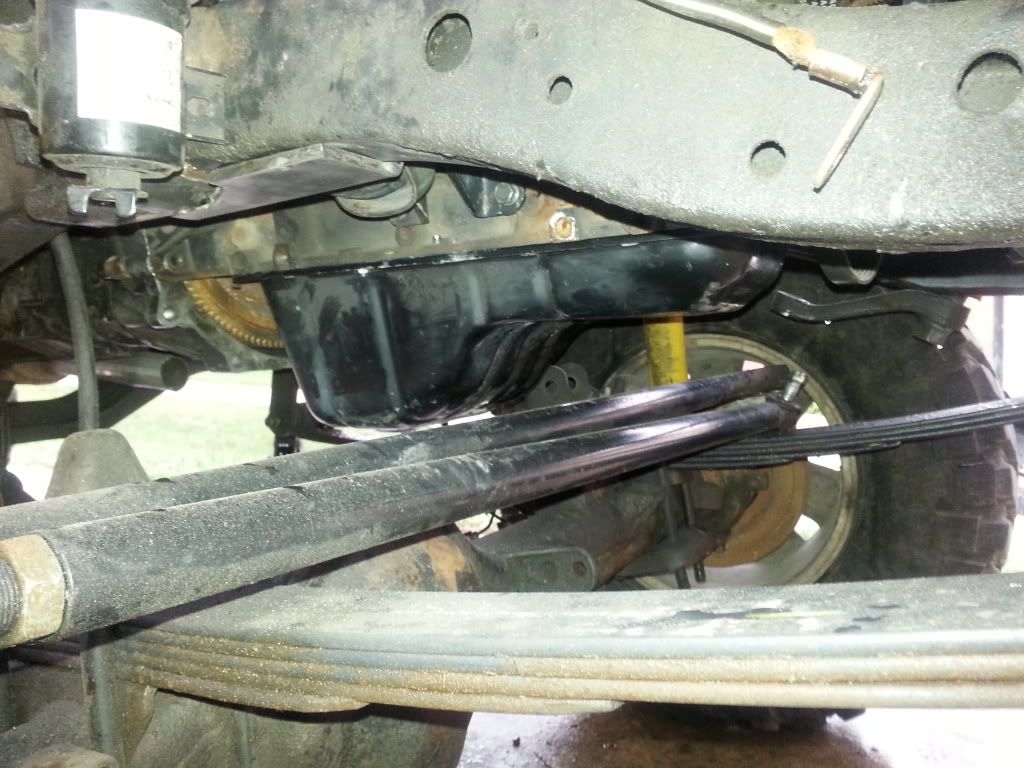
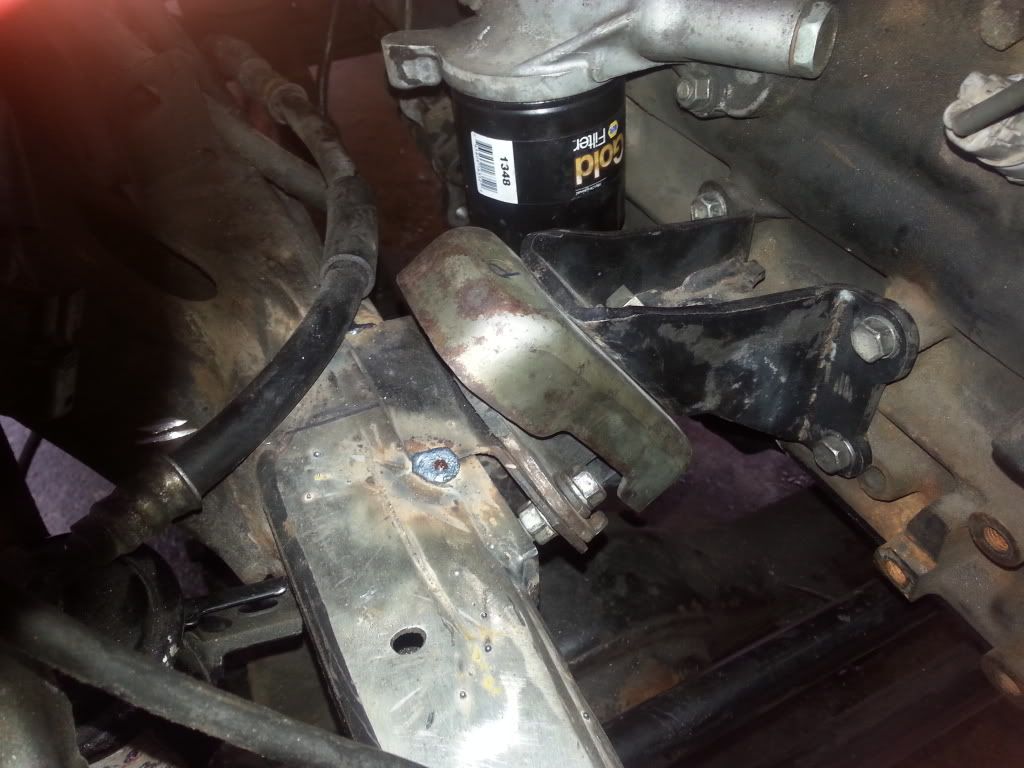
3RZ trucks are not at all common around here, but I found a yard in Denver that just got one in and they were able to ship me most of what else I was missing. I still need a dipstick and probably some other bits, but I think tomorrow I can take it off the stand and hang it in the bay and start figuring out motor mounts.

I've got about a month to get this done and back on the road.
 

Kevin B.

Not often wrong. Never quite right.
Moderator
Location
Vehicular limbo
So. Motor mounts. I spent all weekend putting the motor in and taking it out and putting it back in and eyeballing this and that and putting together a template for my motor mount adapters. Here's what I was thinking about scabbing together, and I'm gonna show you even though I'm not doing this because if I went to all the effort of taking pics then you all can danged well look at 'em:


But I don't like it. There's a lot of reinforcement needing to happen there, and it seems kludgy and overworked at the same time. I had a sit and stared at it for a while this morning, and right about the time I decided I really didn't like it, I realized that it wouldn't work anyway because the distance between the Tacos frame rails are different and this would likely make the motor sit too high.

A little digging found me this thread on Pirate: http://www.pirate4x4.com/forum/toyo...ust-some-84-85-3rz-swap-tech.html#post5504591. This is the route I'm going to go. I kinda had it in the back of my head that I didn't want to move the original 22RE frame mounts just in case I had to put a 22RE back in, but who does that? I'm going to work with the angle grinder on cutting those mounts off now. Anybody want to bring a cutting torch over and save me some time? :)
 
Last edited:

Kevin B.

Not often wrong. Never quite right.
Moderator
Location
Vehicular limbo
20140320_114434_zpsc7da77e9.jpg


20140320_114414_zps577f0cc2.jpg


If it looks crooked, that's because it is. The 3RZ is a tall motor, taller than the 22RE. It's designed to sit slantwise in the engine bay. I'll see how it sits once everything is final, but I may have to make a little room for the power steering reservoir on top there.

20140320_114348_zpsec26d07c.jpg


The fellow in the Pirate thread I linked must have had different engine mounts or a different frame. I cut the mounts off the frame and hacked an inch off each one, and now I've got a 1/4in gap between the mount and the frame when they're bolted to the motor. I wanted to box in the bottom of the mounts anyway before I weld them back on, so I'll plan on boxing the back too. With 1/4in plate. :thumb:
 

clfrnacwby

Recovery Addict
Location
NV
More progress! We got the 3RZ settled nicely in the engine bay this weekend. Kevin tried to escape the photo op, but I managed to get him sporting some RME swag! :D

7AE070CE-21C0-452E-A373-0C8689E1F108_zpswc2kshyi.jpg
 

Kevin B.

Not often wrong. Never quite right.
Moderator
Location
Vehicular limbo
I did try to escape, you're too quick for me. Thanks so much for the help, Andrew! More pics:

e6a5e7yn.jpg


Motor is in place, and we started hooking up wires and hoses. The highest spot on the motor is the power steering fluid reservoir - a friend suggested removing it, but I think it gravity feeds and I'm not sure how well that will work. It appears to clear a strut under the hood by about a millimeter, maybe less. I'll probably cut out a chunk of that strut to make sure though.

20140330_193029_zps693ff471.jpg


Pretty good tie rod clearance - no worse than before, anyway.

20140330_192944_zpsdaf979b7.jpg


20140330_193001_zpsb9deaeb0.jpg


Finalized motor mounts. They still need burned in, but I'm going to leave that for somebody better with a welder than I am.

20140330_193234_zps2e11234d.jpg
[/URL]
 
Top