

You are using an out of date browser. It may not display this or other websites correctly.
You should upgrade or use an alternative browser.
You should upgrade or use an alternative browser.
Show Us Your PROJECTS!
- Thread starter MikeGyver
- Start date
boogie_4wheel
Active Member
- Location
- North Salt Lake, Utah
I like that trailer a lot, been looking at materials to build one myself
I must say the 1.5x3 is more than adequate for what I'm after
 . I started out thinking I was going to do 2x2 square but made myself nervous about flex, so I did the rectangle tube.
 Here I am measuring the tongue so I could locate the axle under the trailer. The wheel chock will be mounted a couple inches toward the rear from what is shown in the picture.


continued...


This crappy aluminum alternator mounting bracket was broken for who knows how long (apparently it's pretty common), and the metal was too crappy to weld, so I had to fab up a new one.
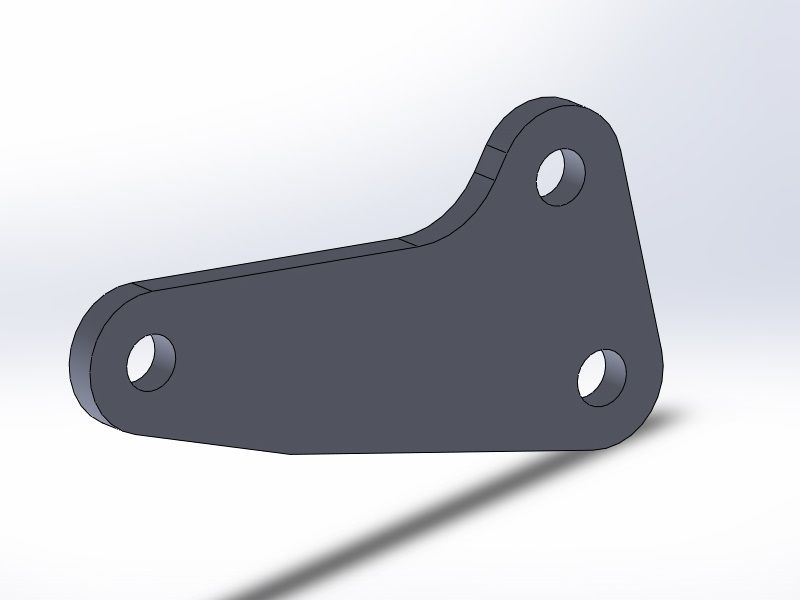
Took some quick measurements and drew up a to-scale pattern

I didn't want to deal with separate nuts, so I build them in.


Exhaust manifold had like 4 separate cracks all over on it. I figured instead of buying a new one I'd just weld it up until I make a stainless header.


This crappy aluminum alternator mounting bracket was broken for who knows how long (apparently it's pretty common), and the metal was too crappy to weld, so I had to fab up a new one.
Took some quick measurements and drew up a to-scale pattern
I didn't want to deal with separate nuts, so I build them in.
Exhaust manifold had like 4 separate cracks all over on it. I figured instead of buying a new one I'd just weld it up until I make a stainless header.
Last edited:
continued again...


I wanted to implement this electric smog pump from a Camaro, but I want to use it as a crankcase scavenge pump that will operate only when you floor it and loose manifold vacuum. This will help control oil leaks and add a bit of power by sealing the rings better and reduce pumping losses by evacuating the crankcase. The pump can make 3" of vacuum and blows about like a hair dryer.


trimmed for more clearance

Wiring in an MSD ignition for plug and play
I wanted to implement this electric smog pump from a Camaro, but I want to use it as a crankcase scavenge pump that will operate only when you floor it and loose manifold vacuum. This will help control oil leaks and add a bit of power by sealing the rings better and reduce pumping losses by evacuating the crankcase. The pump can make 3" of vacuum and blows about like a hair dryer.
trimmed for more clearance
Wiring in an MSD ignition for plug and play
Last edited:
continued again again...

engine bay degreased with gasoline and then simple green

Redoing a bunch of the damaged wire loom


priming the oiling system

white LED soldered in for backlights. The lights aren't this blue in reality, the pic below shows the color accurately.

also painted the (bent up) pointers with fluorescing orange paint

Motor has good, even compression and is breaking in great so far with about 100 miles on it. I've still got a ton more work to do, but at least it's mobile again now after sitting for a long time! :thumbs:
engine bay degreased with gasoline and then simple green
Redoing a bunch of the damaged wire loom
priming the oiling system
white LED soldered in for backlights. The lights aren't this blue in reality, the pic below shows the color accurately.
also painted the (bent up) pointers with fluorescing orange paint
Motor has good, even compression and is breaking in great so far with about 100 miles on it. I've still got a ton more work to do, but at least it's mobile again now after sitting for a long time! :thumbs:
Last edited:
- Location
- Vehicular limbo
¿El pictoras no funciona?
Me parece que su navegador no funciona.
That's a sweet refresh, Mike.
Last edited:
STAG
On my grind
- Location
- Pleasant Grove
Man I hate posting stuff after Mike...
But a buddy wanted a toolbox for his trailer tongue built as low-cost as he could get it. This is one 4'x8' sheet of .065" diamond plate aluminum... I still have to add the latch tomorrow.
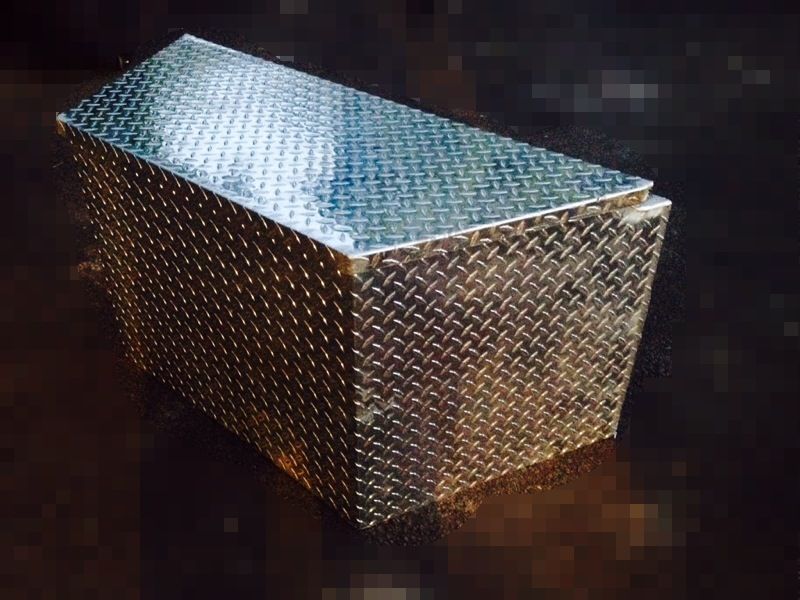
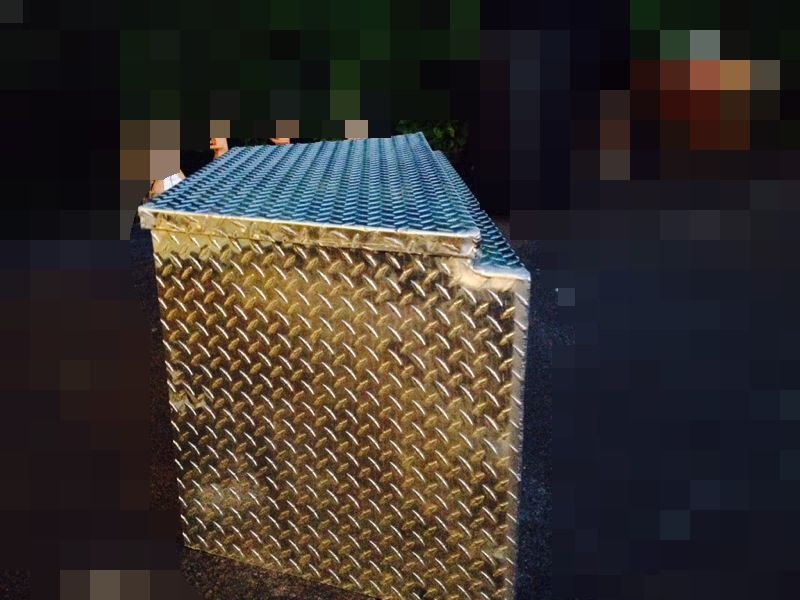
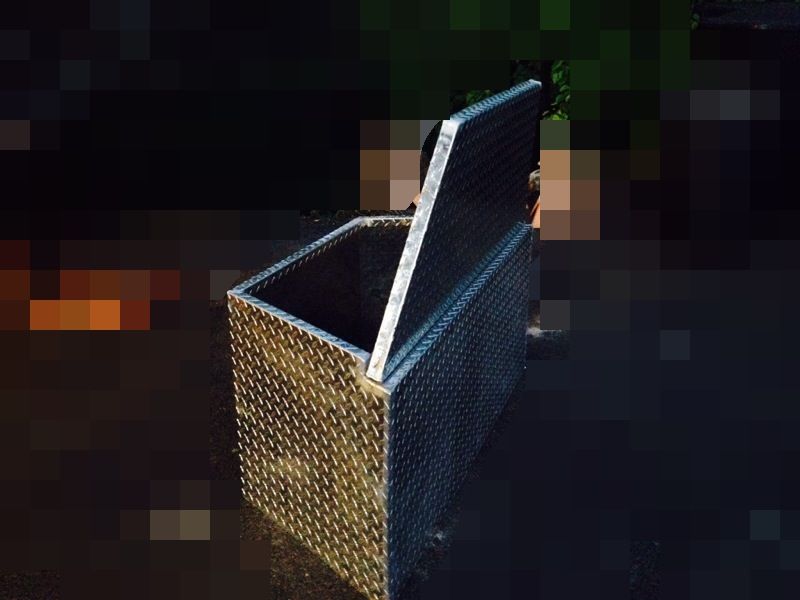
and this was the extra from the 4'x8' sheet. Dimensions of the box are 22" tall, 47" wide at the back, 19" width from front to back.
I did have to use an extra piece of non-diamond for the floor though.
But a buddy wanted a toolbox for his trailer tongue built as low-cost as he could get it. This is one 4'x8' sheet of .065" diamond plate aluminum... I still have to add the latch tomorrow.
and this was the extra from the 4'x8' sheet. Dimensions of the box are 22" tall, 47" wide at the back, 19" width from front to back.
I did have to use an extra piece of non-diamond for the floor though.
Last edited:
STAG
On my grind
- Location
- Pleasant Grove
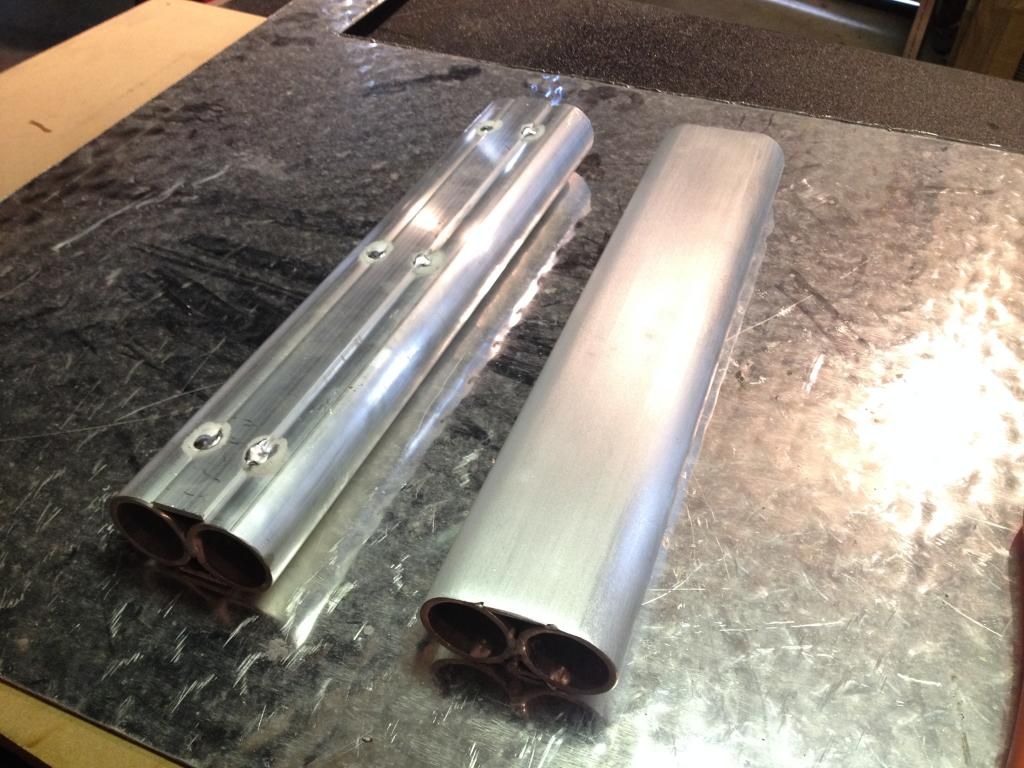
Homemade aluminum oval tubing haha.
comingdown
Active Member
- Location
- Orem, UT
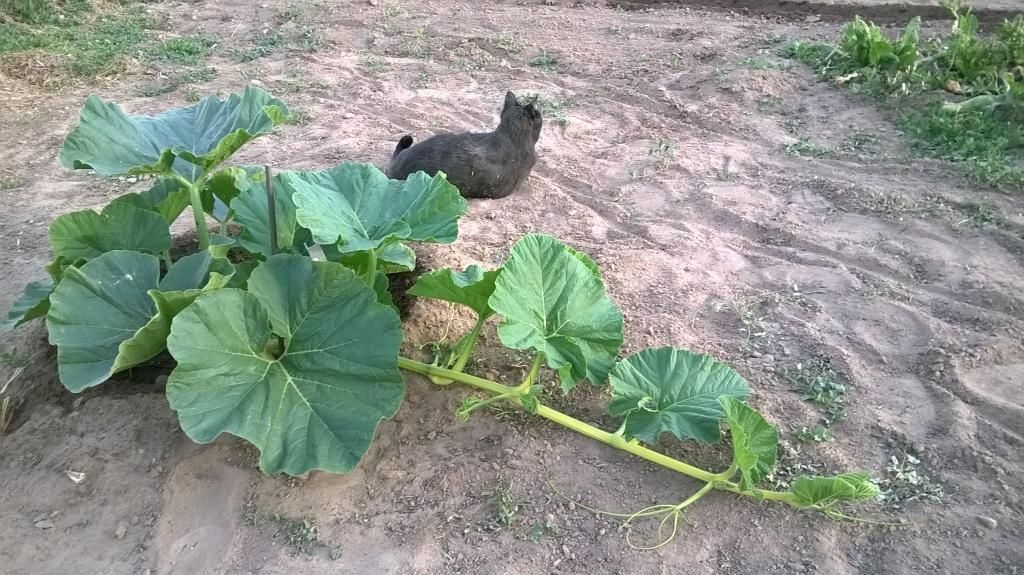
here are some landscaping at my old house, i'll post up as i start on the new one. Coco knows all about this.


here are some landscaping at my old house, i'll post up as i start on the new one. Coco knows all about this.
Oh do I ever.... The nightmares are coming back, the cold sweats, the exhaustion....
and that was only the front yard! That was a LOT of time, and work. Possibly why the buggy isnt done yet
comingdown
Active Member
- Location
- Orem, UT
Oh do I ever.... The nightmares are coming back, the cold sweats, the exhaustion....
and that was only the front yard! That was a LOT of time, and work. Possibly why the buggy isnt done yet
I think the cold sweats had more to do with you thinking about me in the pink shorts...
comingdown
Active Member
- Location
- Orem, UT


The backyard, need a recent pic of the backyard, but it has been a big project this summer.
Here's a project I've been working on this summer...
Me and a buddy are growing giant pumpkins. Got some seeds from a monster pumpkin on ebay.
Going for the 1600lb record...lol ok maybe not
Still got about 2 months left before harvest. I'll post more pics as it continues to grow.
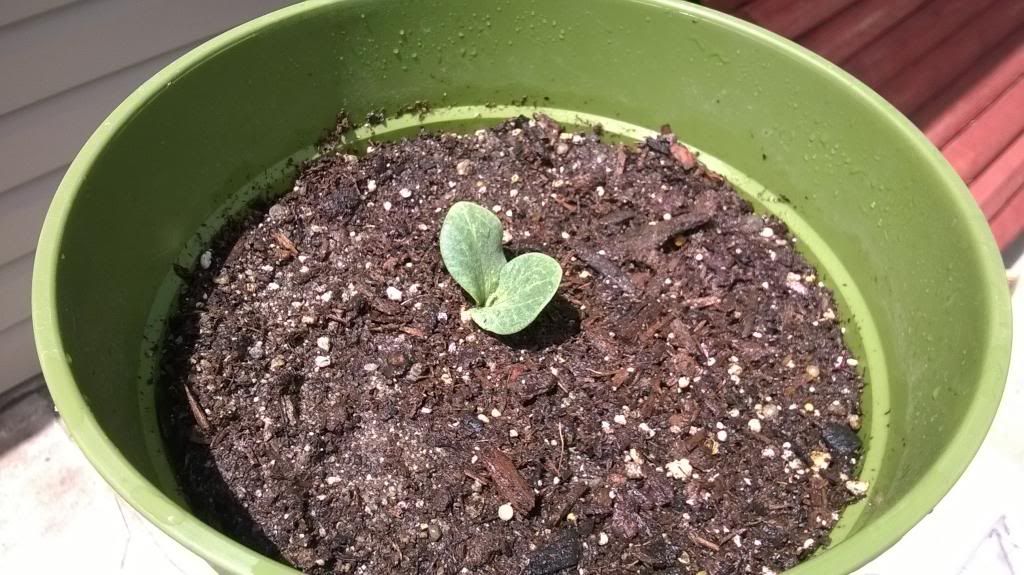
May 21st - sprouted
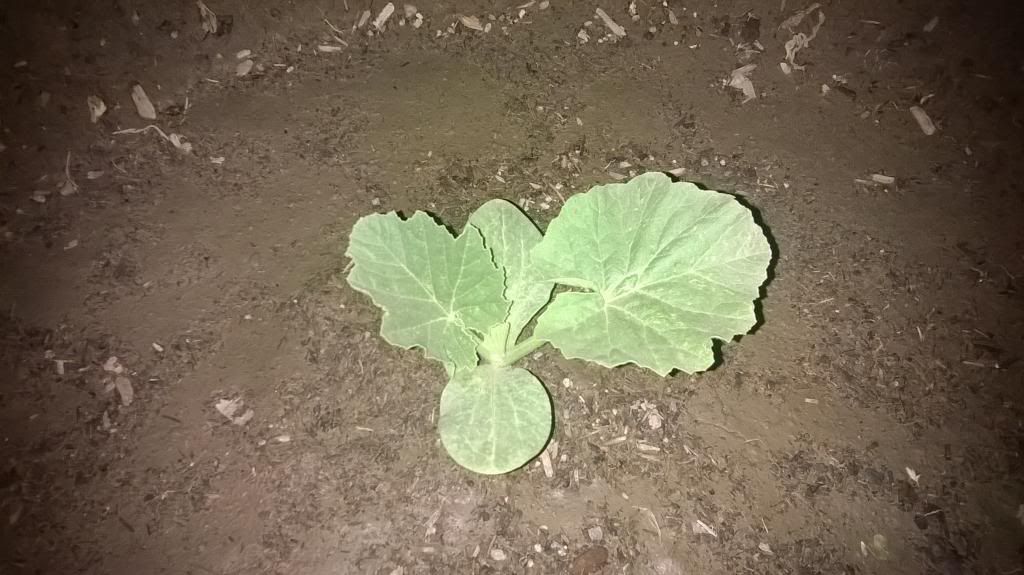
May 30th
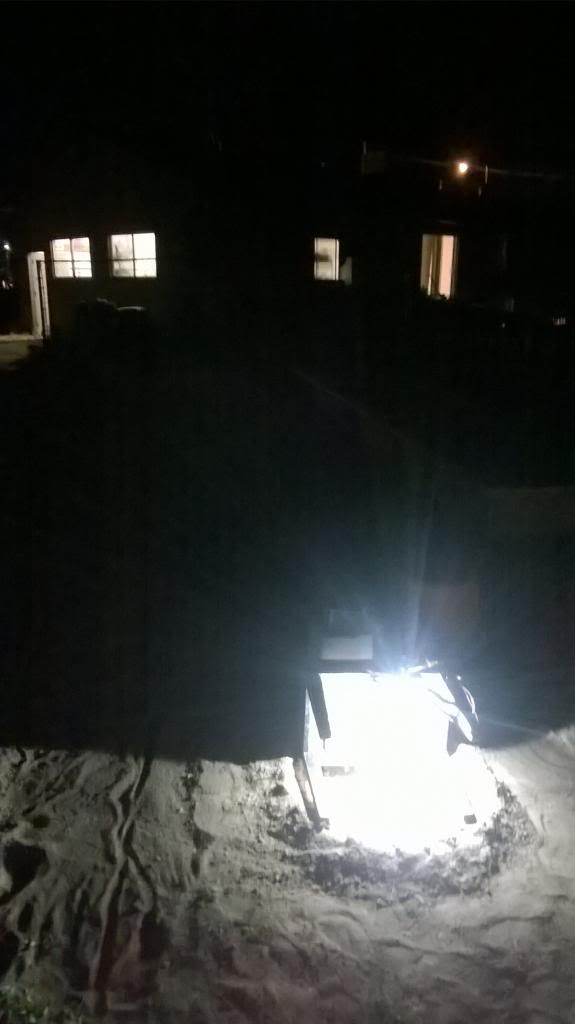
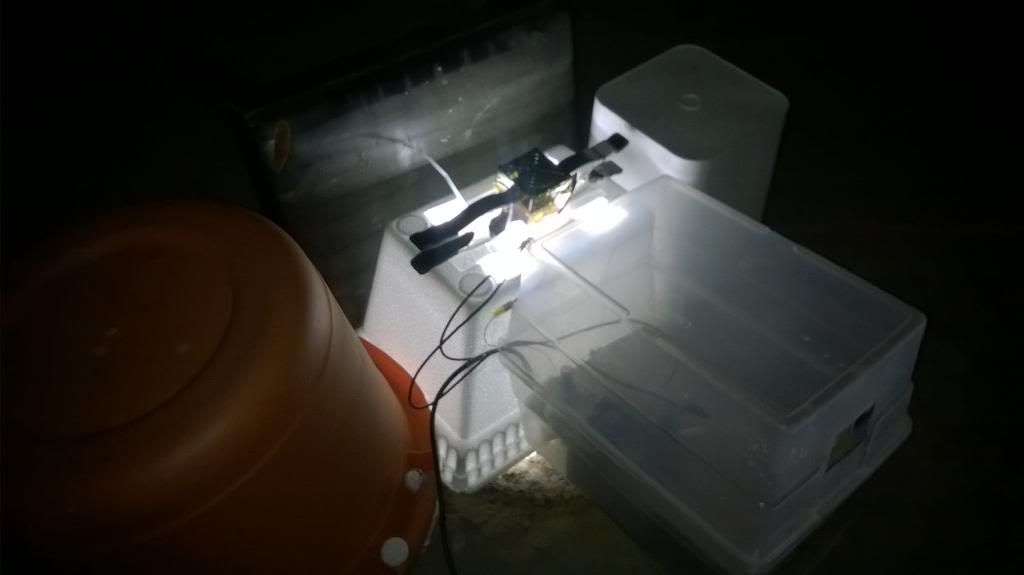
May 30th - 100 watt led 'grow light' ~7000 lumens
May 31st
June 12th
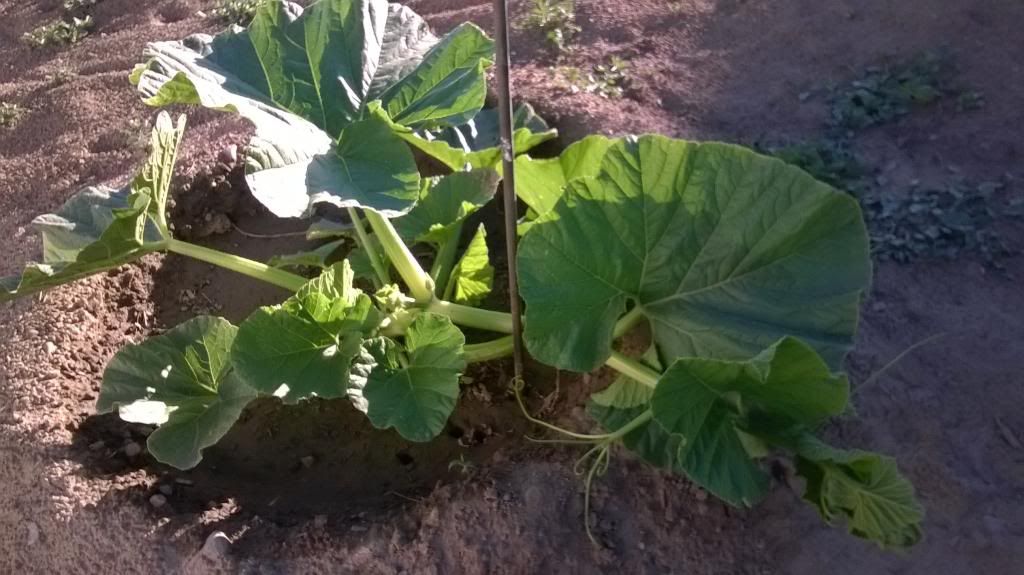
June 19th - aiming the main vine
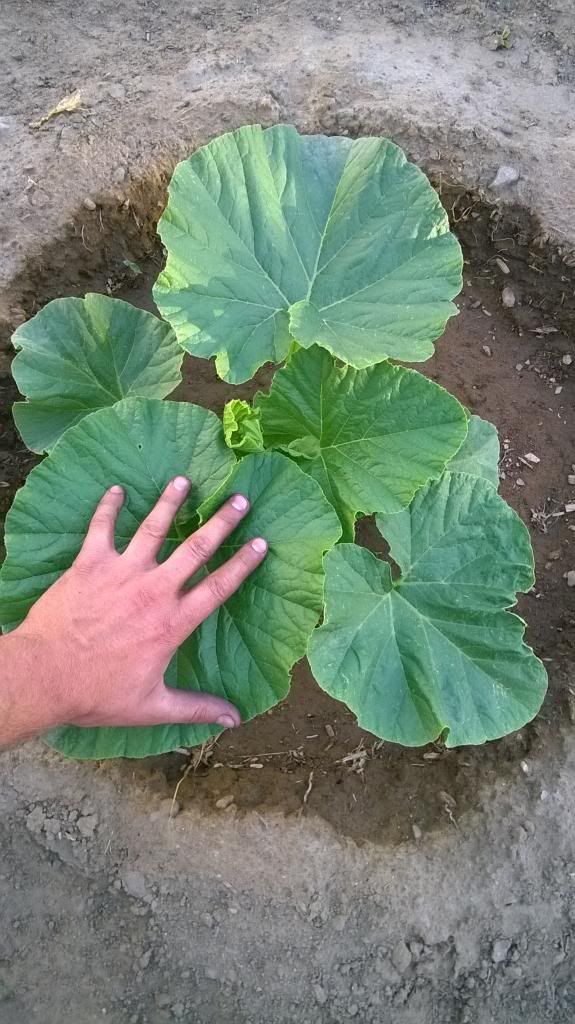
June 24th
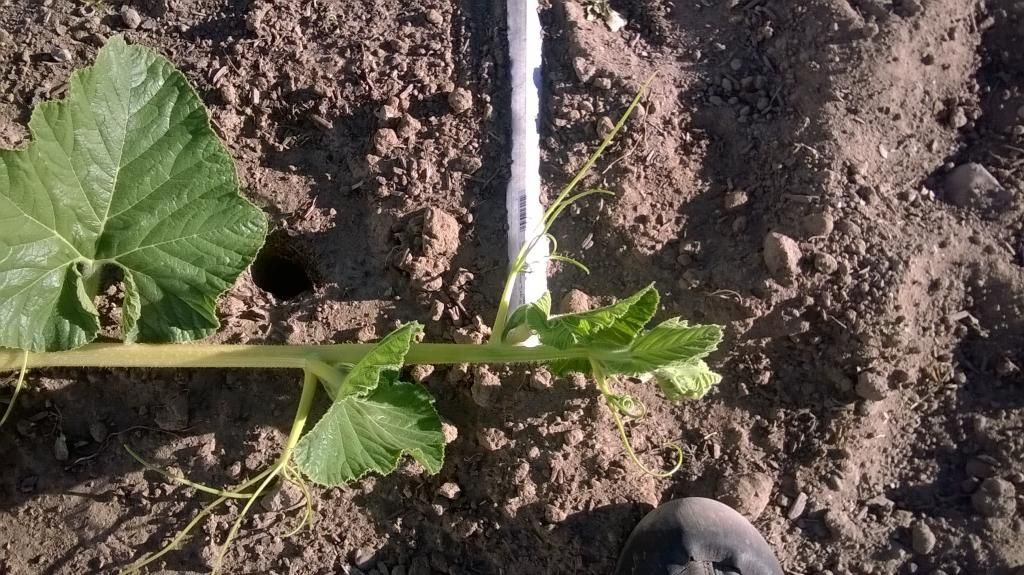
June 29th - about 20 hours of growth on the main vine
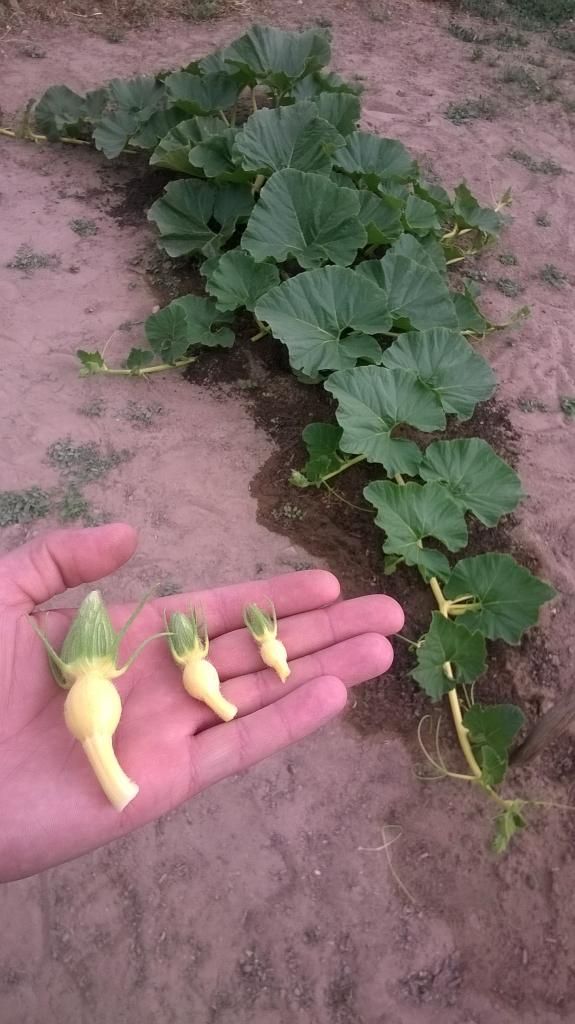
July 3rd - lots of pumpkins starting to show up. Trimming all but a single, optimally placed one.
July 5th
continued in next post...
Me and a buddy are growing giant pumpkins. Got some seeds from a monster pumpkin on ebay.
Going for the 1600lb record...lol ok maybe not
Still got about 2 months left before harvest. I'll post more pics as it continues to grow.
May 21st - sprouted
May 30th
May 30th - 100 watt led 'grow light' ~7000 lumens
May 31st
June 12th
June 19th - aiming the main vine
June 24th
June 29th - about 20 hours of growth on the main vine
July 3rd - lots of pumpkins starting to show up. Trimming all but a single, optimally placed one.
July 5th
continued in next post...
Last edited:
Pumpkin part 2
July 8th - this one's the keeper

July 9th

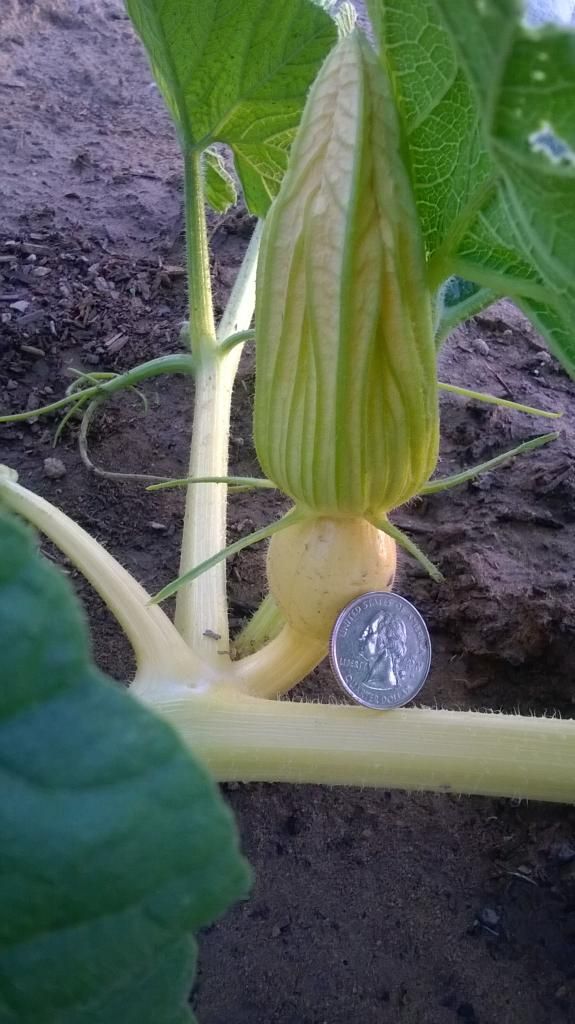
July 9th - pollinated
July 12th
July 16th
July 18th
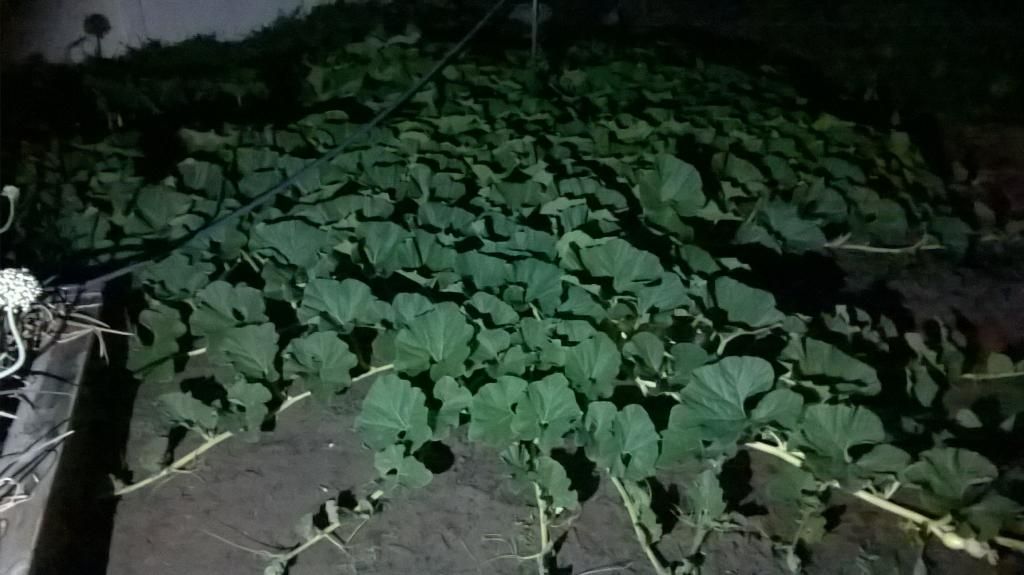
July 18th - lots of new vine growth to bury
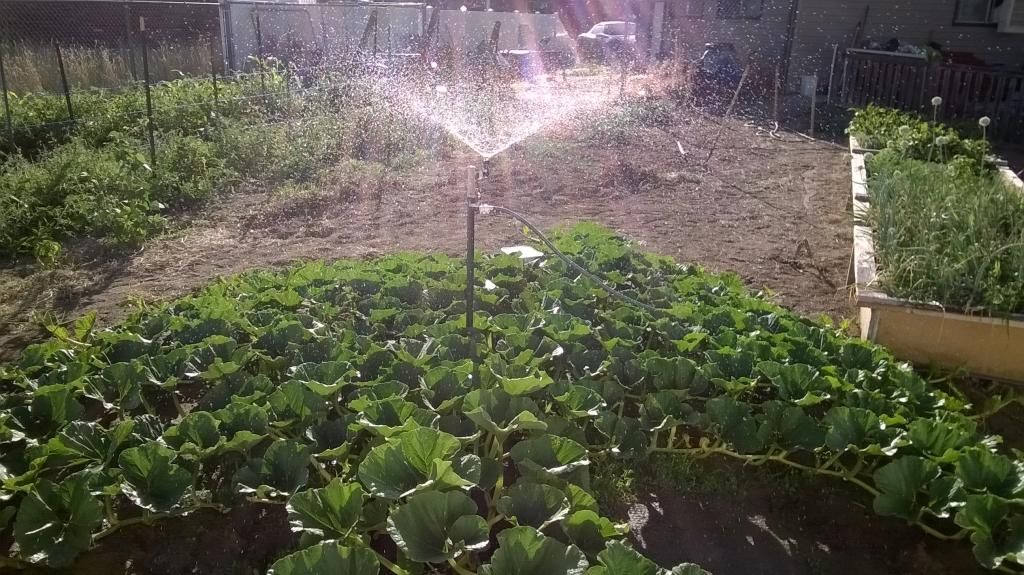
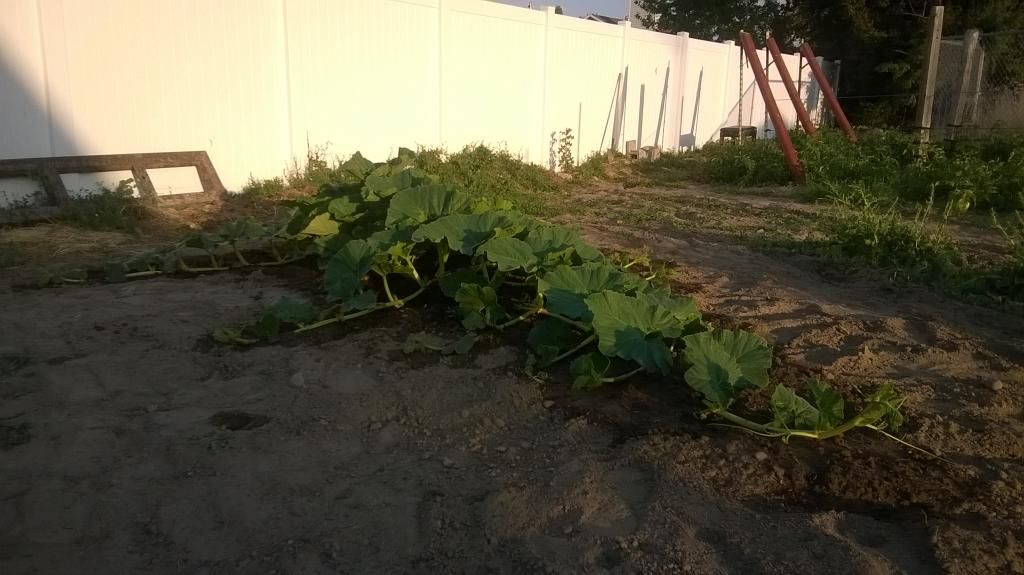
July 21st - added a sprinkler and a programmable timer because giving it 25 (and increasing) gallons of water a day by hand is taking too much time
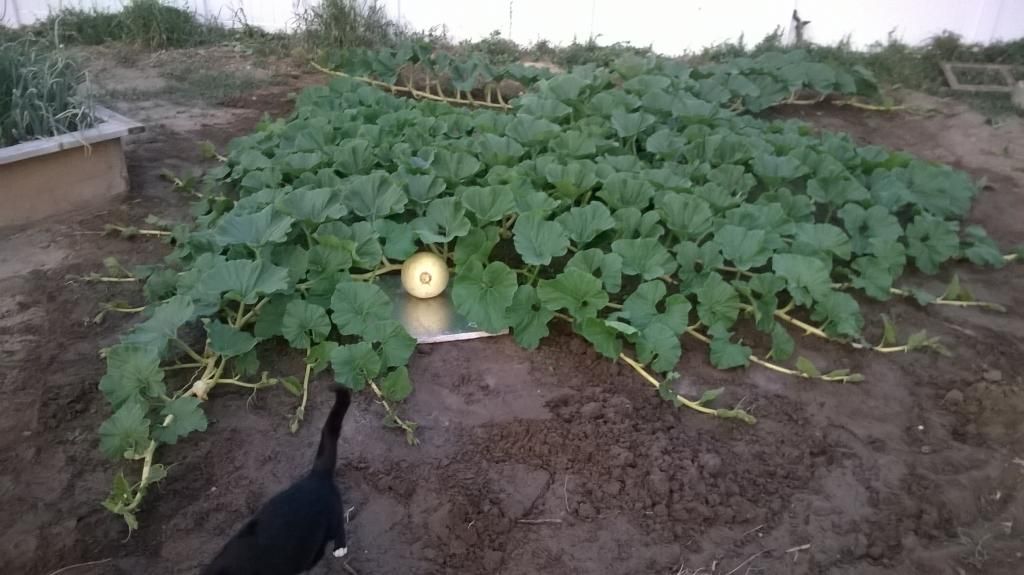
July 21st - around 200 square feet
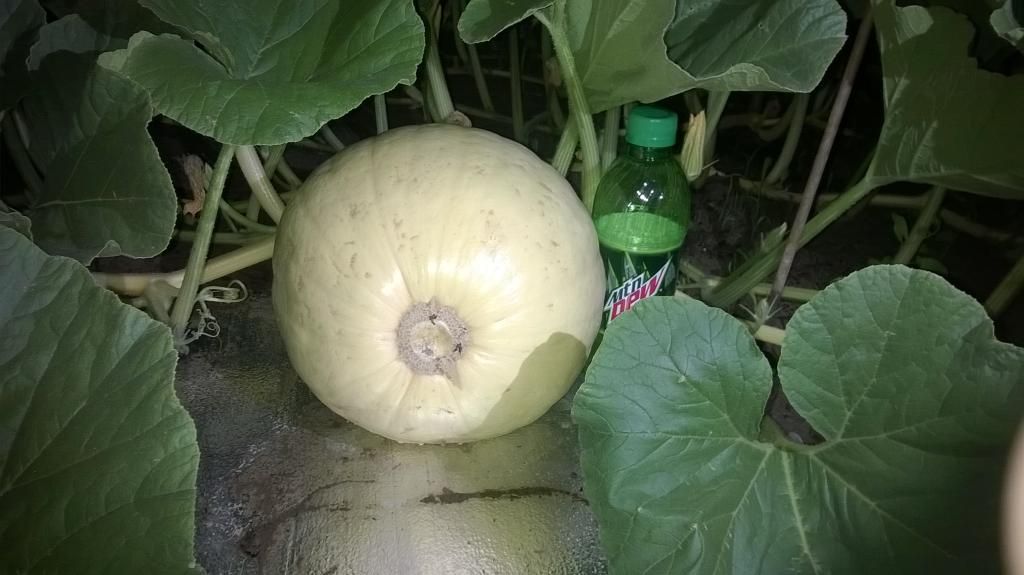
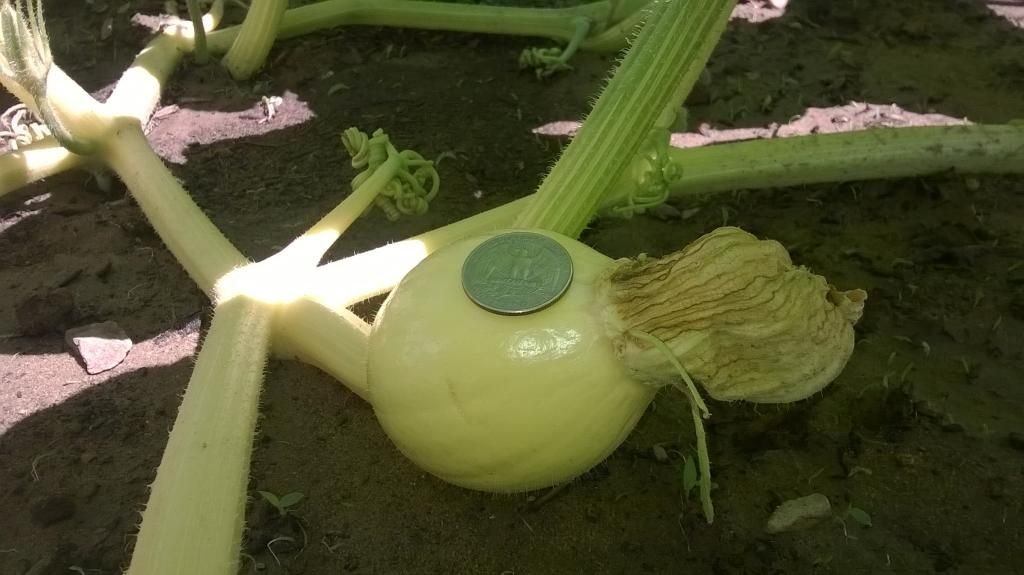
July 21st - Liter a dew. 35" circumference, about 17lbs
July 8th - this one's the keeper
July 9th
July 9th - pollinated
July 12th
July 16th
July 18th
July 18th - lots of new vine growth to bury
July 21st - added a sprinkler and a programmable timer because giving it 25 (and increasing) gallons of water a day by hand is taking too much time
July 21st - around 200 square feet
July 21st - Liter a dew. 35" circumference, about 17lbs
Last edited:
When you bury the vines a taproot forms and you end up with an absolutely enormous root structure. This is how giant pumpkins are capable of growing at rates of over 40 pounds in 24 hours (!) at their peak.Mike, the pumpkin is interesting. What's the theory on burying the vines?
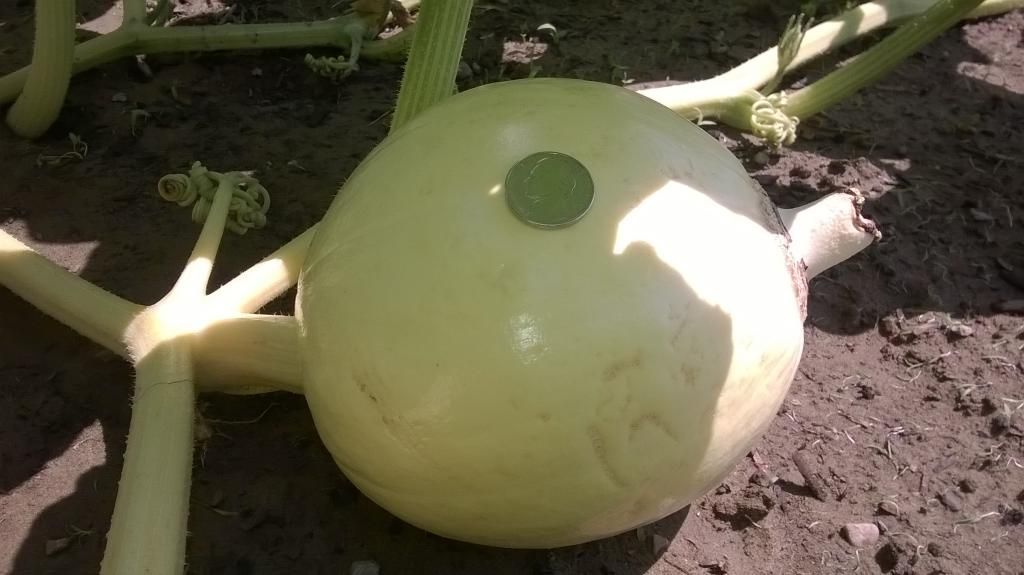
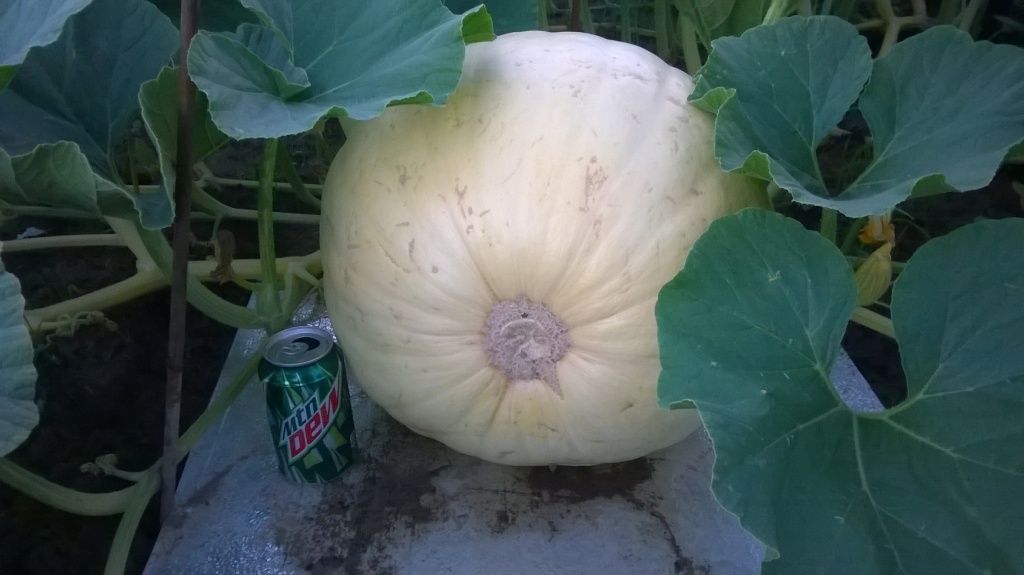
I just took a measurement and it's at 40 inches circumference. 26 pounds now, that's 9 pounds heavier than 2 days ago, or a >50% weight increase in about 42 hours.
idahoyj
Well-Known Member
- Location
- Twin Falls Idaho
Here's the nearly finished product. I just need to remove the paint from the striking surface. My tape didn't adhere to the rough surface very well so I painted it and will sand it off when it's cured.
I will take one of everything in the picture, shipped to 83301.
muleskinner
Well-Known Member
- Location
- Enoch, UT
Oh my gourd!
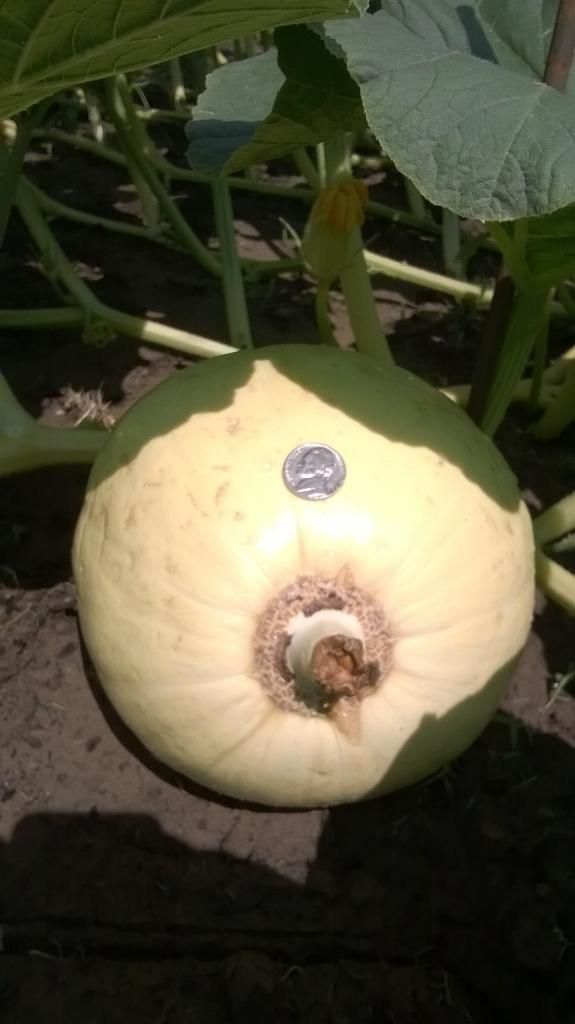
it's 39 pounds now. That's a 50% increase in weight every 2 days ever since the thing started growing
That's pretty cool! Are you going to sell giant pumpkin seeds next year? I may give this a try next season.