- Location
- The Land Northward (Bountiful), Utah
good work!

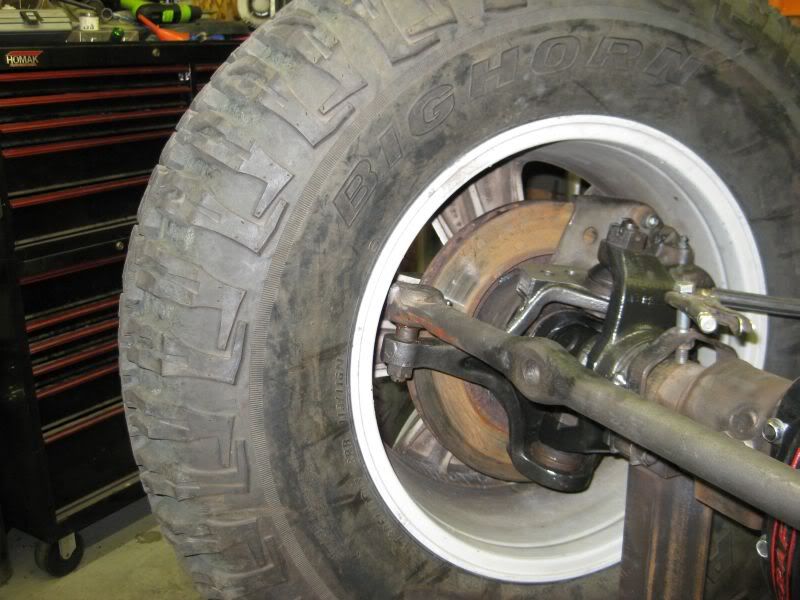
 Sure glad I don't have a starter on that side anymore)
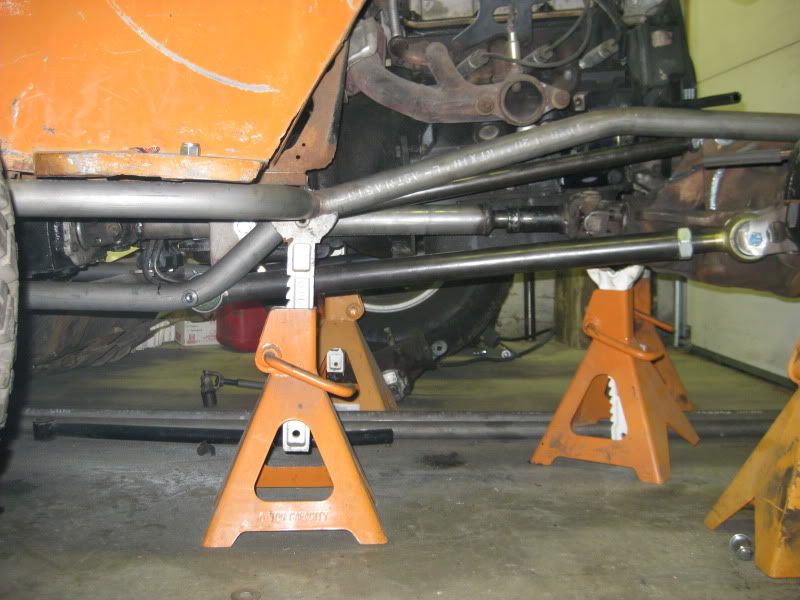
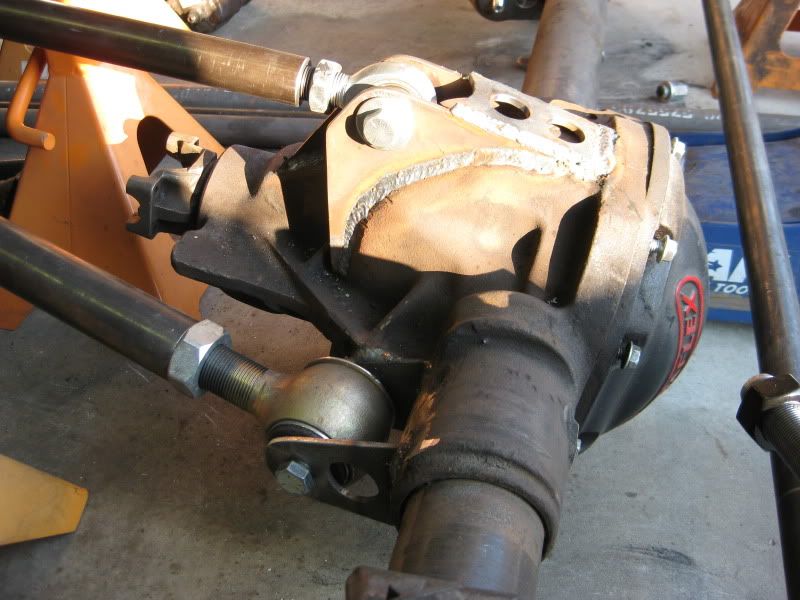
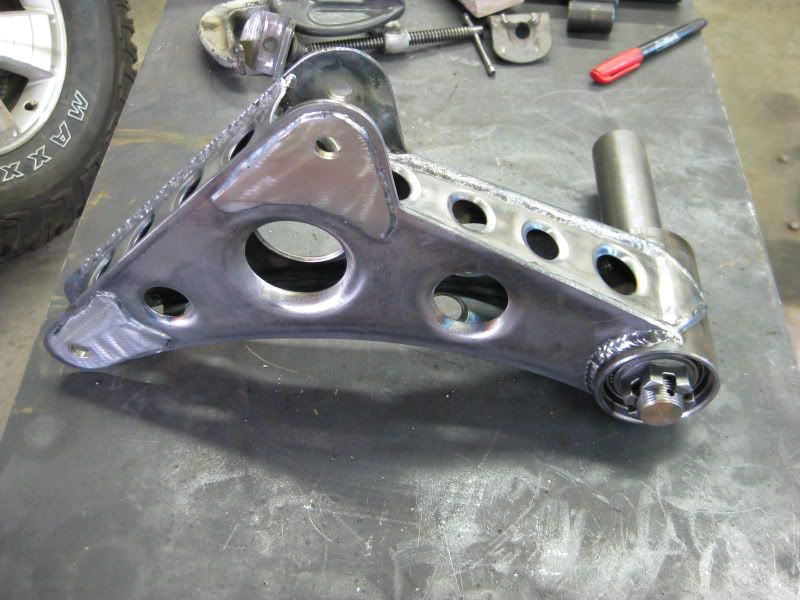
That's sexy. What did you do to the diff mount? I mean as far as preheat/cooling?? Cuz if you can do THAT, I may have to bribe you with pies or something for my upcoming anti-wrap bar.
Let me repeat: I freakin' LOVE this build.
3/16" or 1/4" on the lower link mounts? You think that'll be ok?
I'm guessing you're going to box them, and do weld nuts. Doesn't seem like the place I'd save weight?
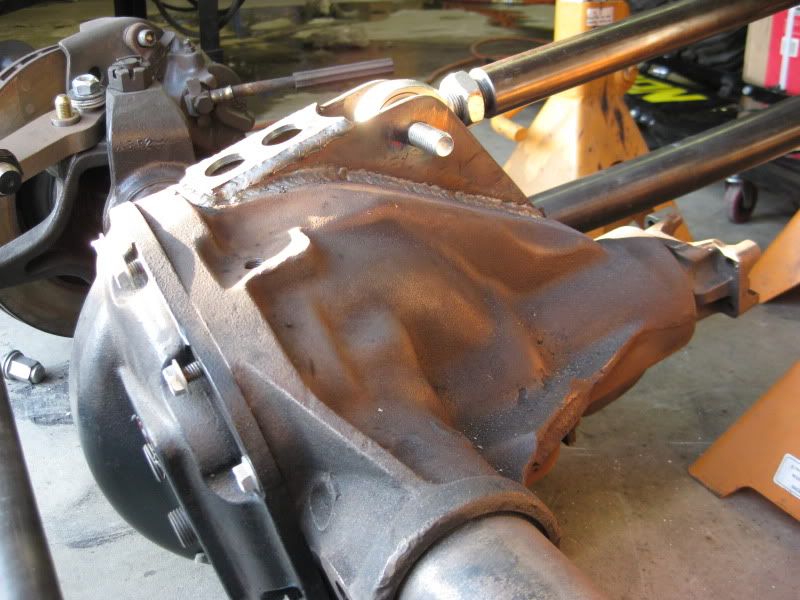
They'll all get boxed, just like the rear axle's mounts.I'm saving weight everywhere, that's why it has a D44, a Toy axle, and a V6. :greg:
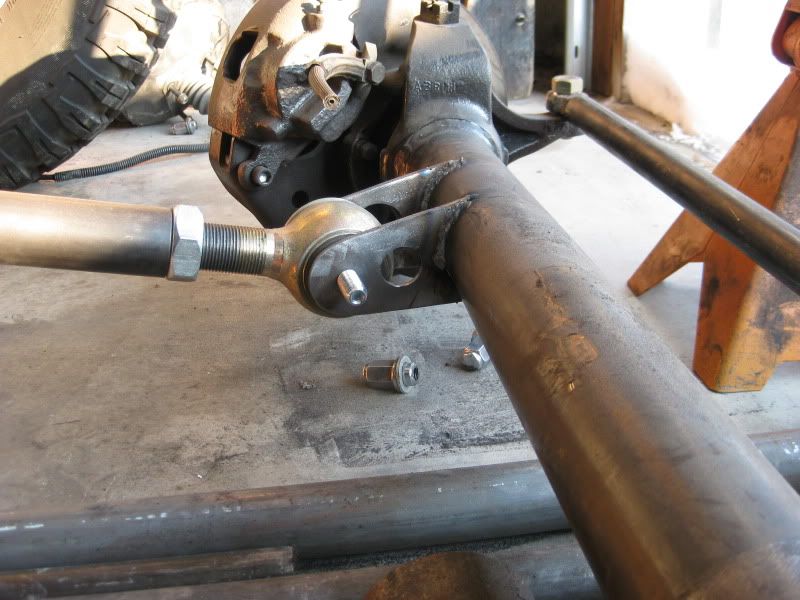
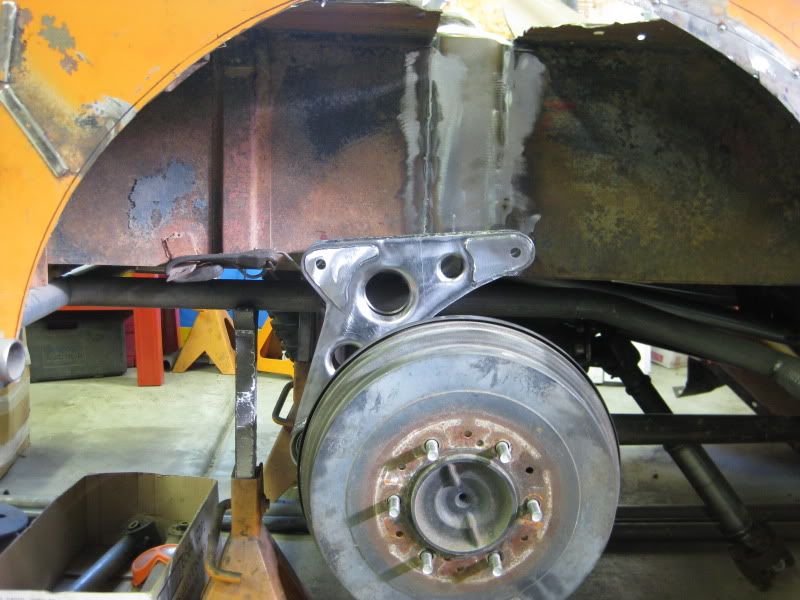
drill another hole just in from the stock one then taper it, then bend the tierod like a superduty so it clears the pumpkin. you bent the one I used on the xj with this done. I used es150L and R rod ends, they have a 3/4 fine thread and a taper near the same size as the stock rod end.
then find a high steer arm that is cut with a bend in to clear the wheel.
 )
)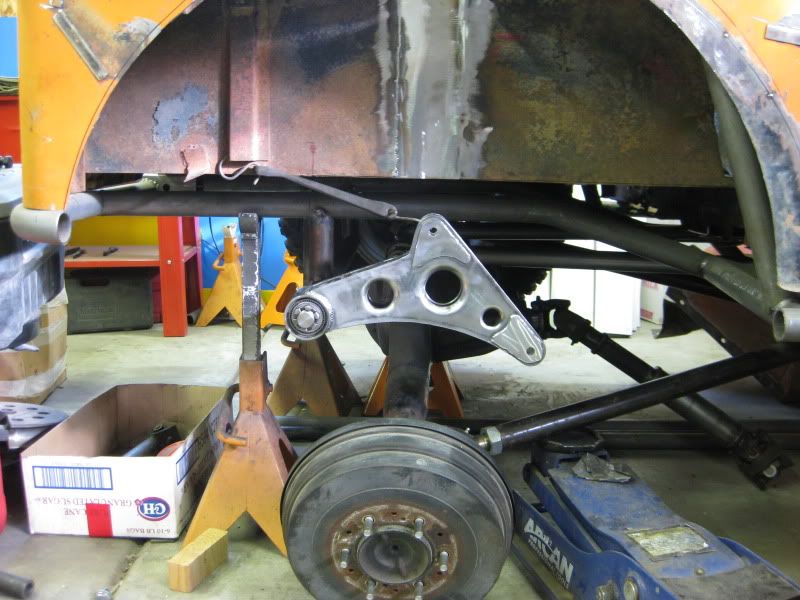
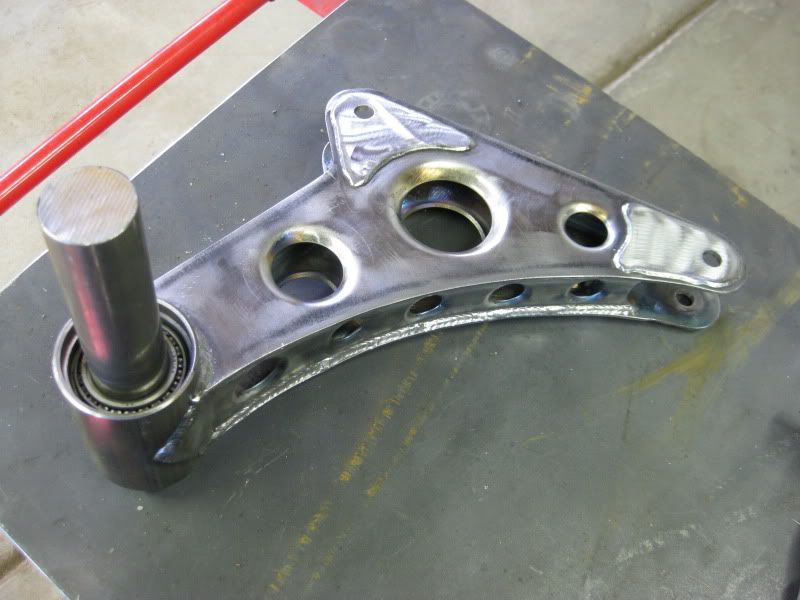
You can see the spindle I used for the pivot--it's a 1.5" diameter beefcake unit--thanks Nate!