waynehartwig
www.jeeperman.com
- Location
- Mead, WA
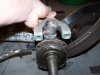
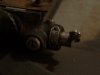
Speaking of... you know of any aftermarket drop axles for sale? I like my current axle, but finding steering parts for the old Model A axle I have is becoming a major task.
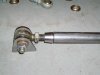
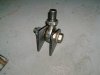
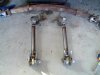
For a true rat some are using the old time set-up. Steering box from about a 51 Ford F1. They use column and all. 46 to 48 Ford front axles have a stock drop of about 2 inches and the earlier ones had little or no drop. That's what my dad did on his last one. This time he's using a Bell axle from speedway with a 4 inch drop and Ford mustang box from a 70's car. With this stuff he'll do a conventional set-up where the drag link runs down the frame to the left spindle.
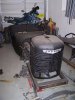
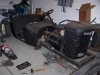
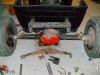
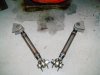
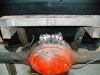
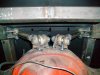
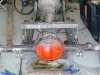
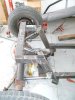
") I split the wishbone & have it sitting about where it will end up, just need to verify ride height with the motor mounted before I fab & weld the spring mount in.
I split the wishbone & have it sitting about where it will end up, just need to verify ride height with the motor mounted before I fab & weld the spring mount in.