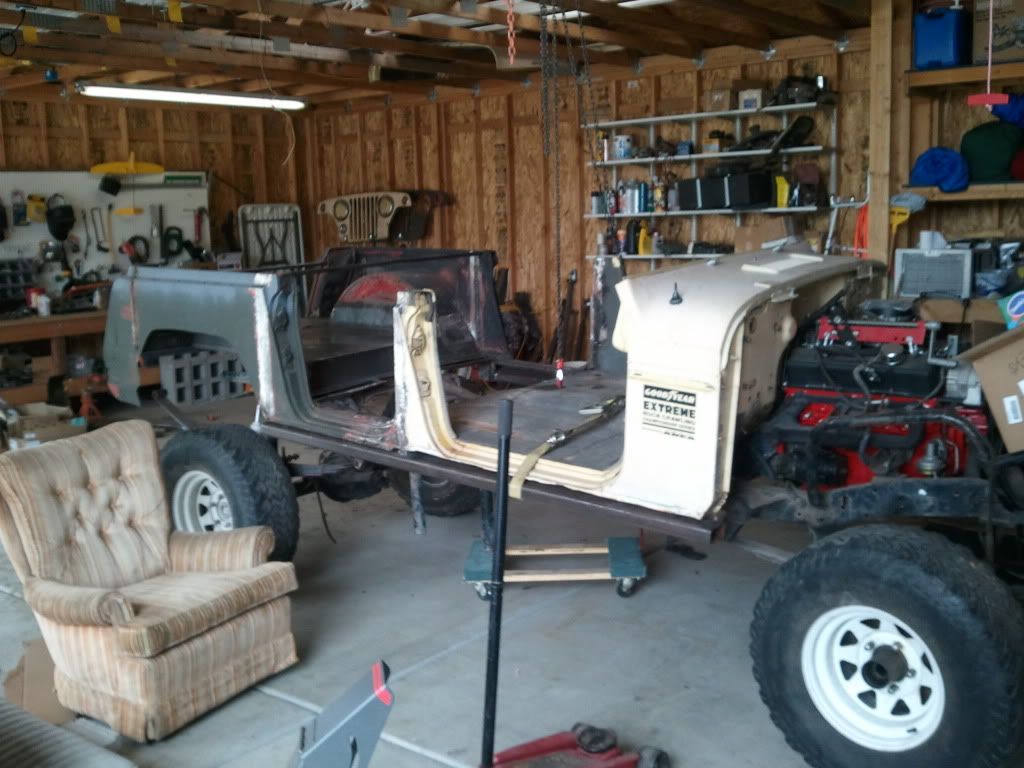
4 Door Jeepster Commando Build

Swoop69

Registered User
Location
Riverton, Utah
This weekends progress...

I ground down some of my booger welds, lined up the 2 tubs and tacked them together. Then fully welded one side, but not the other... ran out of time.

not much to see,so no pics, but it definitely felt like progress.
 
Glad to hear you are making progress! I've been searching for a built rig to wheel while I work on my Commando... or I may sell it... can't make up my mind these days. Need you to talk me out of selling though... I know I'd regret it later
 

Swoop69

Registered User
Location
Riverton, Utah
Glad to hear you are making progress! I've been searching for a built rig to wheel while I work on my Commando... or I may sell it... can't make up my mind these days. Need you to talk me out of selling though... I know I'd regret it later

DONT SELL IT!! yours is one of the cleanest ive seen. Sure they all need some work, but you have a HUGE head start having such a clean body. I agree, you will regret it if you let it go.
 

Swoop69

Registered User
Location
Riverton, Utah
progress....

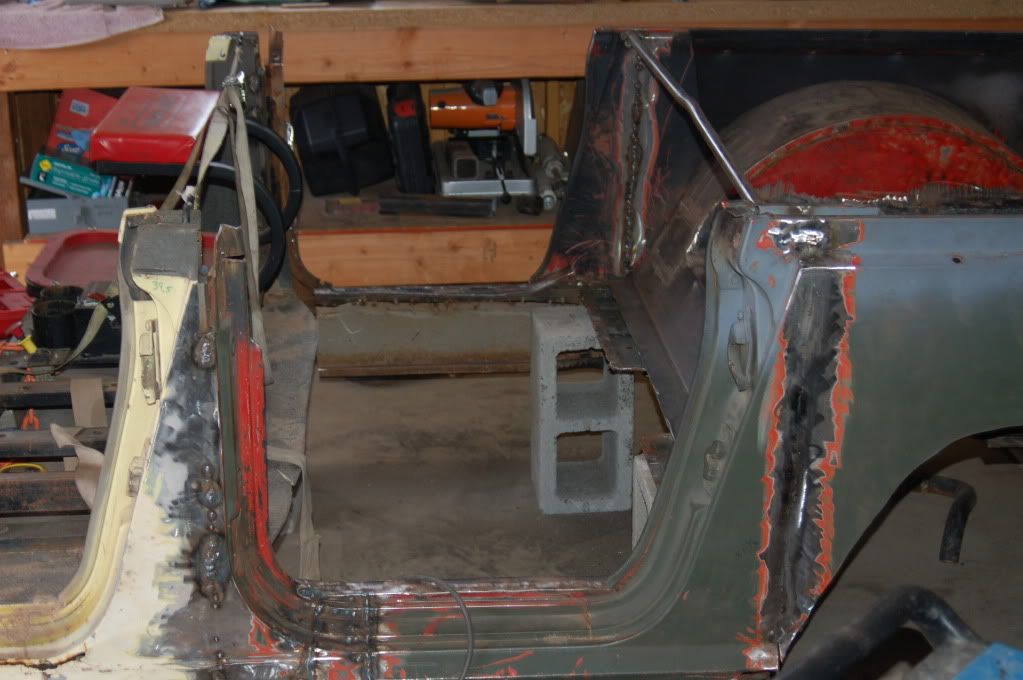
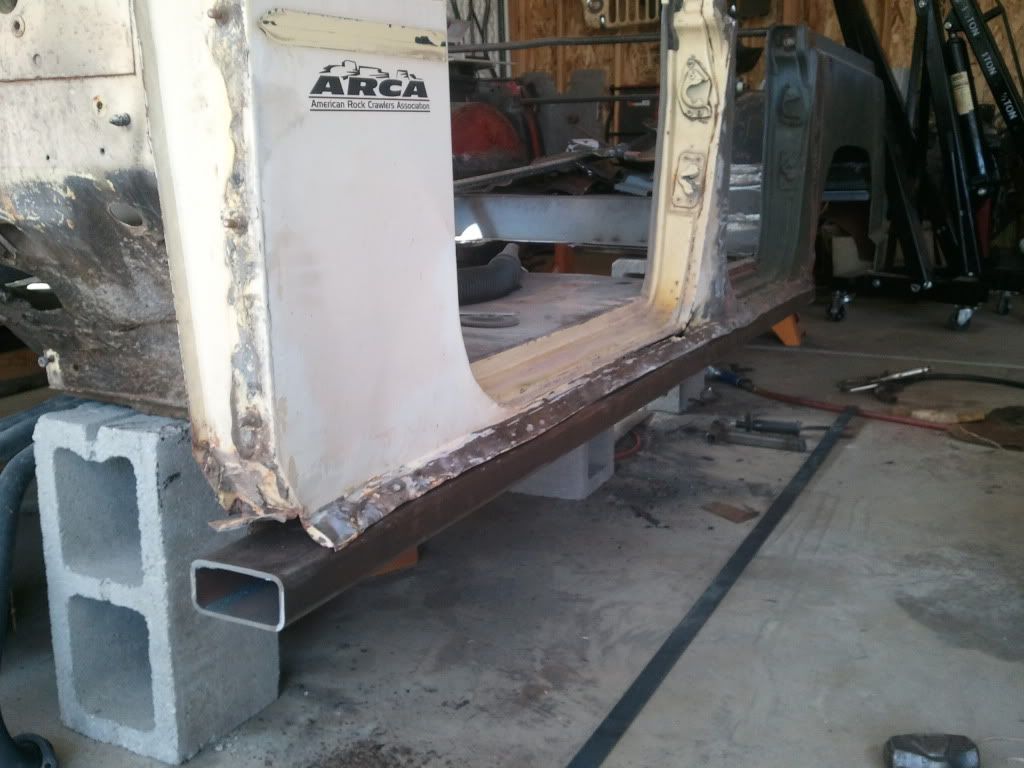
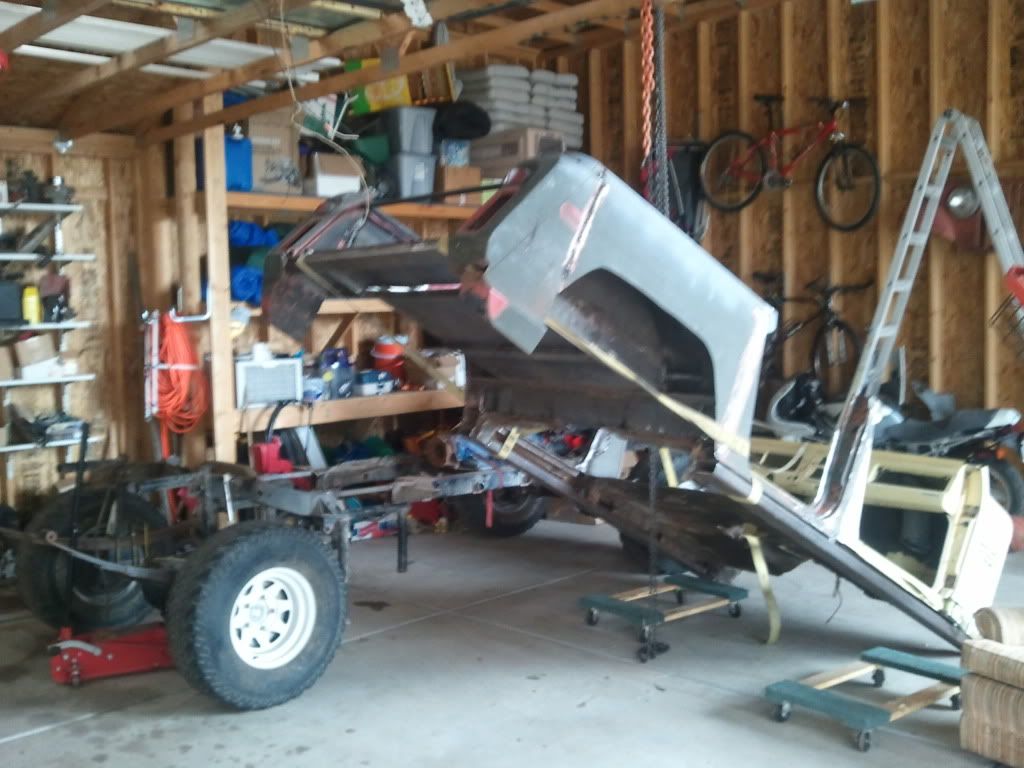
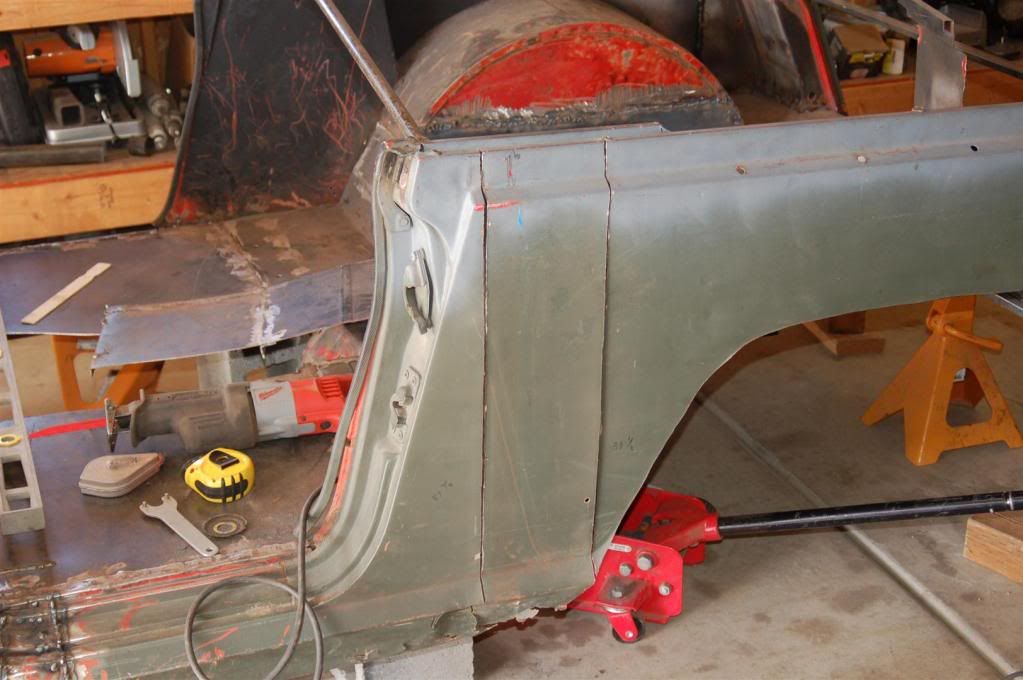
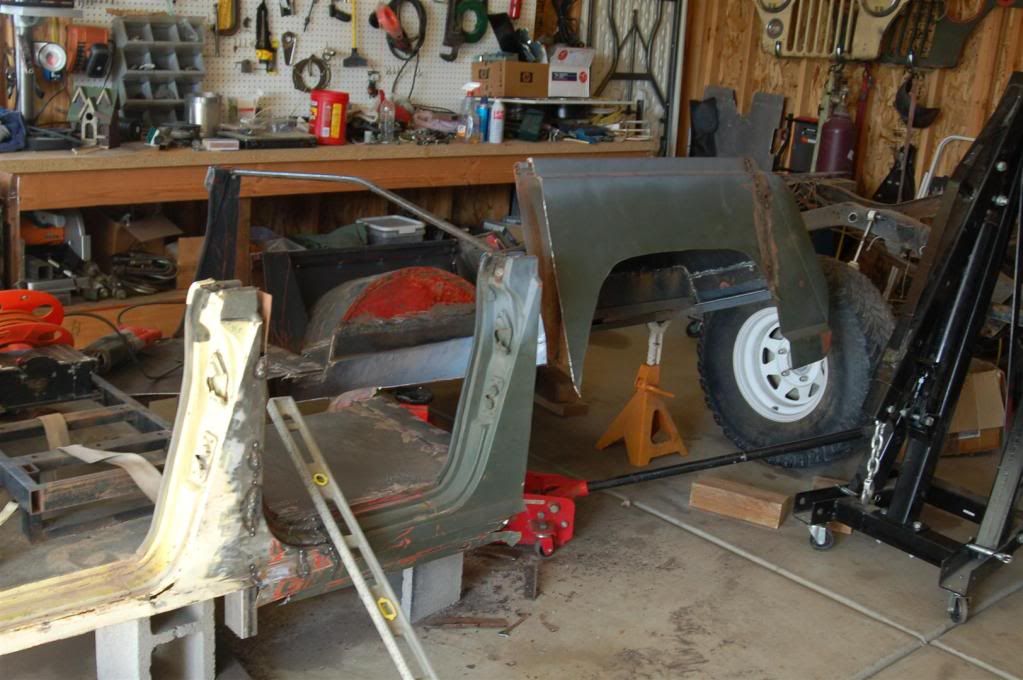
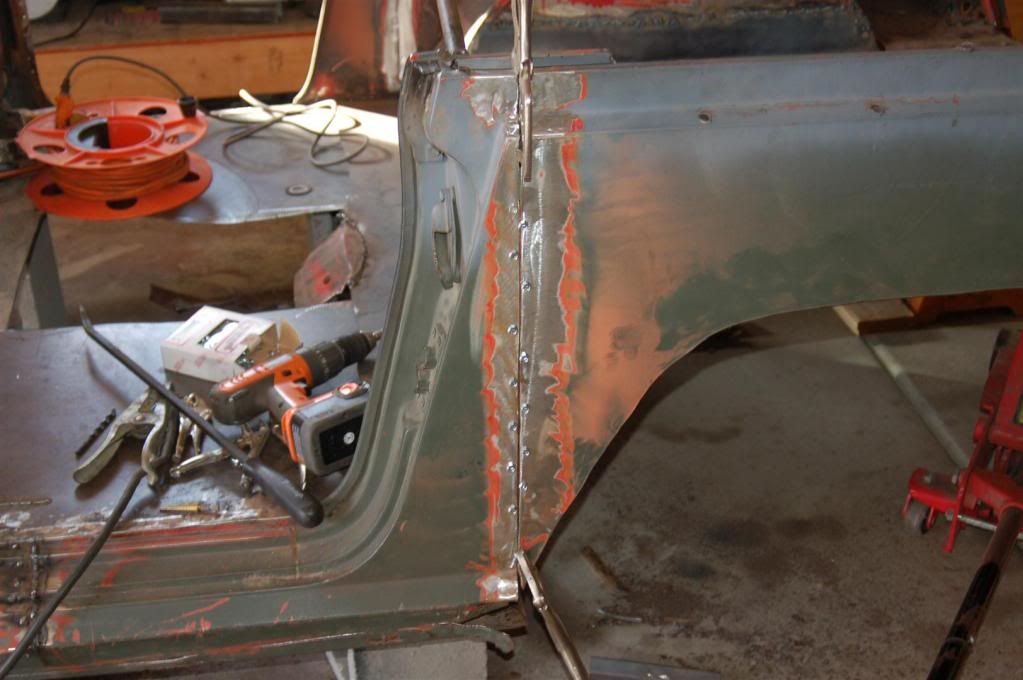
First, I did a lot of measuring.... Somewhere I lost 1/8 of an inch one side to the other... I think it is in the flex of the body, but it is too late now. its all welded up. and no one would know if I wouldnt have said anything....

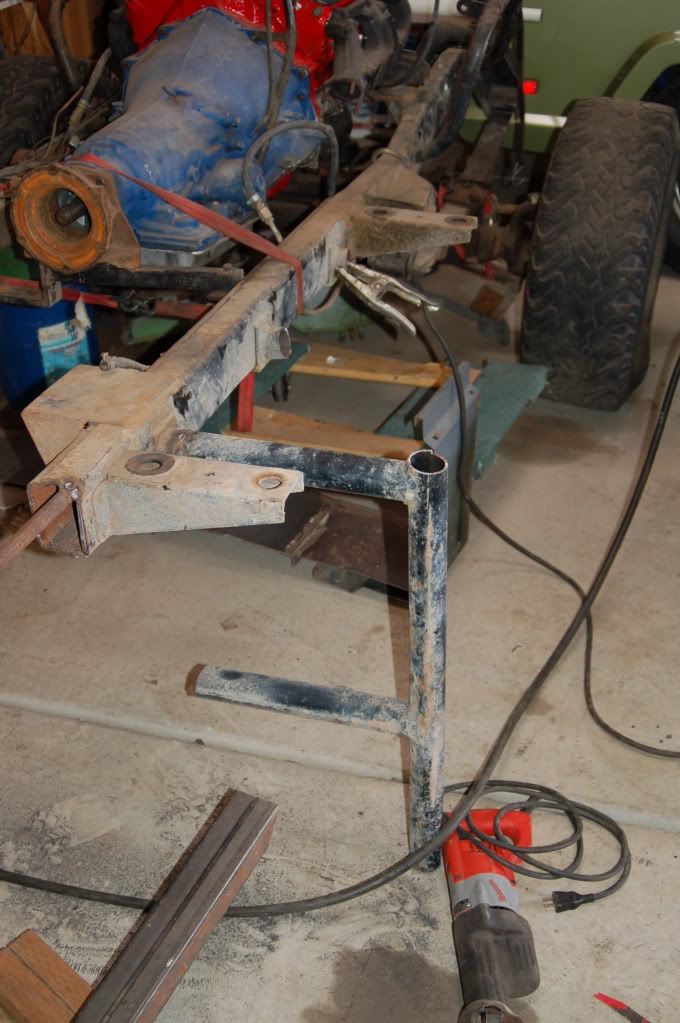
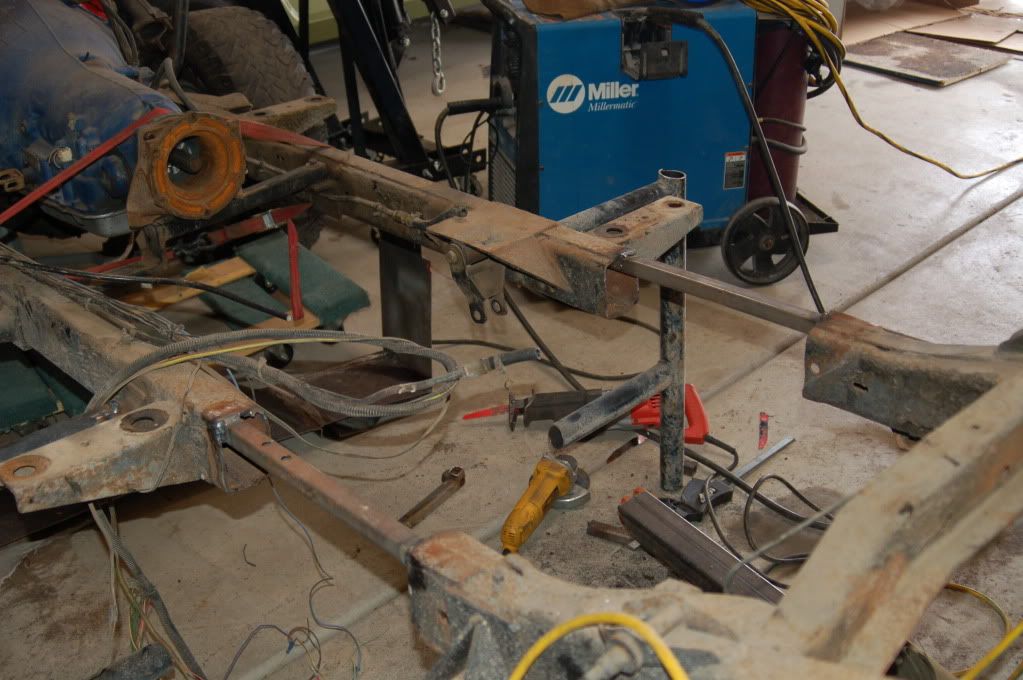
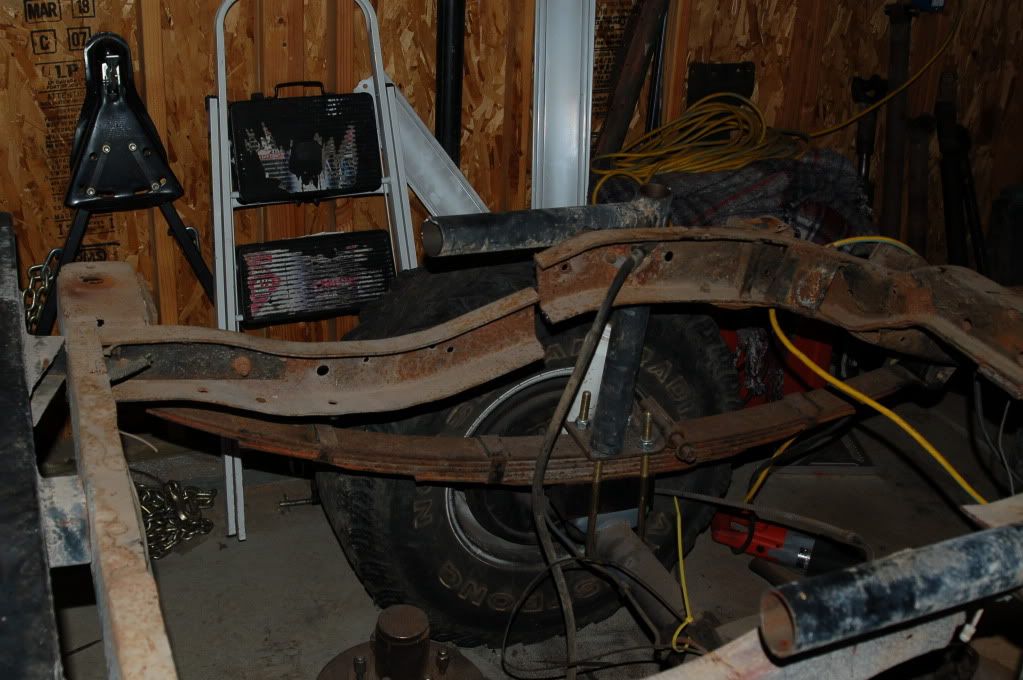
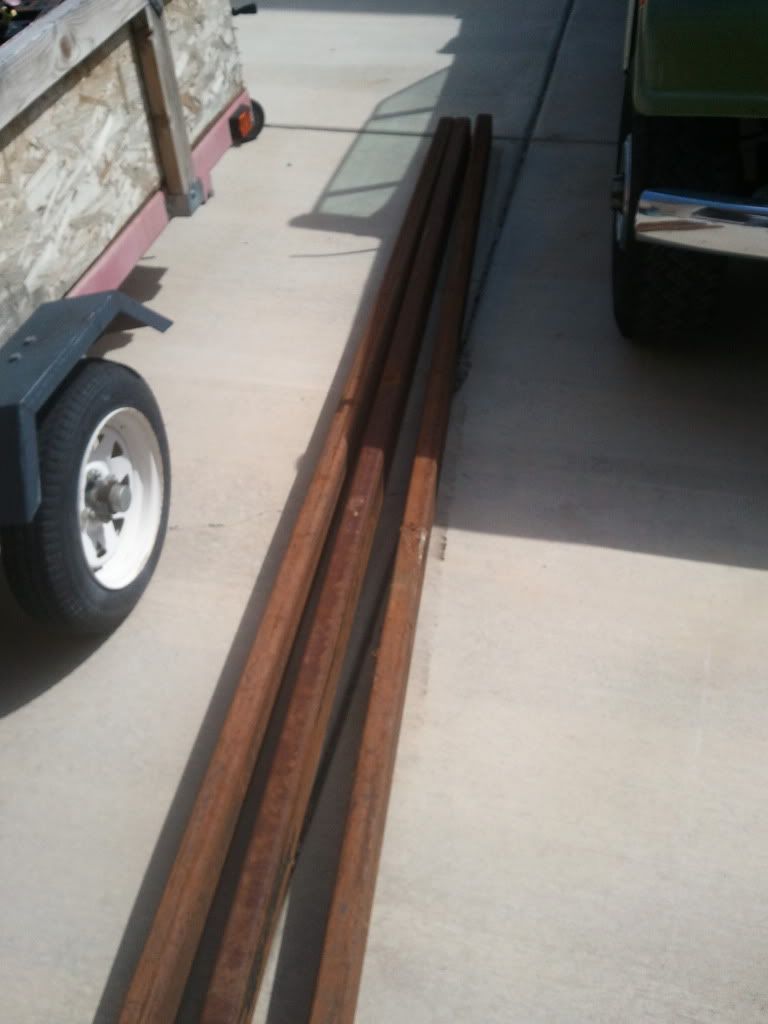
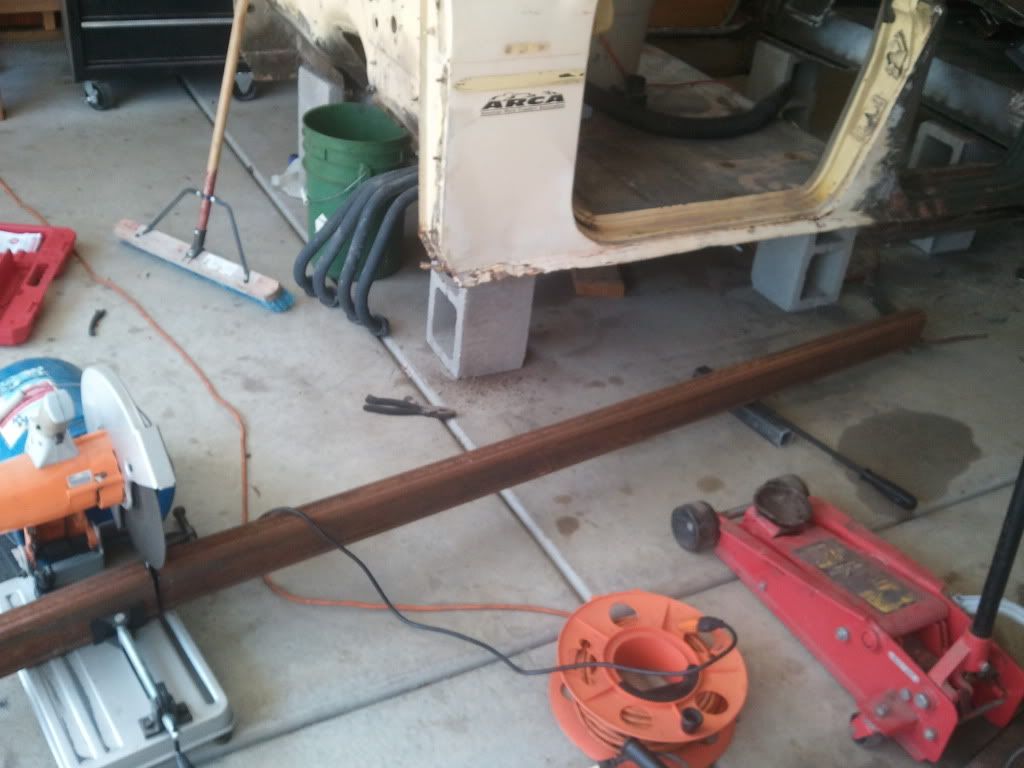
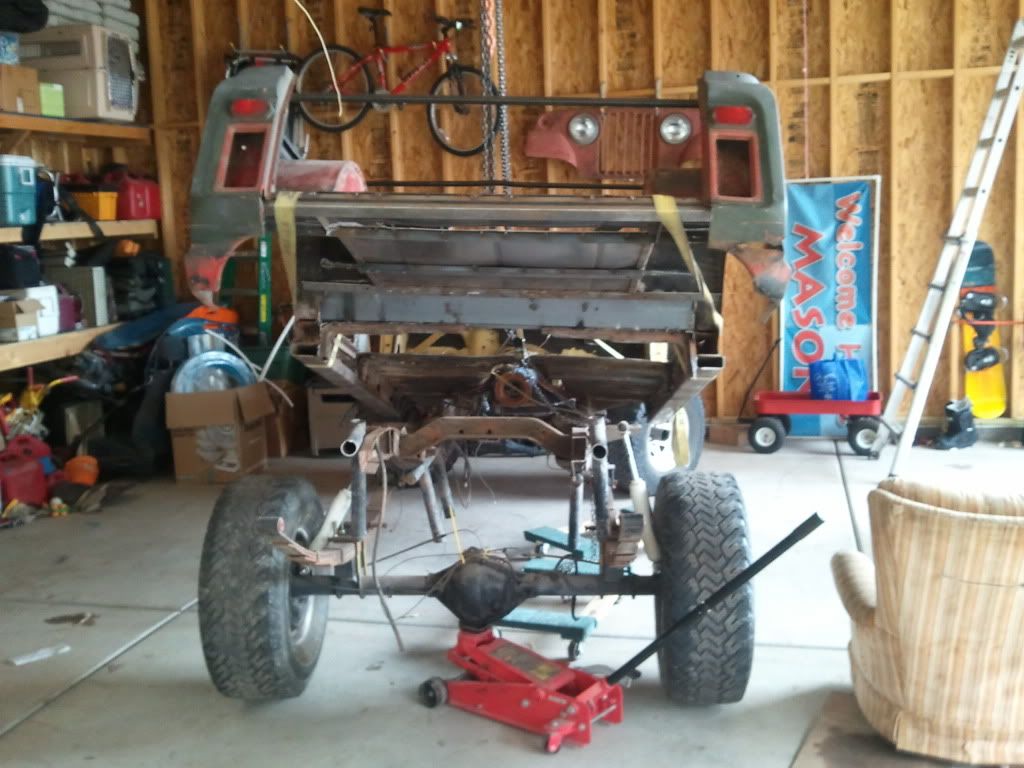
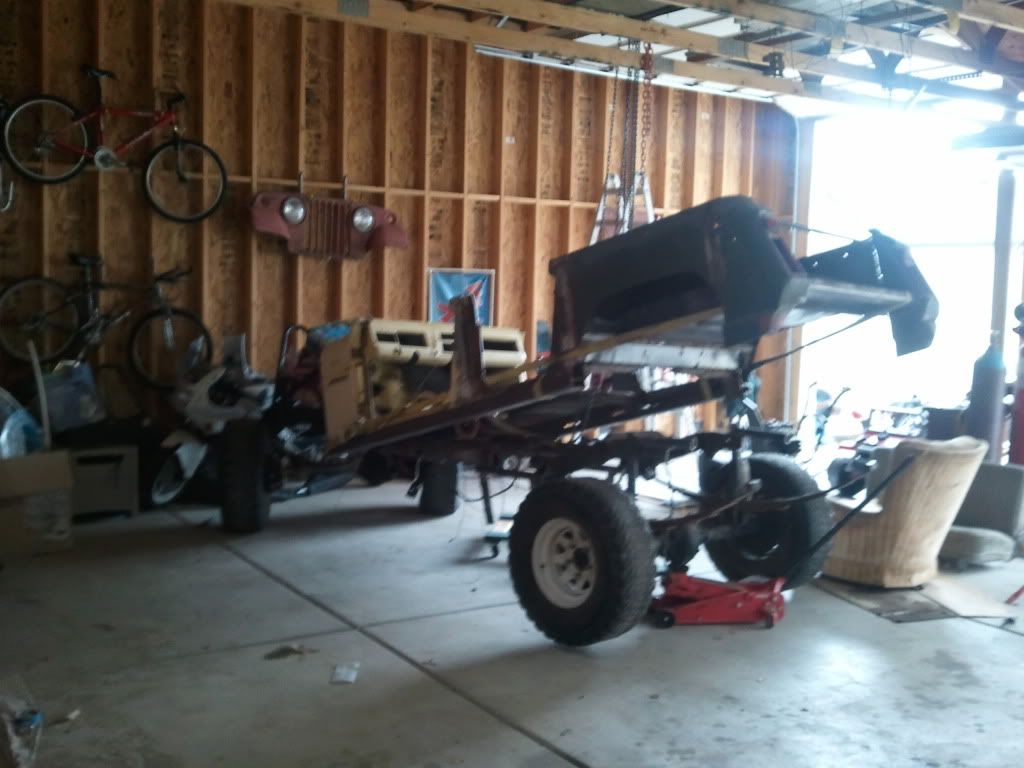
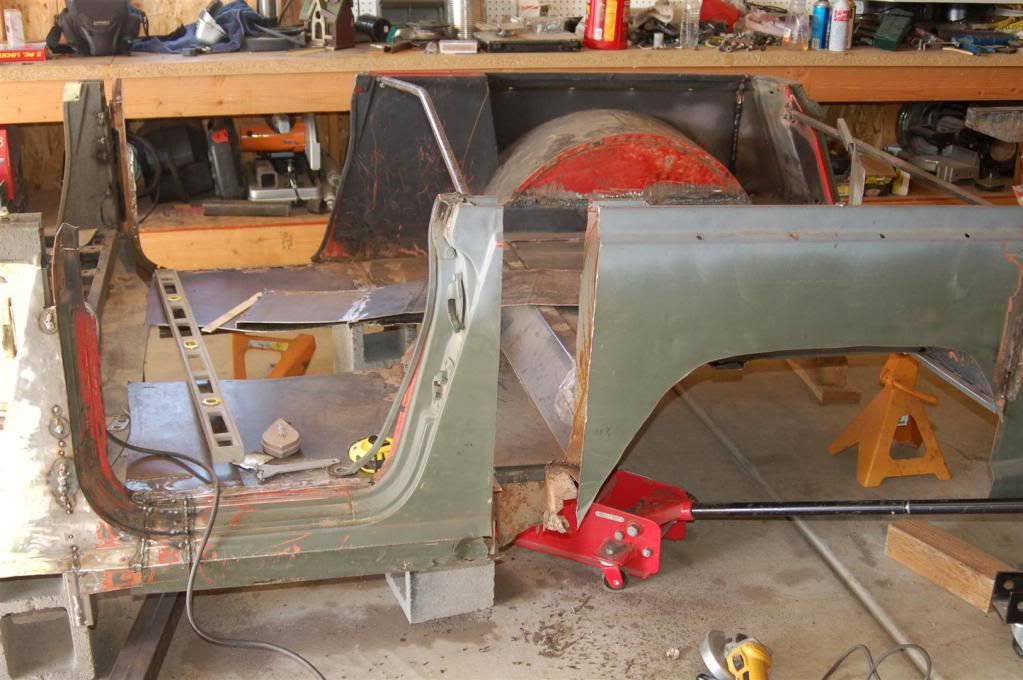
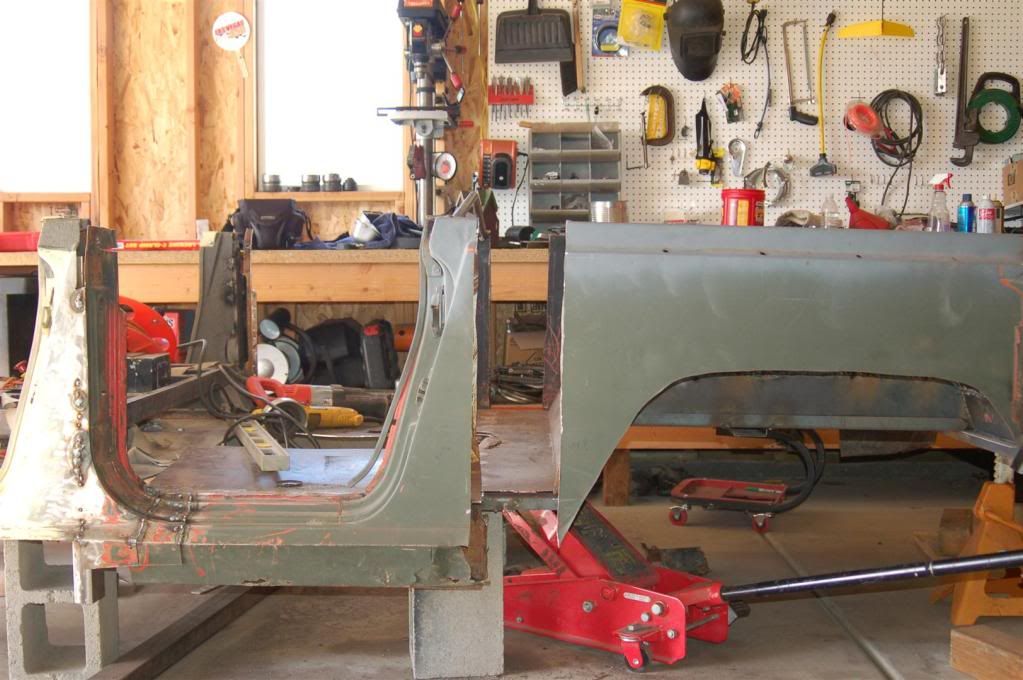
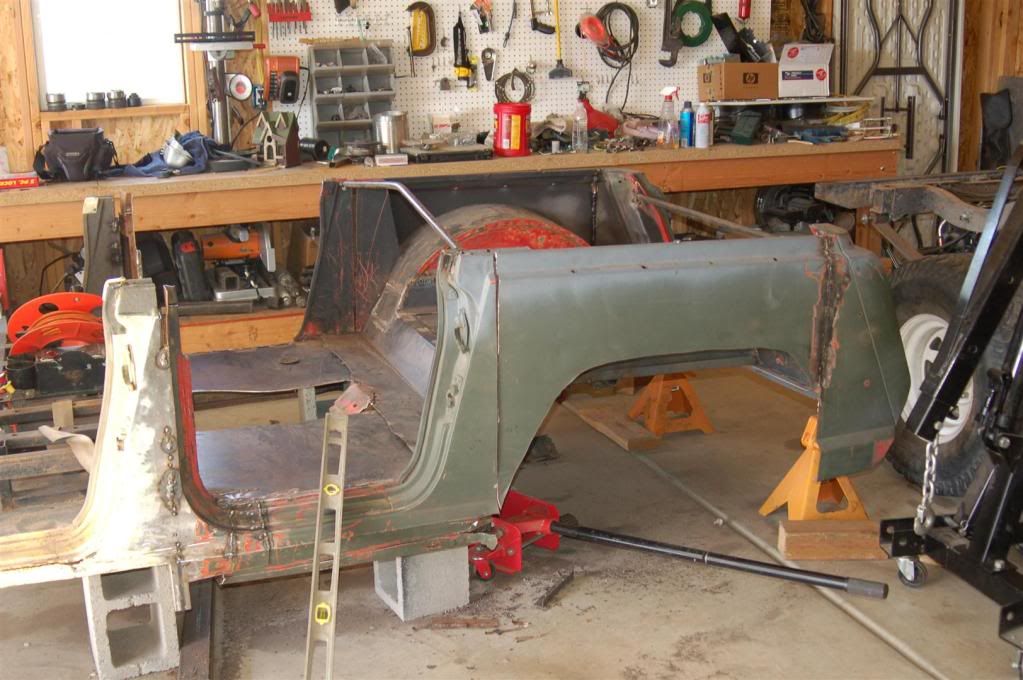
Second, I cut some more... I like to cut. All in all I have removed around 26" from the overall length of the tub... Im not that good at math, but The 4 door should only be about 16" longer than my yellow (standard) jeepster.

4Door3.jpg

4Door4.jpg

4Door5.jpg

4Door6.jpg


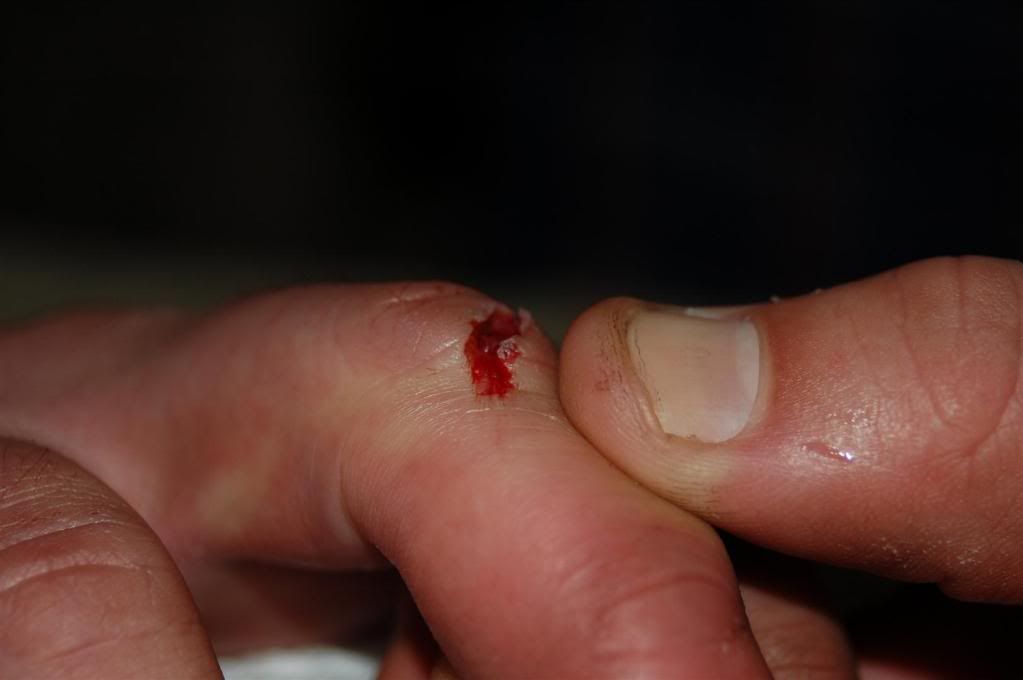
Third, I cut my finger. I know it is little, but before you start calling me Nancy, and grow a pair, ect. It was really deep. I dont know what that white thing is, bone or tendon, or cartilage. AND I still worked for another 2 hours or so, till I was done... Funny thing is I was actually completely sober. not a drop! a little cut and some blood wasnt going to stop me!

CutFinger4.jpg

CutFinger5.jpg


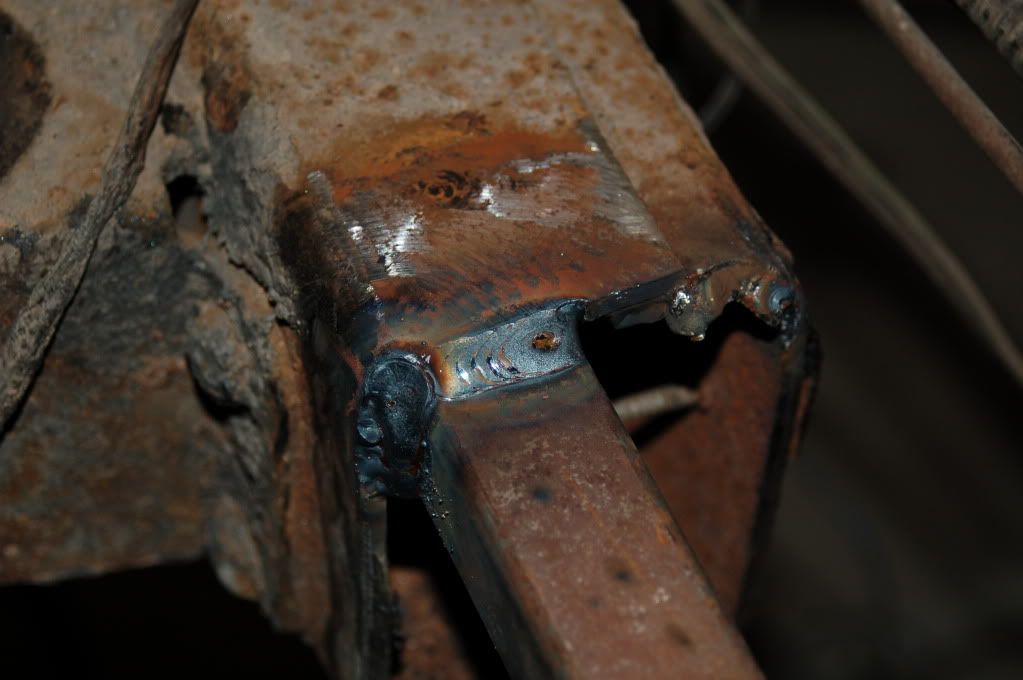
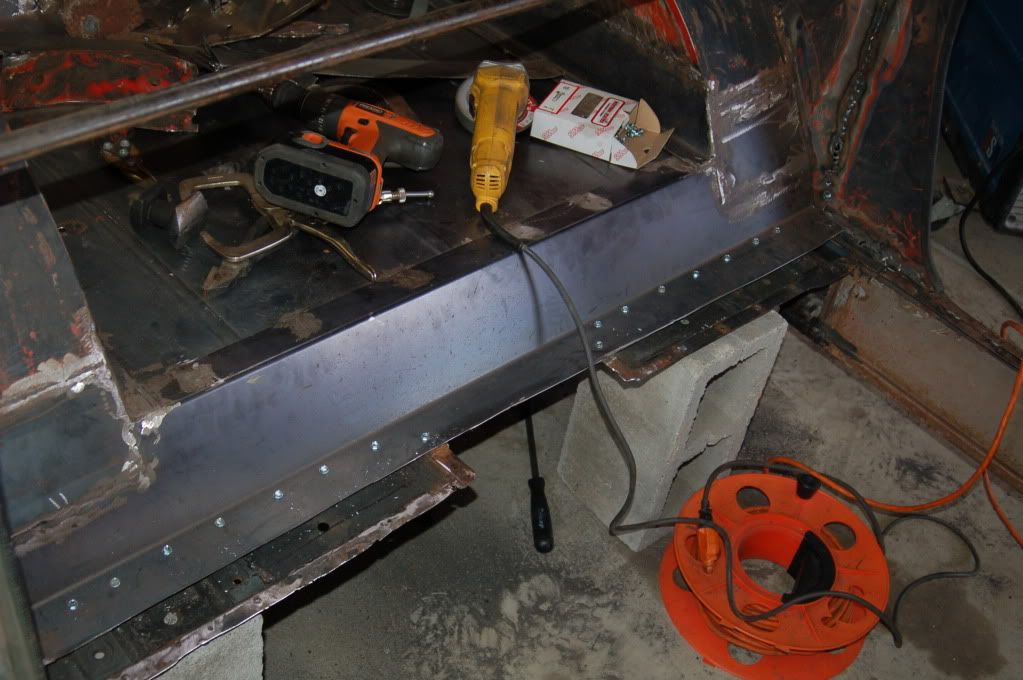
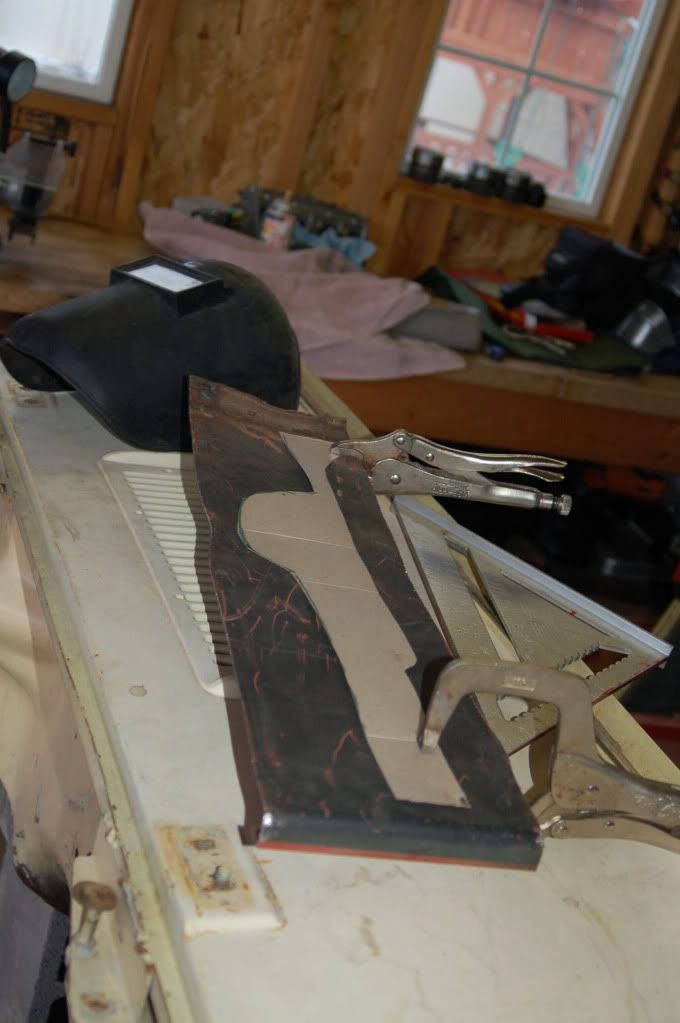
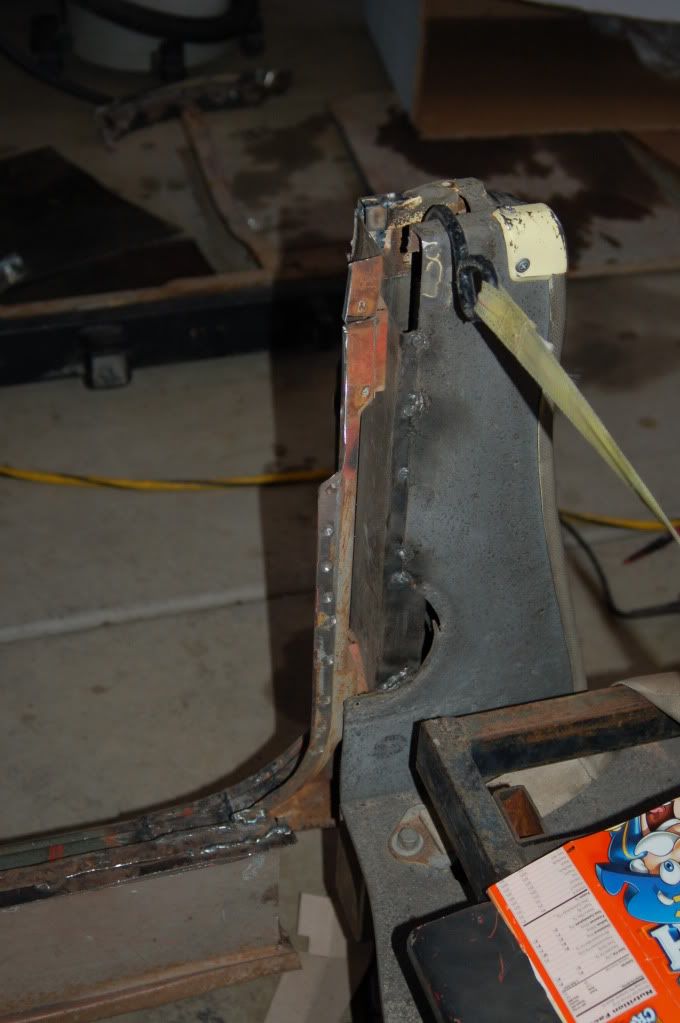
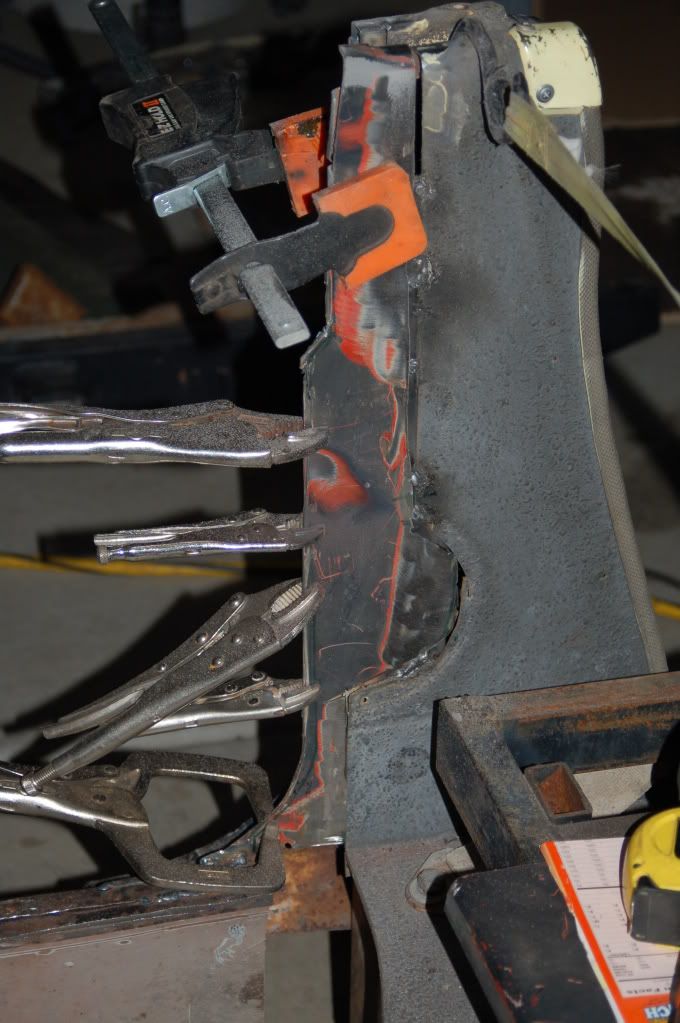
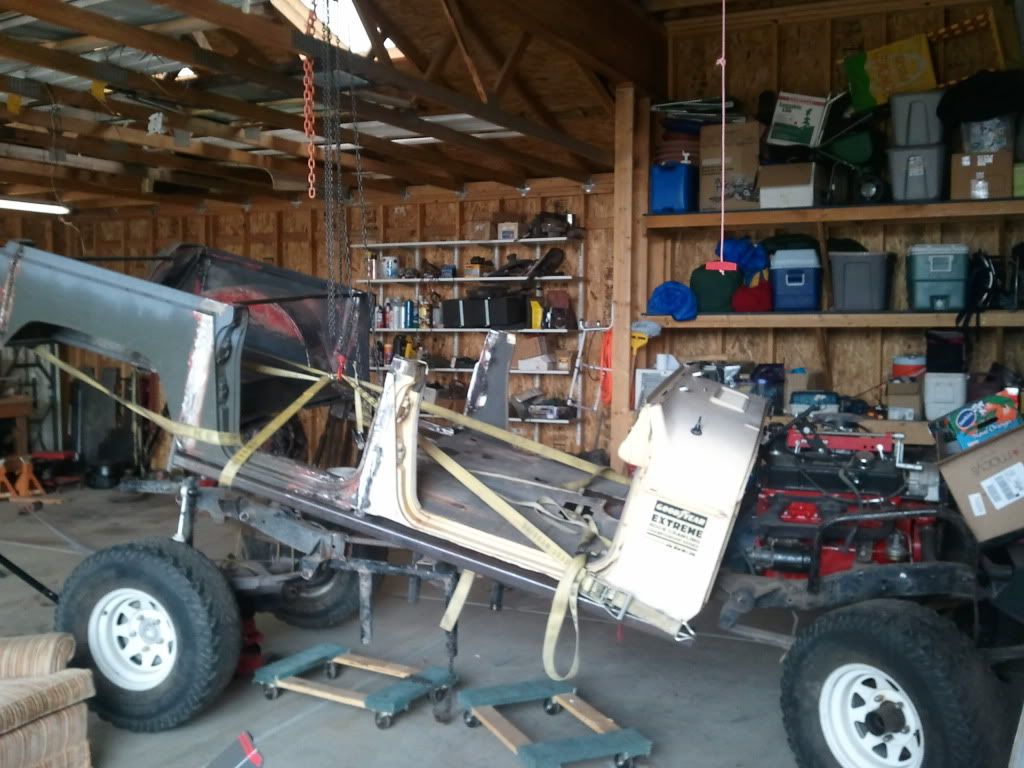
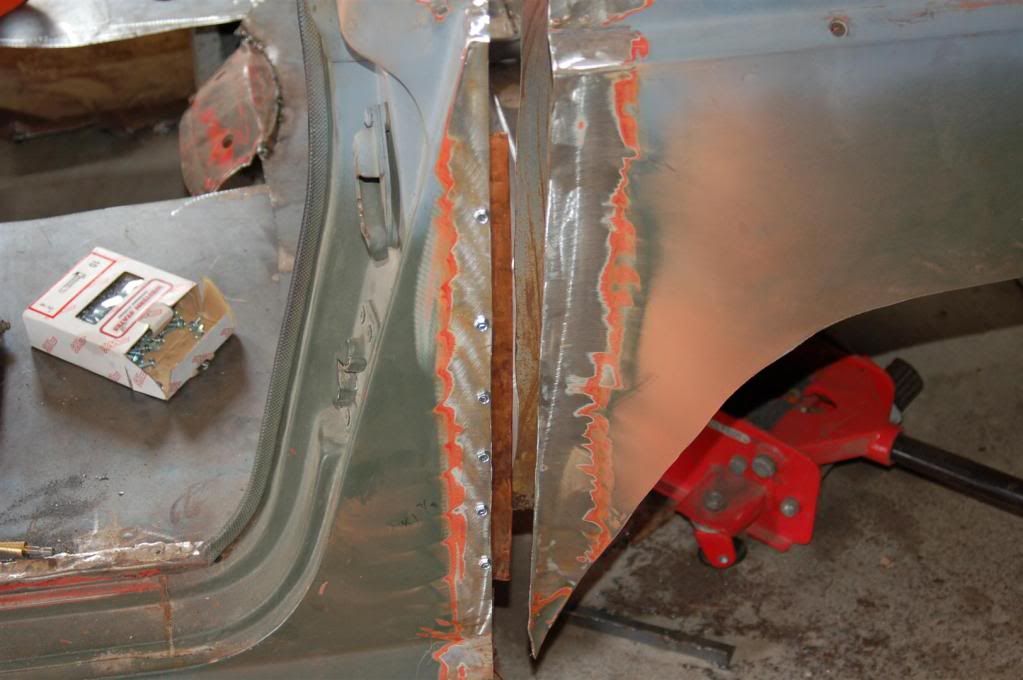
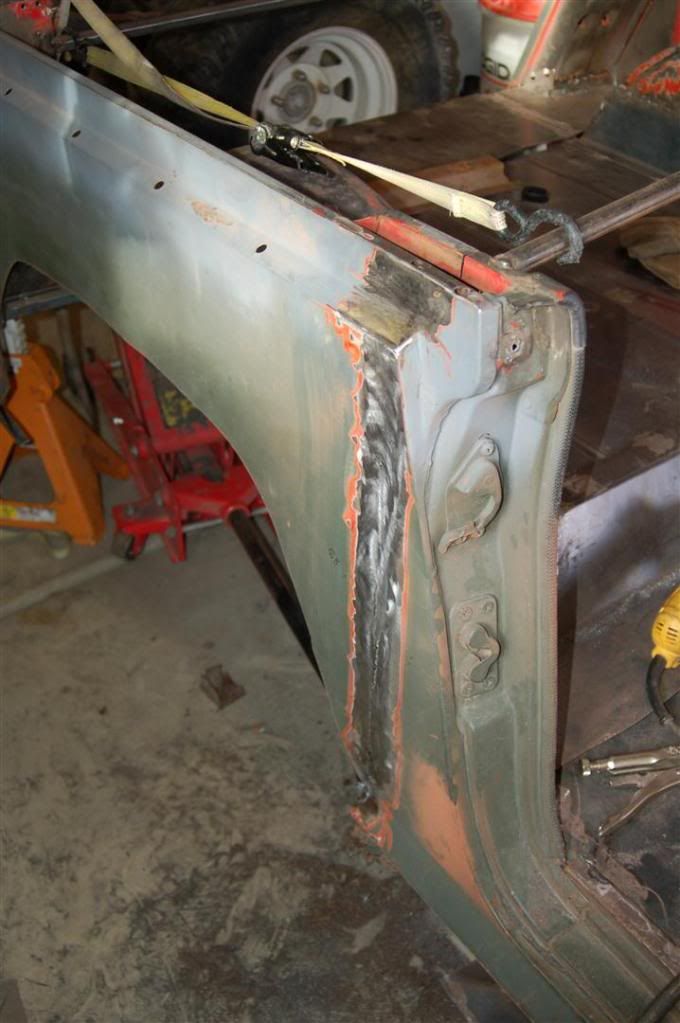
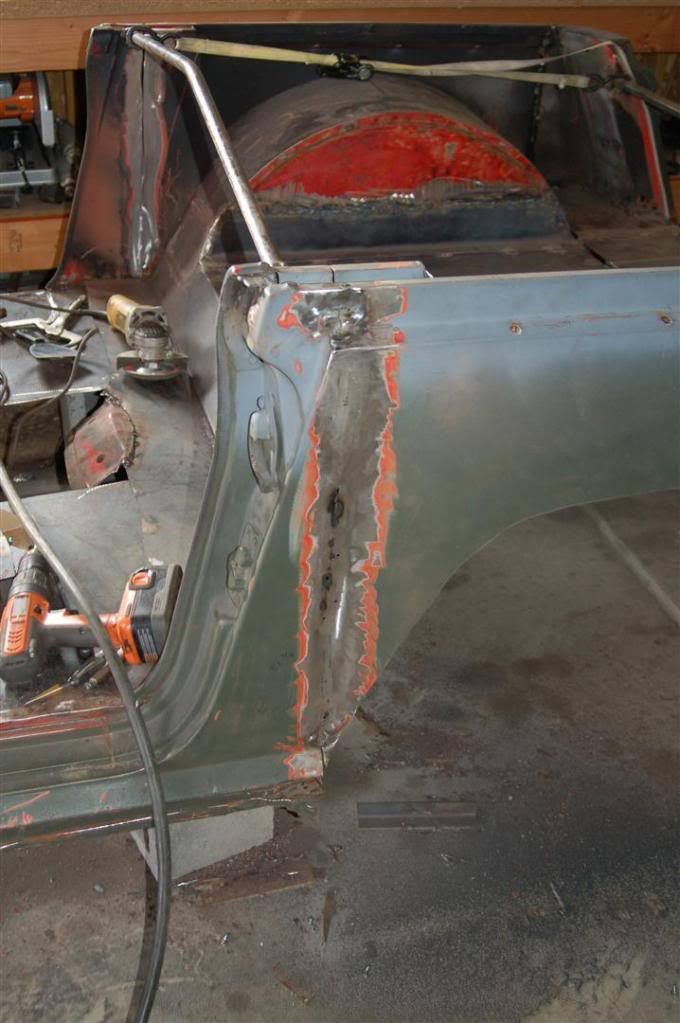
Fourth, I did some more welding. Someone on JCCA suggested using the copper pipe, smashed flat and held in with sheet metal screws to help disapate the heat and keep from burning through. i could totally tell the difference, but not sure if i would do it again. it took a lot longer, and had to fill the holes from the screws. I ended up dropping the copper in the window pocket and couldnt get it out. the other side lined up a lot tighter and straighter, so i skipped it.


4Door7.jpg

4Door8.jpg

4Door9.jpg

4Door10.jpg

4Door11.jpg


Fifth, I watched the super bowl.

The end.
 

Deweyxj

Invisible, on purpose!
I'm glad to see you getting back to this one!:tara: The dream must be fulfilled!!:):)

I'm in the middle of the painfully slow process of welding in all the structural supports, body mounts, & filler panels for the floor & body on the CJ75 prodject!:eek:

I know what you mean about feeling like you made progress even though it doesn't look like much:-\! A day of tacking paper thin / rusty / cancerous metal & patching burn throughs will wear your a$$ out!:rofl::rofl:
 

Swoop69

Registered User
Location
Riverton, Utah
Updates....

Here is my starting point this weekend.

DSC_4331.jpg


I decided to focus on the fram a bit. I am would like to get the tub back on the frame soon, so it takes up less floor space and so I can move it around on the wheels.
I cut down the old rock sliders and used them as frame jacks.
DSC_4332.jpg


Cut the frame and stretched it 14 inches. obviously this is temporary.
DSC_4335.jpg


I got one weld that was picture worthy. the one on top, not the side. the side looks like poop.
DSC_4337.jpg


Then I chopped the back of the frame off. just need it out of the way for now.
DSC_4338.jpg

DSC_4339.jpg

DSC_4340.jpg


Then focused back on the tub. I decided to replace the cut up floor with 1 new piece instead of trying to patch the center. so I removed the floor that I had replaced years ago.
DSC_4341.jpg


I didnt do a very good job years ago. I was still learning, well I still am, but I was able to get this to sit flat on the braces. Used lots of sheet metal screws, and then plug welded. Right now if I were to lift the tub it would fold in half. Lots more bracing to come.
DSC_4342.jpg


I created a template out of a cereal box to fill in the interior panel on the B pillar.
DSC_4343.jpg

DSC_4345.jpg


I was able to tack this in place but didnt take a pic. This ends my weekends progress.
DSC_4346.jpg
 

Deweyxj

Invisible, on purpose!
Good looking work!! I didn't even think about filler panels on the inside:rofl:! I figured what didn't fill with bed liner I would just live with:rolleyes:!


:busted: No Show 'N Shines for me!!:shawn:
 

Swoop69

Registered User
Location
Riverton, Utah
Good looking work!! I didn't even think about filler panels on the inside:rofl:! I figured what didn't fill with bed liner I would just live with:rolleyes:!


:busted: No Show 'N Shines for me!!:shawn:


Yeah. I dont plan on making it pretty. Tan bedliner will be the final coating, but I wanted to keep the body lines on the top of the panel, inside and out, and figured it wouldnt take much more to close them off.

thanks for the comments. its nice to know that people are actually following this.
 

Swoop69

Registered User
Location
Riverton, Utah
thanks for the comments...

this weekend I got a lot of welding and grinding done. Finished up the interior panels, but pretty much the same as what I already posted, so no new pics.

I am getting close to getting my rock sliders/tub stiffeners on. that should be pic worthy.
 

Swoop69

Registered User
Location
Riverton, Utah
Been a while since I worked on this, but this weekend I made some progress...

I built some rock sliders to support the tub, and wanted to put this back on the frame to move/store/test fit...

the back sits so high right now, because back half of the frame is hitting the tub. Again, this is temporary. Sorry for the crappy cell phone pics...


2011-04-22152514.jpg

2011-04-22152525.jpg

2011-04-22164545.jpg


2011-04-24121449.jpg

2011-04-24121432.jpg

2011-04-24121443.jpg


placing the tub


2011-04-24123120.jpg

2011-04-24124112.jpg

2011-04-24124122.jpg

2011-04-24124139.jpg

2011-04-24130053.jpg
 
Top