Maverick
old-school
- Location
- Anywhere, thanks to my geeky droid
I love fixing up scramblers and can even bring some spare parts, send me a PM and I'll come help.
Cool...what kind of parts?
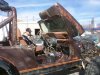
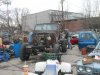
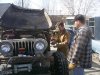
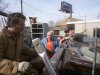
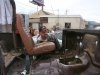
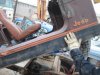
I know that we need some hood latches. Also, still needing a light gray back seat (CJ or YJ) Need front seatbelts...rear too.
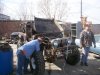
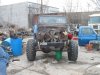
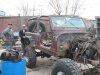
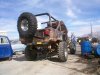
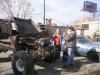
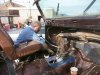
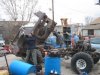
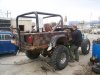
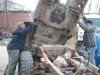
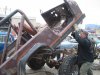
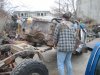
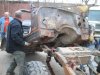
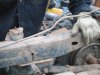
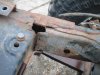
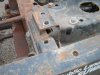
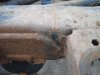
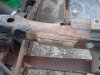
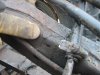
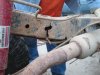
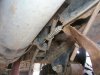
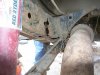
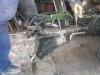
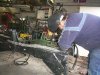
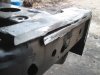
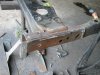
This saturday we're gonna try and get the front bumper/suspension stuff done, and hopefully engine mounts. WooooHOOOOO! Go away snow, I've got a tranny/tcase to pressure wash and wire brush!

")