xtremexj
Active Member
- Location
- Edmonton, AB, Canada
this is one of the coolest builds I'm subscribed to. Keep the progress coming!
Thanks Steve!! I appreciate the compliment and I'm working on it!!
this is one of the coolest builds I'm subscribed to. Keep the progress coming!

Looks pretty sexy.......you know, if you're into this kinda thing
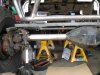
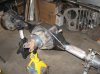
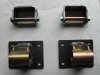
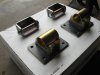
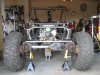
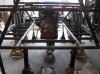
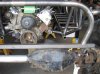
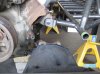
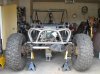
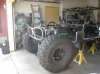
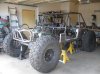
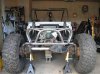
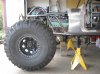
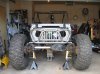
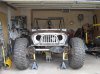
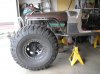
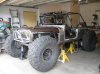
I have only one thing to say to you: Tony and Eric if you happen to check this thread - don't worry about helping with the grinding - I got it covered.:greg: I've been looking at different LS motor mounts for a few months now and just never got around to ordering any. I was rummaging around my garage for something one day and came across the poly motor mounts I had for the XJ so I decided to use those seeing as I already had them and some metal laying around for the rest. The best part is I saved over $100 to put towards other parts. I am thinking of a couple of ways to fix it but I will need to see if I can talk one of my friends that can weld aluminum into giving me hand with it but no such luck yet. Anyhow, here it is back on regardless for now plus the grille for a more complete look.wow, I assumed it was at full bump with how low and wide it is. That'd be awesome if that were ride height.
turning out nice thoughI was wrong